Shin Splints: 6 Exercises to Relieve Pain
Shin splints cause pain in the lower leg. You can actively counteract this with these 6 exercises.
Time
- 23 minutes
- 6 exercises
Treating Shin Splints Yourself
Do you have shin splints—that is, a sharp pain on the front of your shin? There are various reasons why you might be suffering from this condition; one possible cause is wearing the wrong shoes. If you’re looking for exercises to help support the healing process, this video is for you. Our master trainer Stefan will show you how to treat shin splints on your own.
Preventing Shin Splints
Prevention is always better than pain relief. If you take action early enough, you’ll increase your chances of avoiding shin splints altogether.
Here are our top 4 tips for preventing shin splints.
Tip 1: Increase your training volume gradually.
It’s important not to increase your training volume too quickly so that your body can gradually adapt to the strain. A good method is the so-called 10-percent rule. The principle is to increase your weekly mileage or training duration by no more than 10 percent. For example, if you currently run 30 kilometers per week and want to intensify your training, increase your distance by no more than 3 kilometers the following week. This ensures that your muscles, tendons, and ligaments can gradually adapt to the increased strain.
Tip 2: Recovery is the key to success.
It’s advisable to prioritize recovery. Schedule recovery weeks during which you cover fewer kilometers. For example, you could plan every fourth week as a recovery week. Even after an intense race like a marathon, it can be helpful to give your body a break at first and significantly reduce your running volume.
Tip 3: Follow our recommended training program.
At the beginning of this article, you learned about our training program for shin splints. It’s best not to let it get to that point in the first place by doing the exercises outlined here regularly, even if you aren’t experiencing any pain yet. Doing them just 2–4 times a week can make a big difference.
Tip 4: Supplement your running training with other sports.
Running is a repetitive and monotonous movement. If you focus exclusively on running, you’re always working the same muscle groups. That’s why it’s a good idea to choose at least one alternative sport that targets different muscle groups or develops other skills. Try strength training, go swimming, or give yoga a try. In the video below, you’ll find a yoga session designed specifically for runners.
Does Stretching the Shin Help with Shin Splints?
From a purely biomechanical perspective, stretching the shin isn’t the most effective way to relieve shin splints. The reason for this is that the shin muscle tends to weaken anyway.
The calf muscles, on the other hand, tend to tighten and functionally shorten. For people suffering from shin splints, we therefore recommend stretching exercises for the calf muscles.
When stretching, you should focus primarily on the large calf muscle (gastrocnemius), which runs along the back of the lower leg, as well as the smaller calf muscle (soleus) located beneath it. It’s important to perform the exercises precisely and without straining. You shouldn’t feel any severe pain during the stretching exercises. On a scale of 1 to 10, the pain should not exceed 6.
Our Master Trainer Stefan demonstrates an effective calf-stretching routine in the following video.
Training the Tibialis Anterior Muscle
Another factor that can contribute to shin splints is a weak tibialis anterior muscle. If this muscle is too weak, it may not be able to handle the unusually high strain while running. This can lead to overuse.
You can strengthen your tibialis anterior muscle with this exercise. Perform 2–3 sets of 15 repetitions per side.
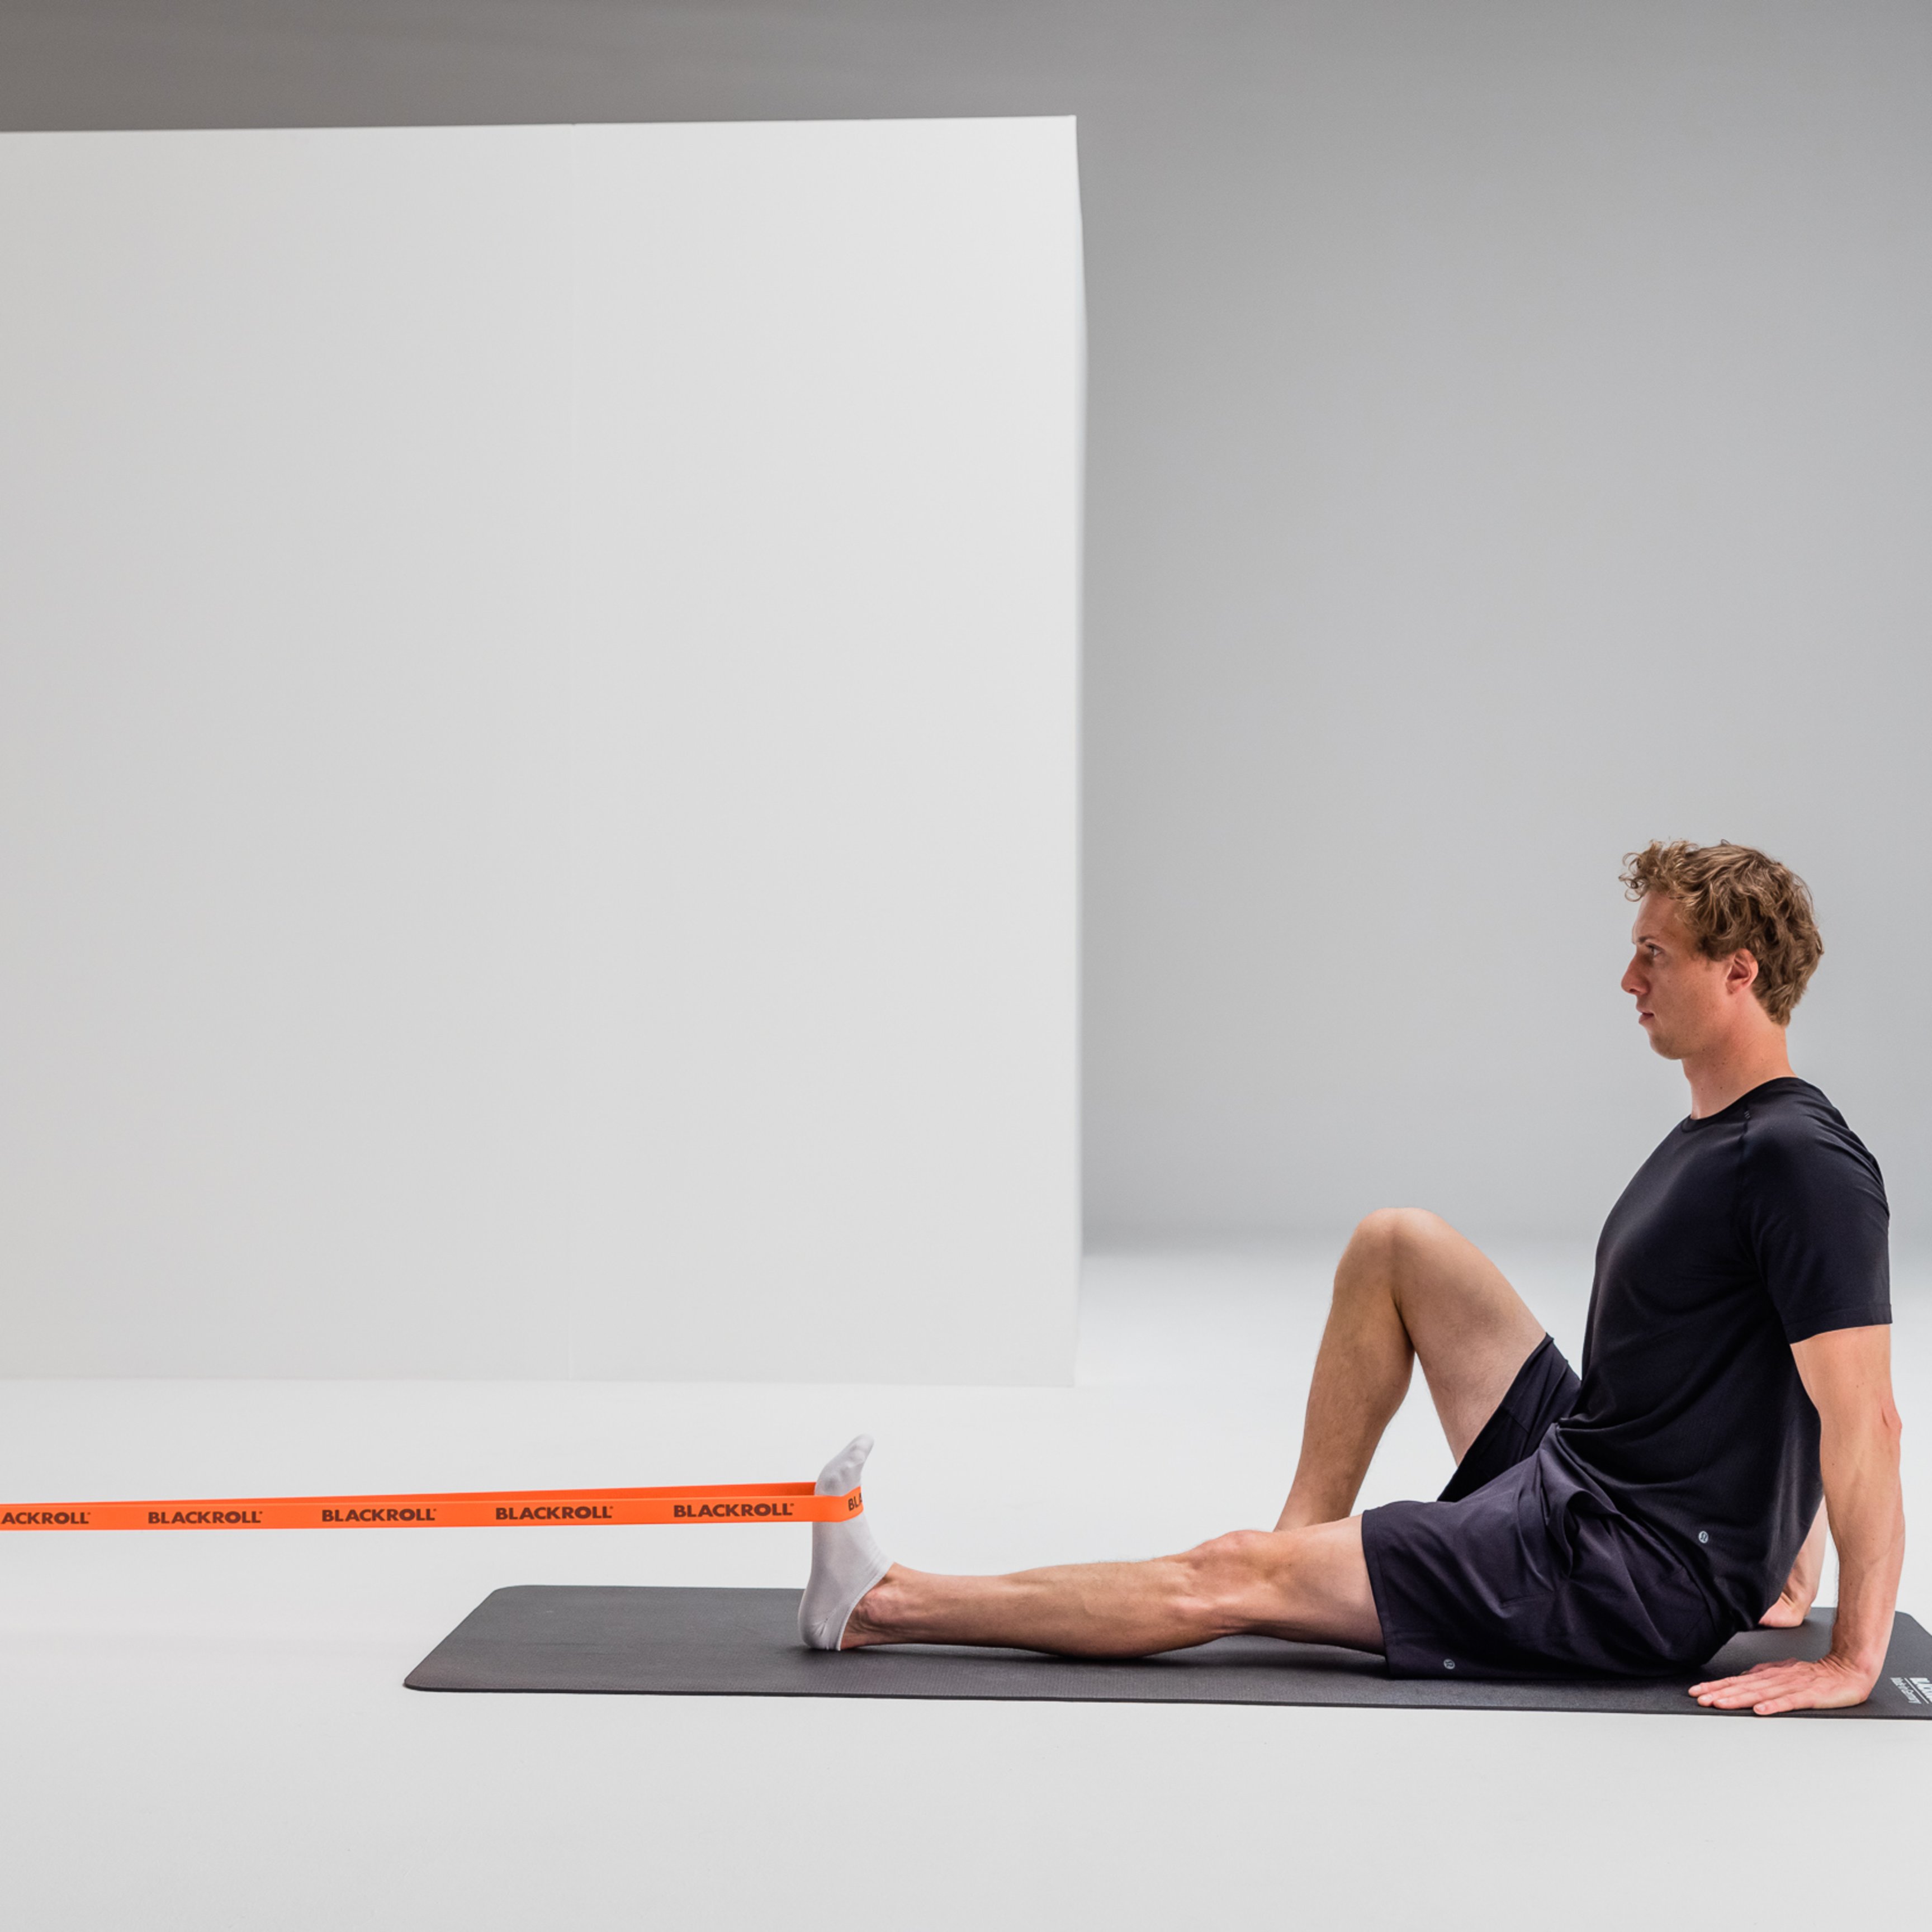
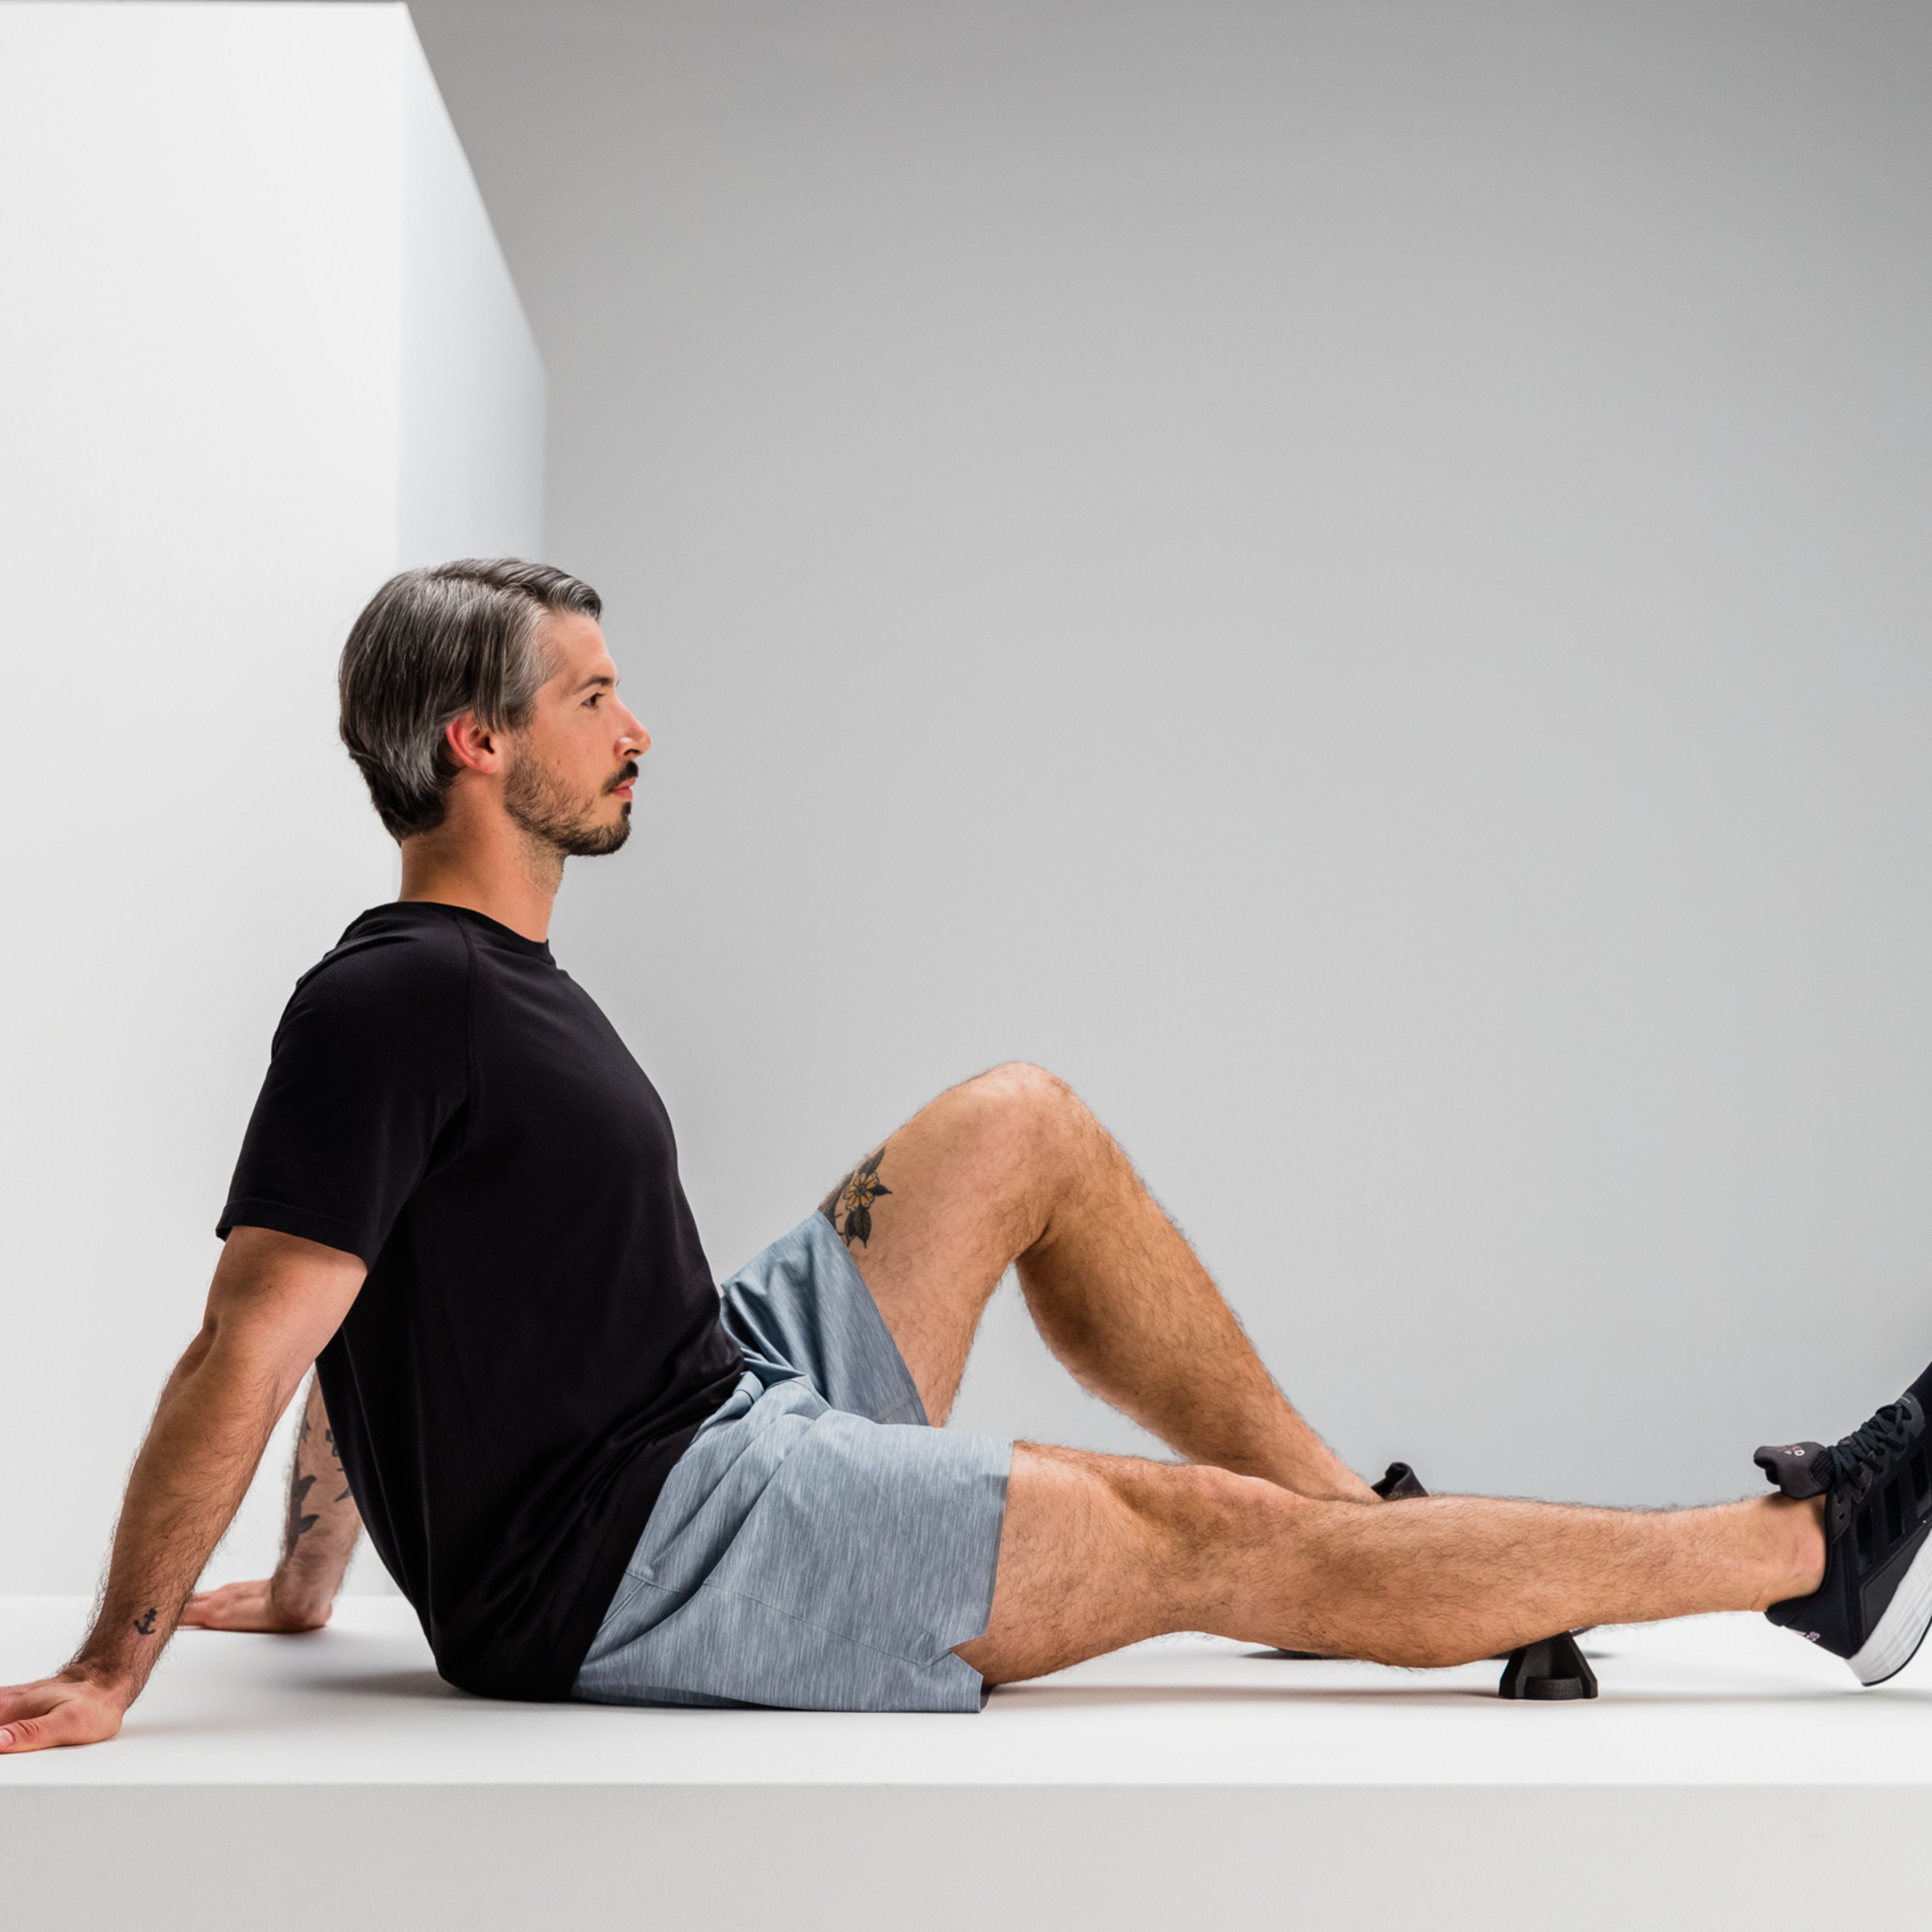
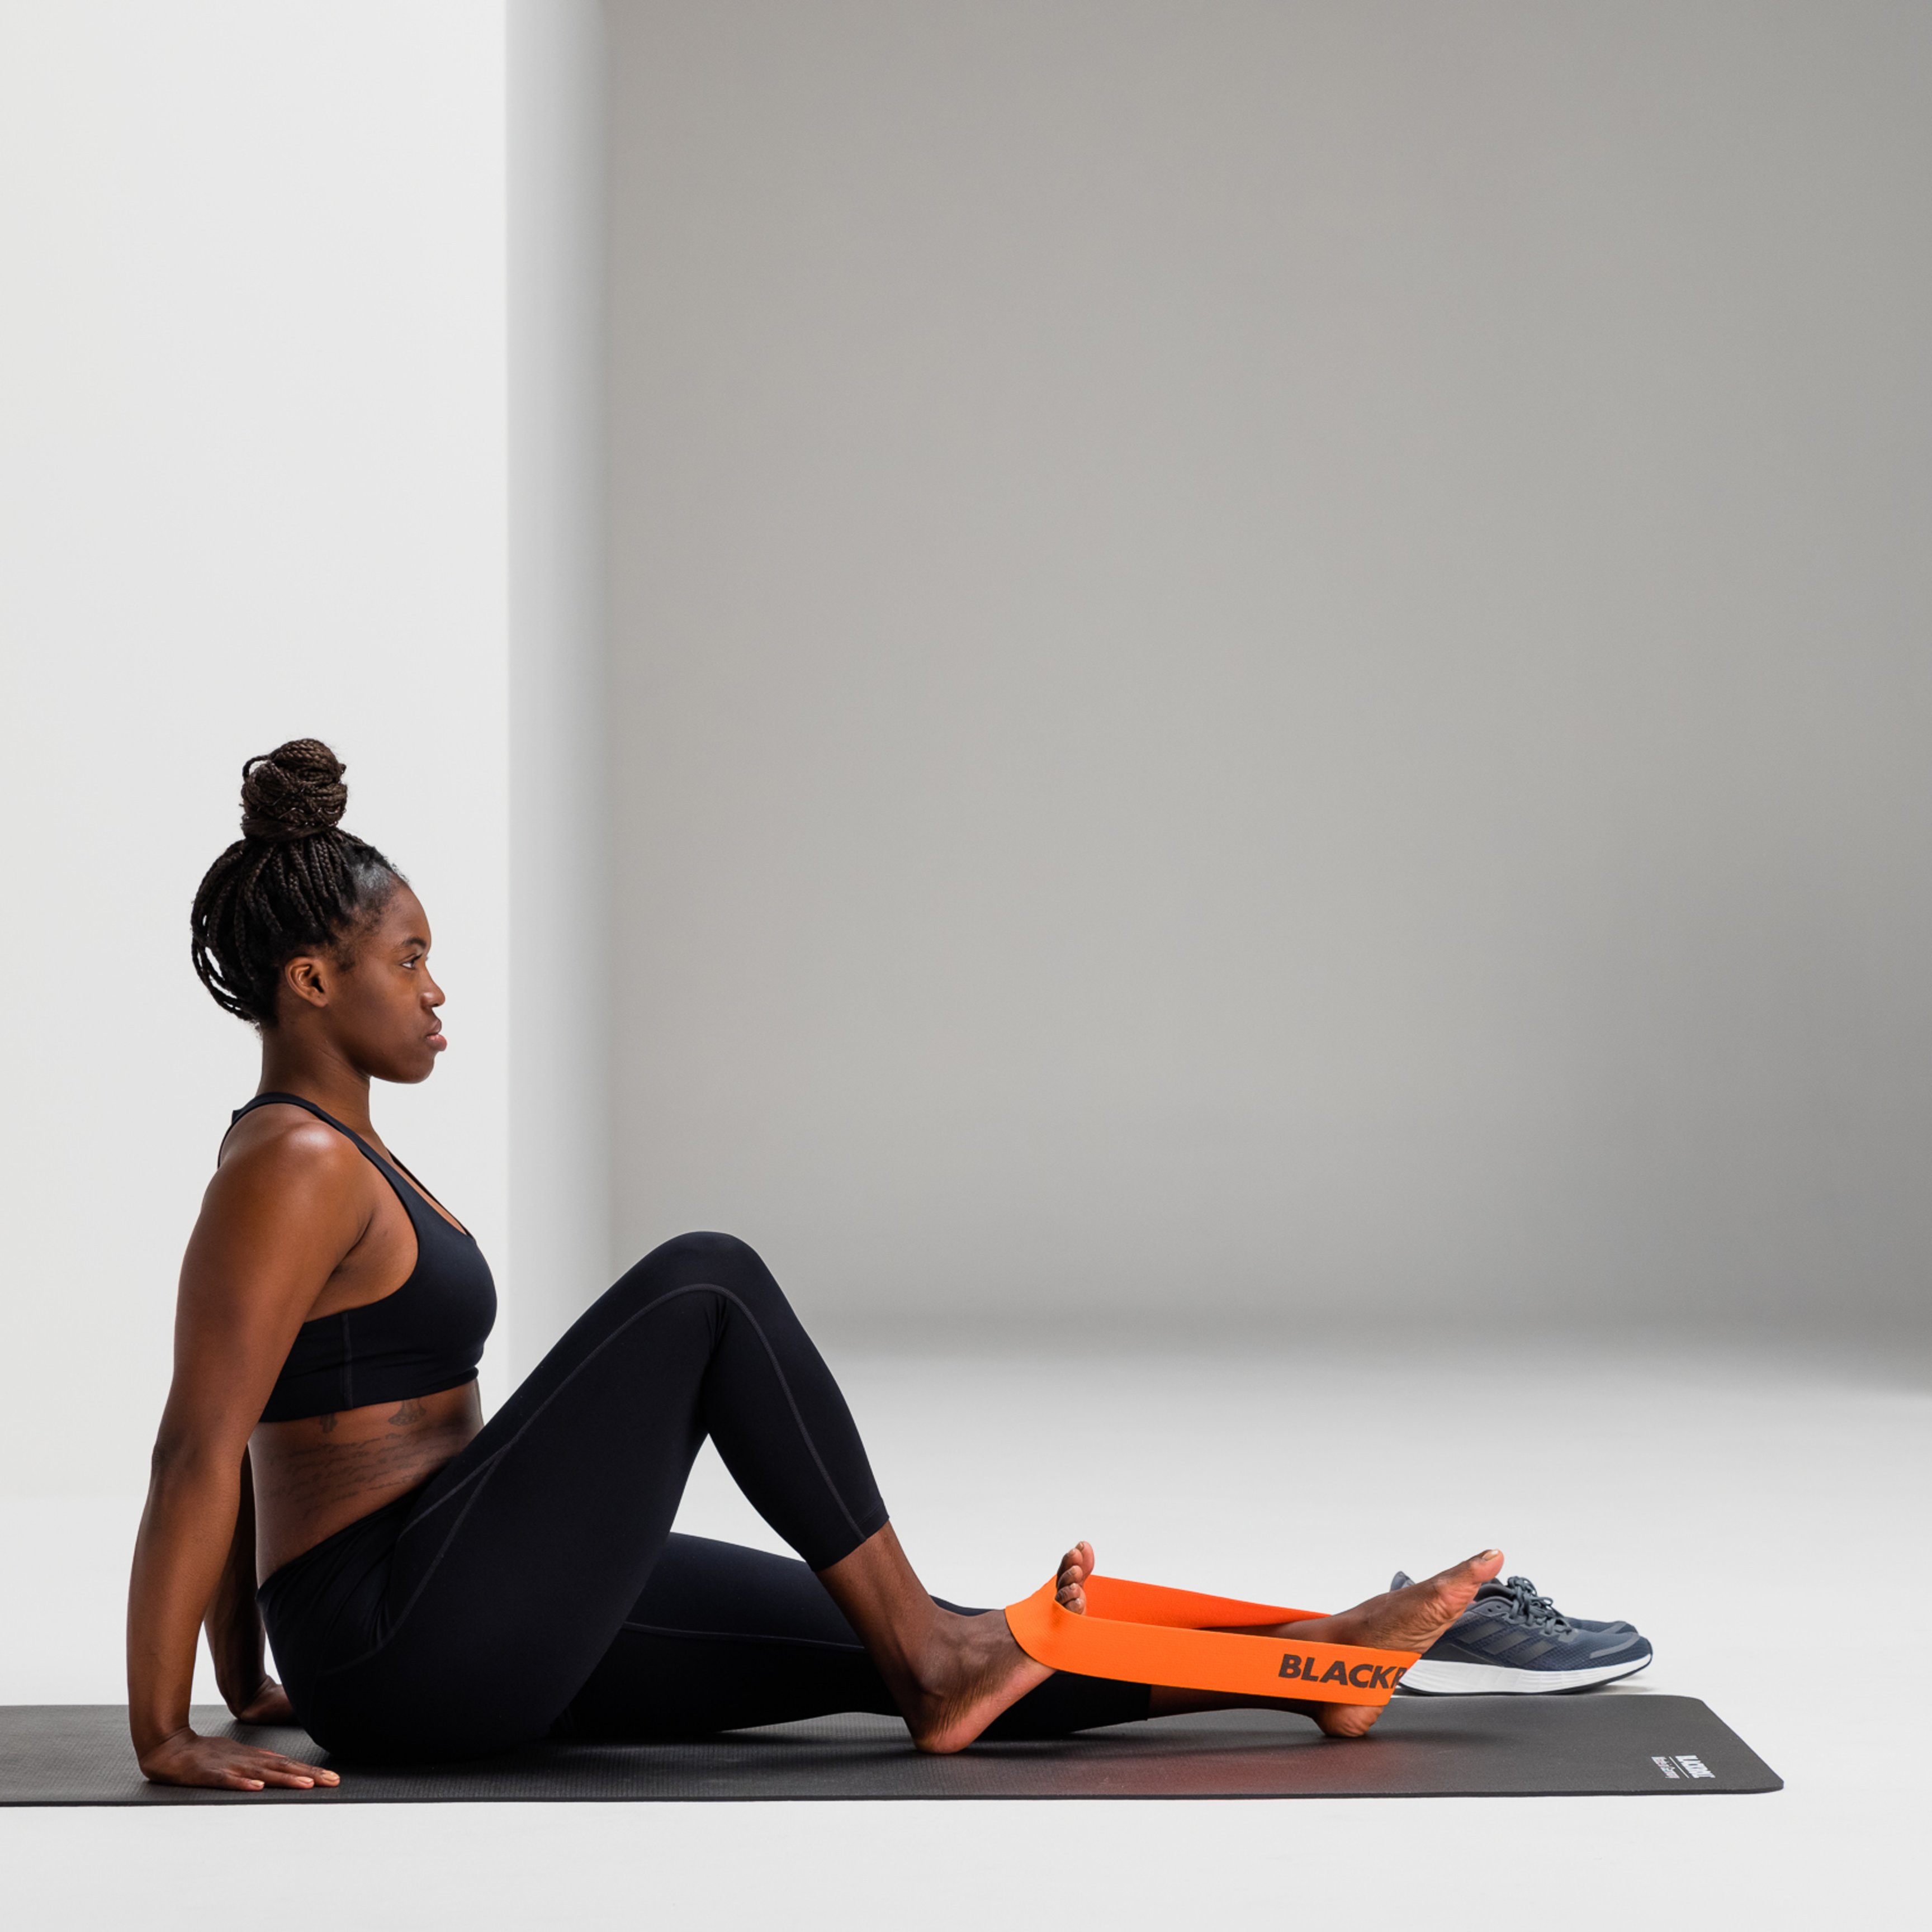
Tibial Activation
Sit in a long sit position. Place a SUPER BAND around the tip of one foot. Actively move your ankle so that the tip of your foot alternately points toward and away from you. Hold the end position for two to three seconds before moving the tip of your foot away from you again.
How to Get Rid of Shin Splints Fast – What Helps?
The cause of shin pain can often be attributed to excessive eccentric stress, which leads to irritation of the muscles attached to the bone.
In severe cases, this can result in a recovery time of 2–4 weeks, while the natural healing process typically takes 4–6 weeks. However, it’s important to note that you don’t have to be in pain the entire time, nor do you have to stop running completely.
If you want to get rid of shin splints quickly, you should follow these 2 tips.
Tip 1: Control the swelling.
To reduce swelling and promote recovery, it’s crucial to relieve congestion. This can be achieved through compression and elevating the affected area. The goal is to draw the swelling out of the lower leg.
Compression socks or compression boots can help.
Tip 2: Restore your range of motion.
During recovery, it’s important to perform pain-free movements and gradually increase the load on the shin. This helps restore normal mobility and supports the healing process.
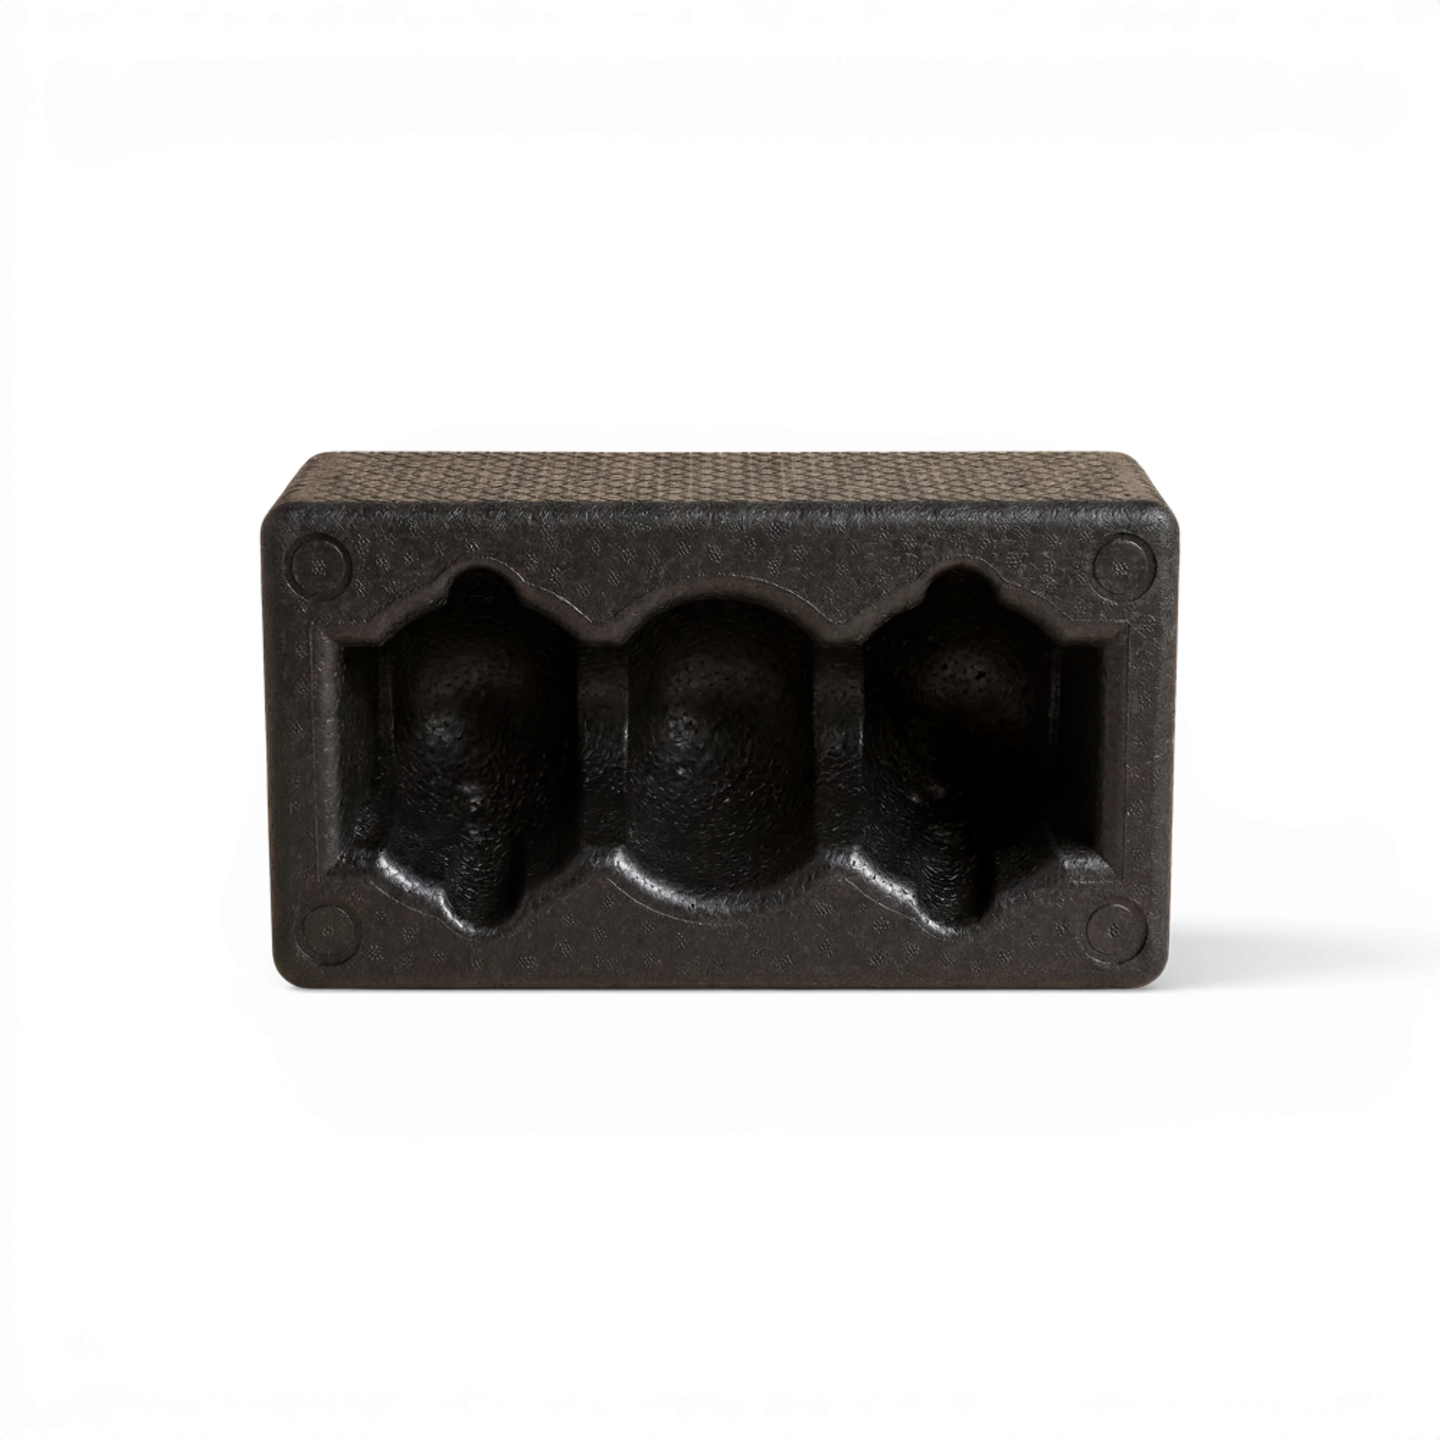
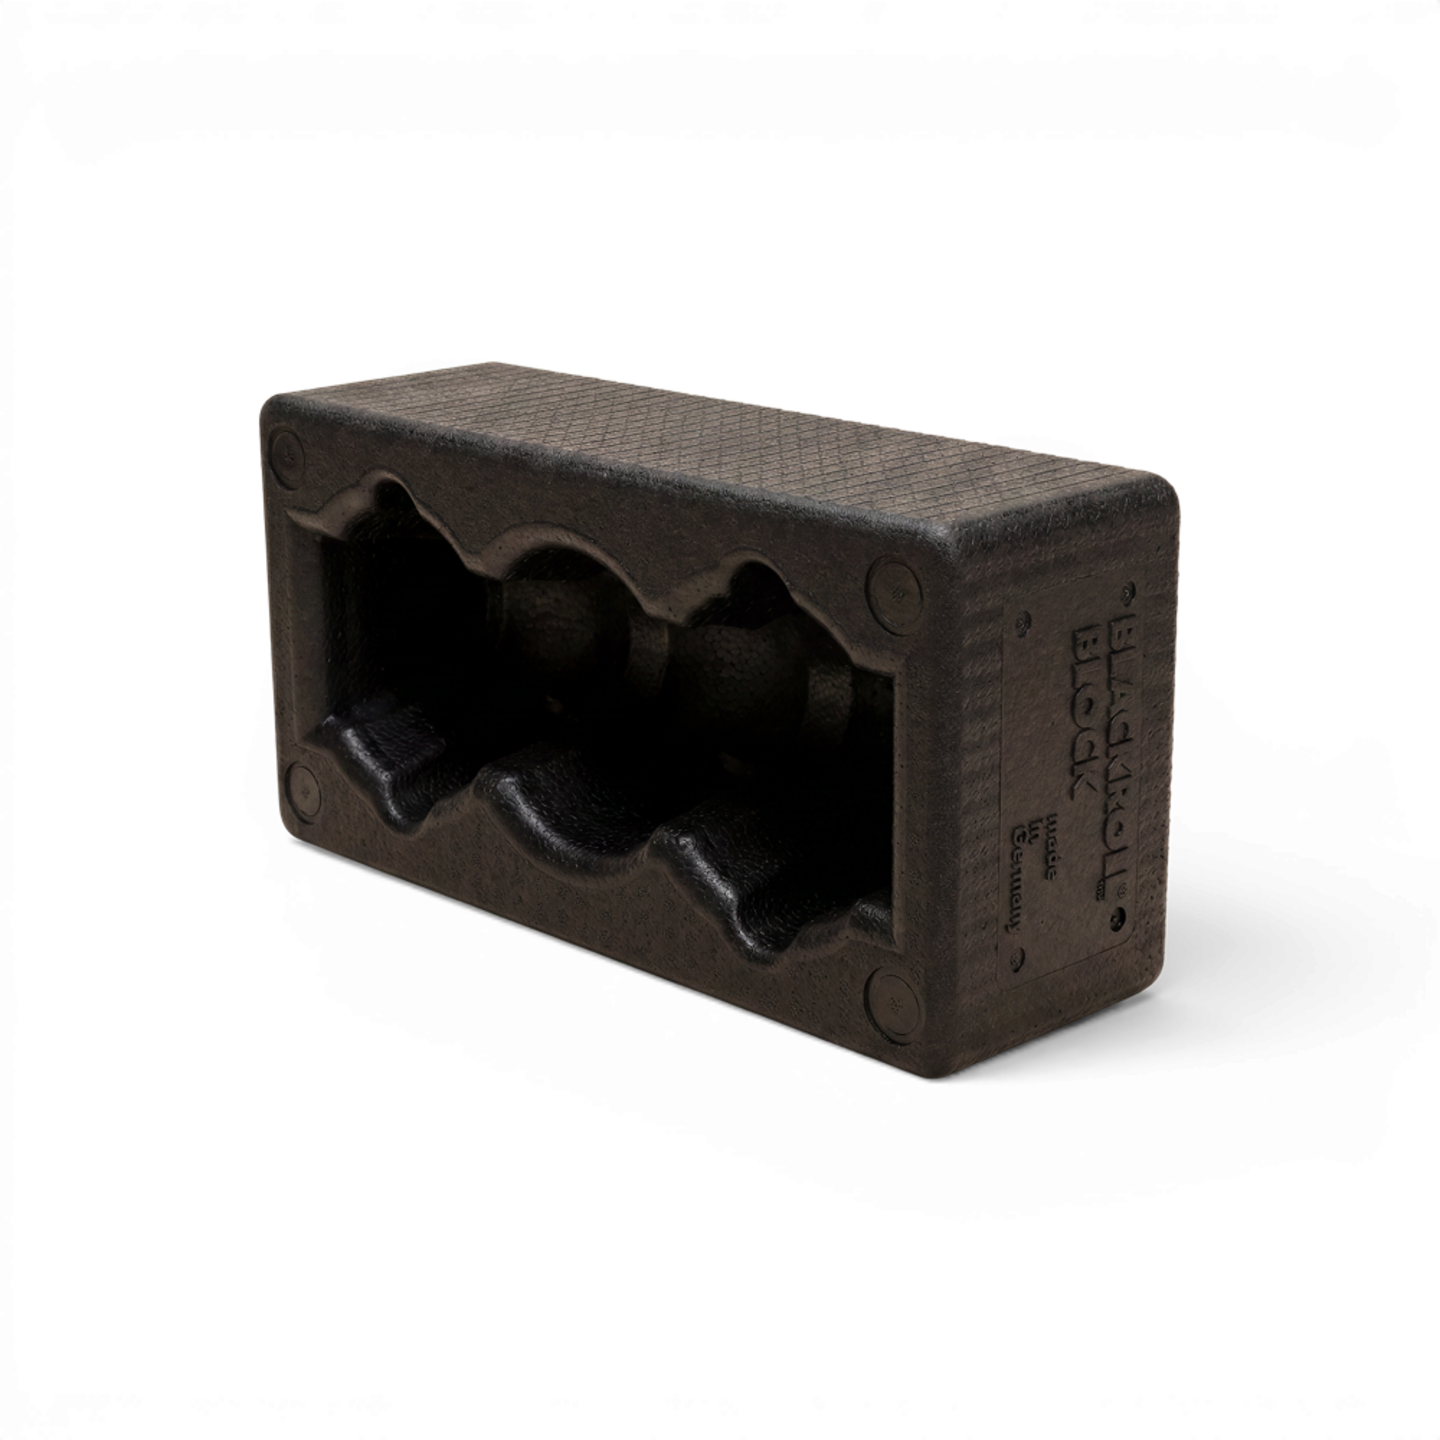
Shin Splints Exercises with the BLACKROLL® TRIGGER
If you have a TRIGGER at home, we’ve put together three complementary shin splint exercises below that you can use to release deep-seated tension in the muscles of your lower leg.
Locate any painful spots and hold the pressure on them for at least 90 seconds or until you feel the tension noticeably ease.
Trigger Point Massage for the Calf
Trigger Point Massage for the Lower Leg
Place the side of your lower leg on the TRIGGER. Find a tender spot. Stay on the spot. Relax your leg. Focus on your breathing.

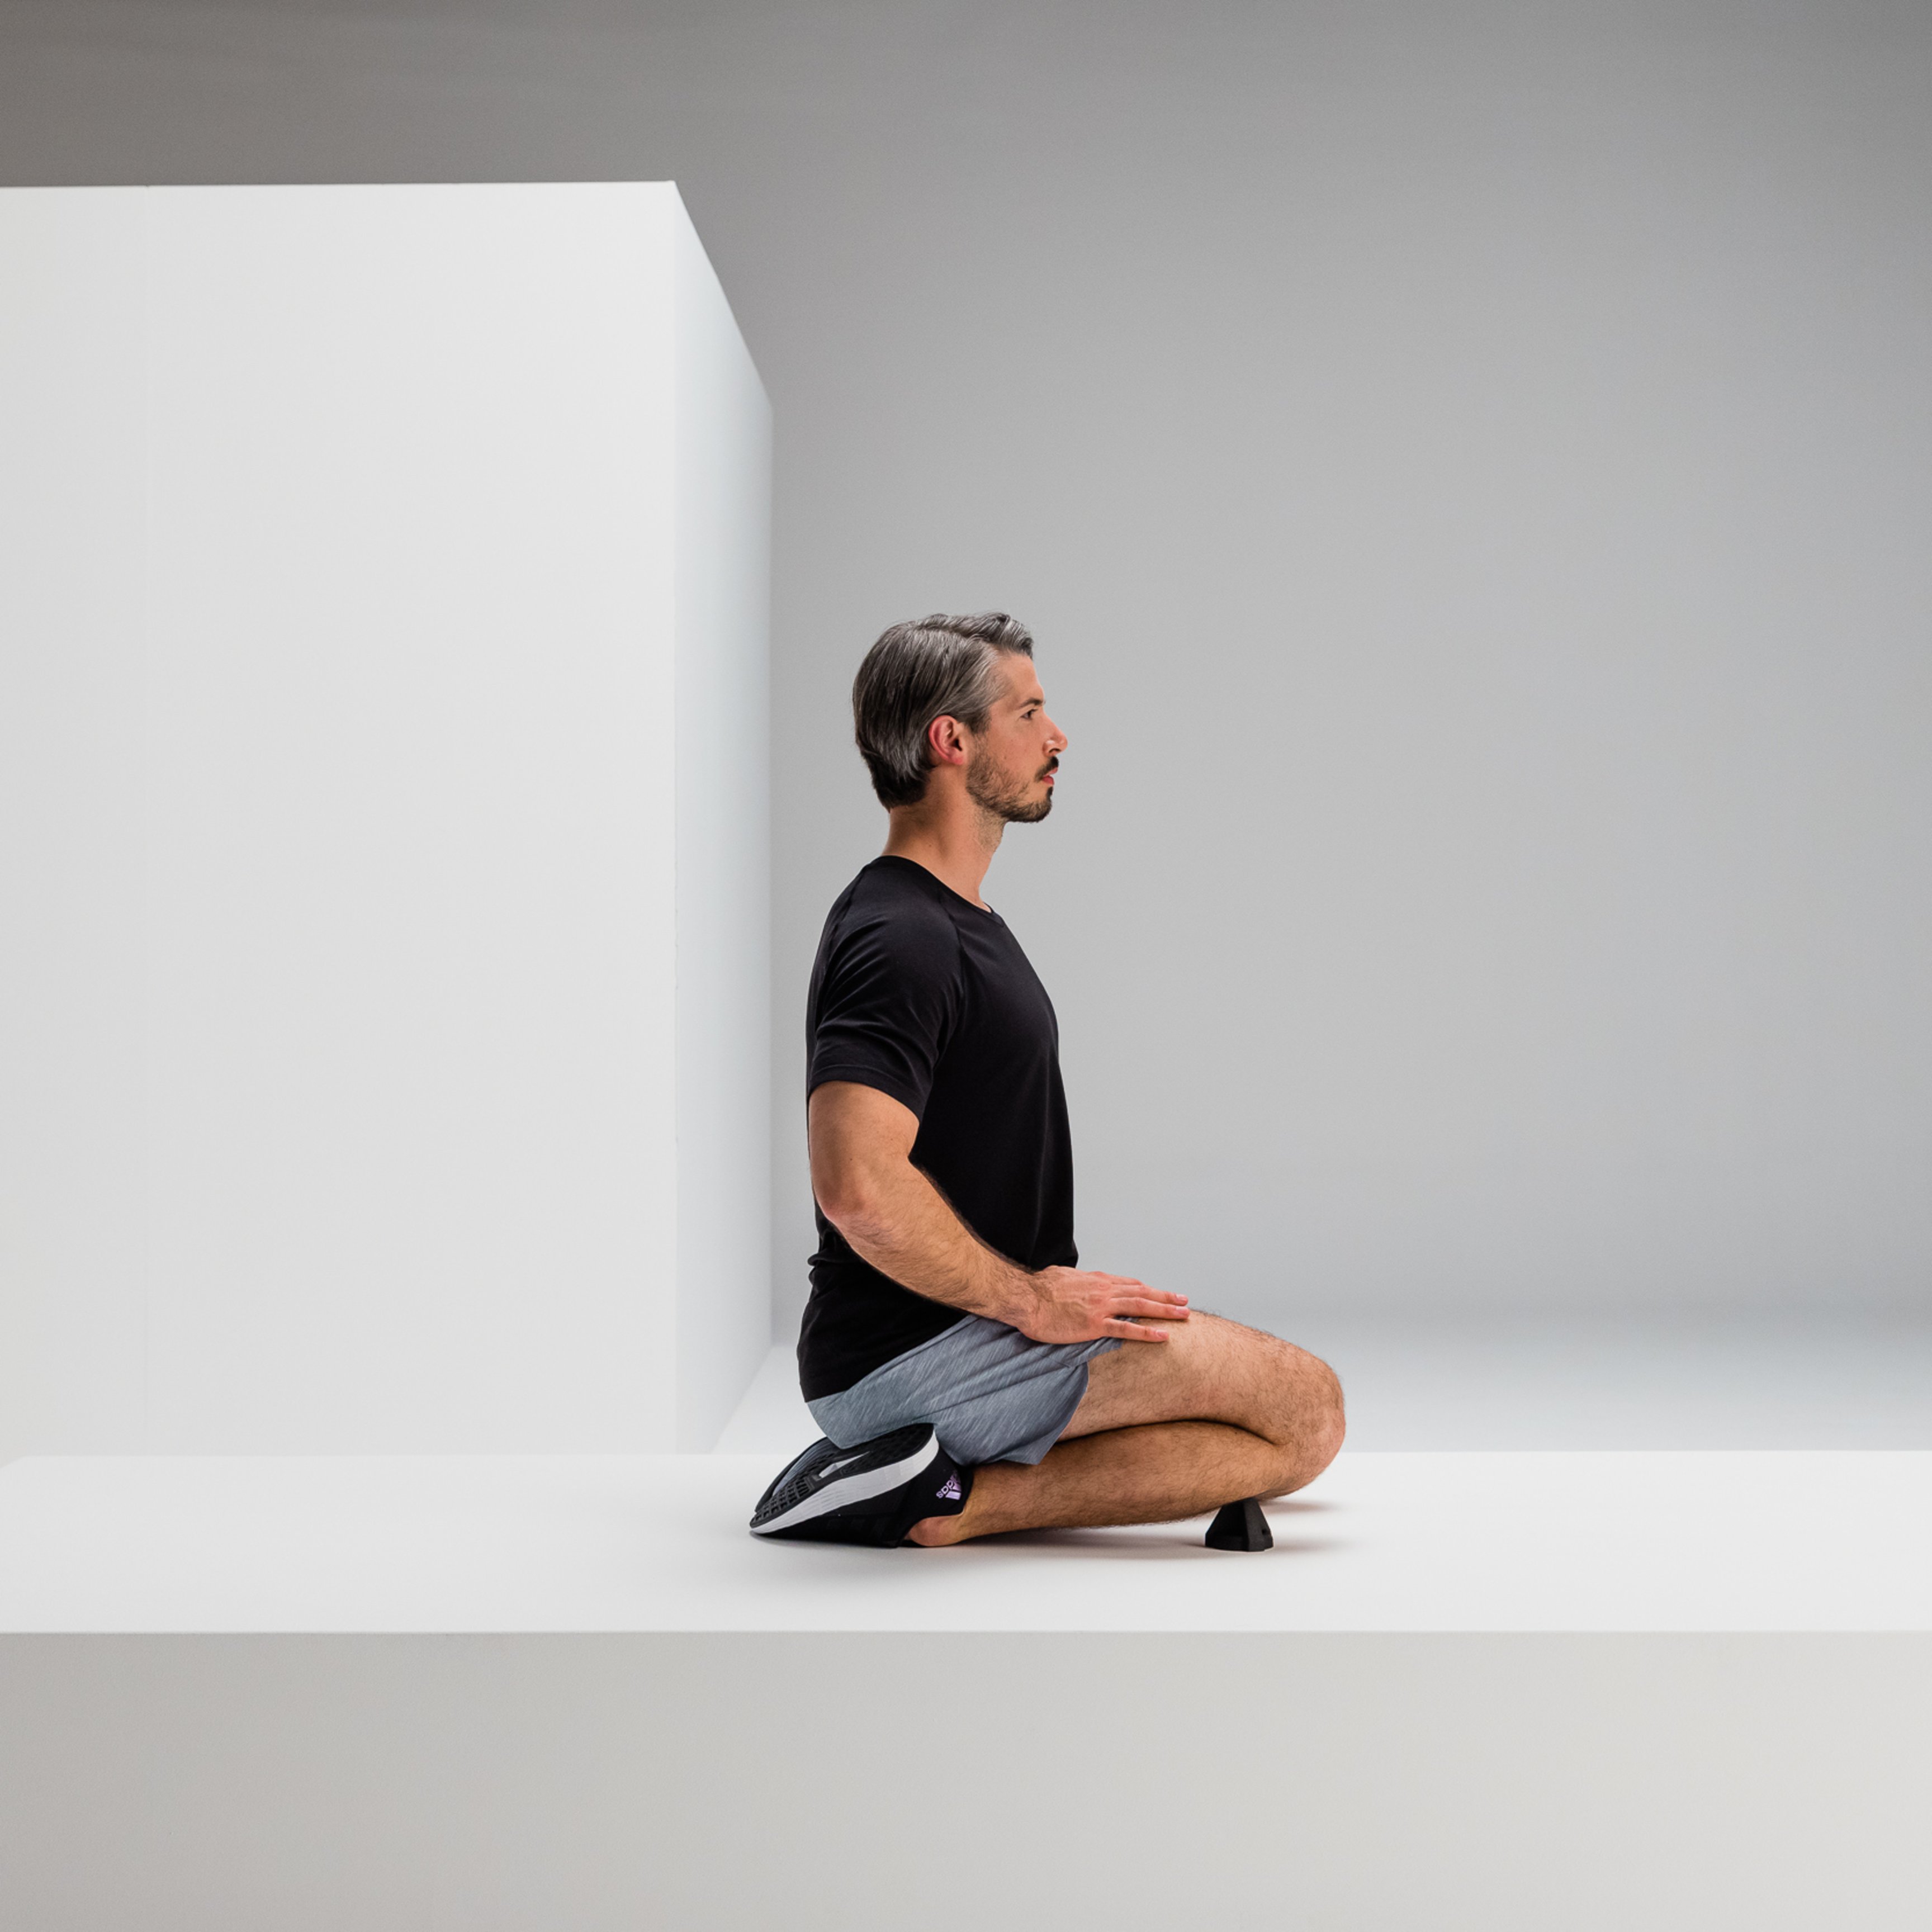
Trigger Point Massage for the Shin
Place your shin muscles on the TRIGGER. Find a tender spot. Stay on that spot. Relax your leg. Focus on your breathing. Move your foot once the initial pain has subsided.
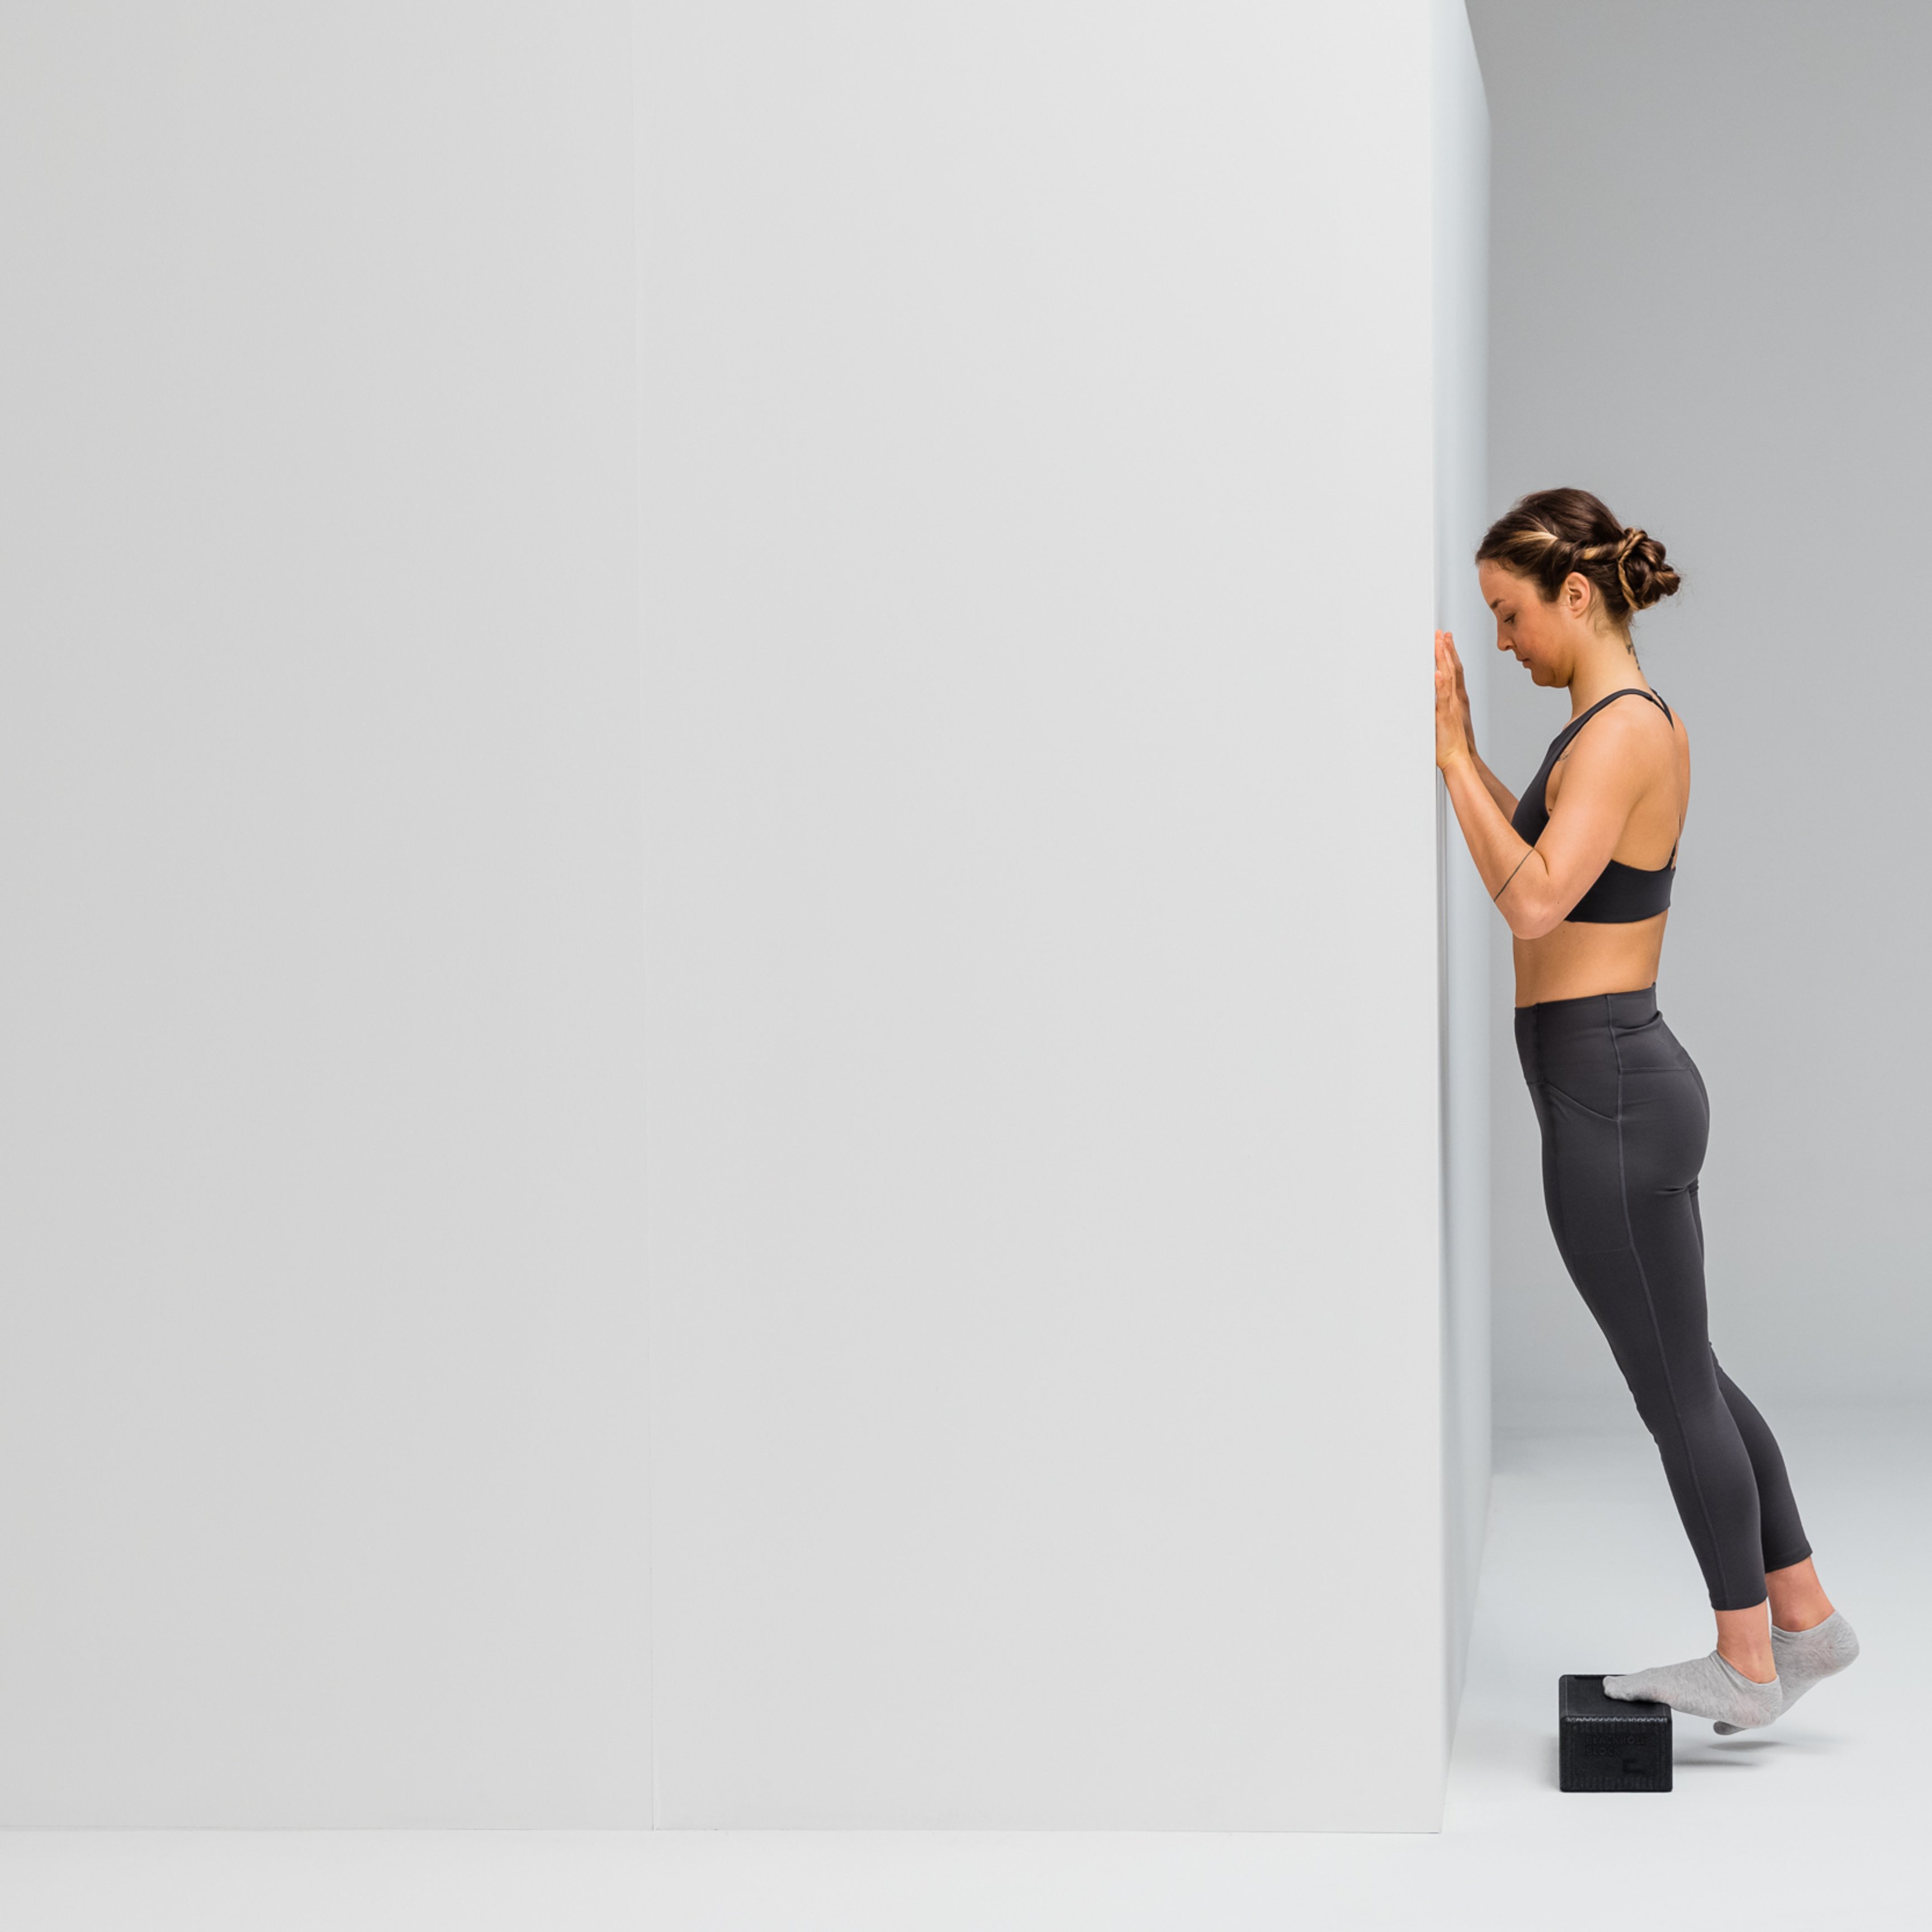
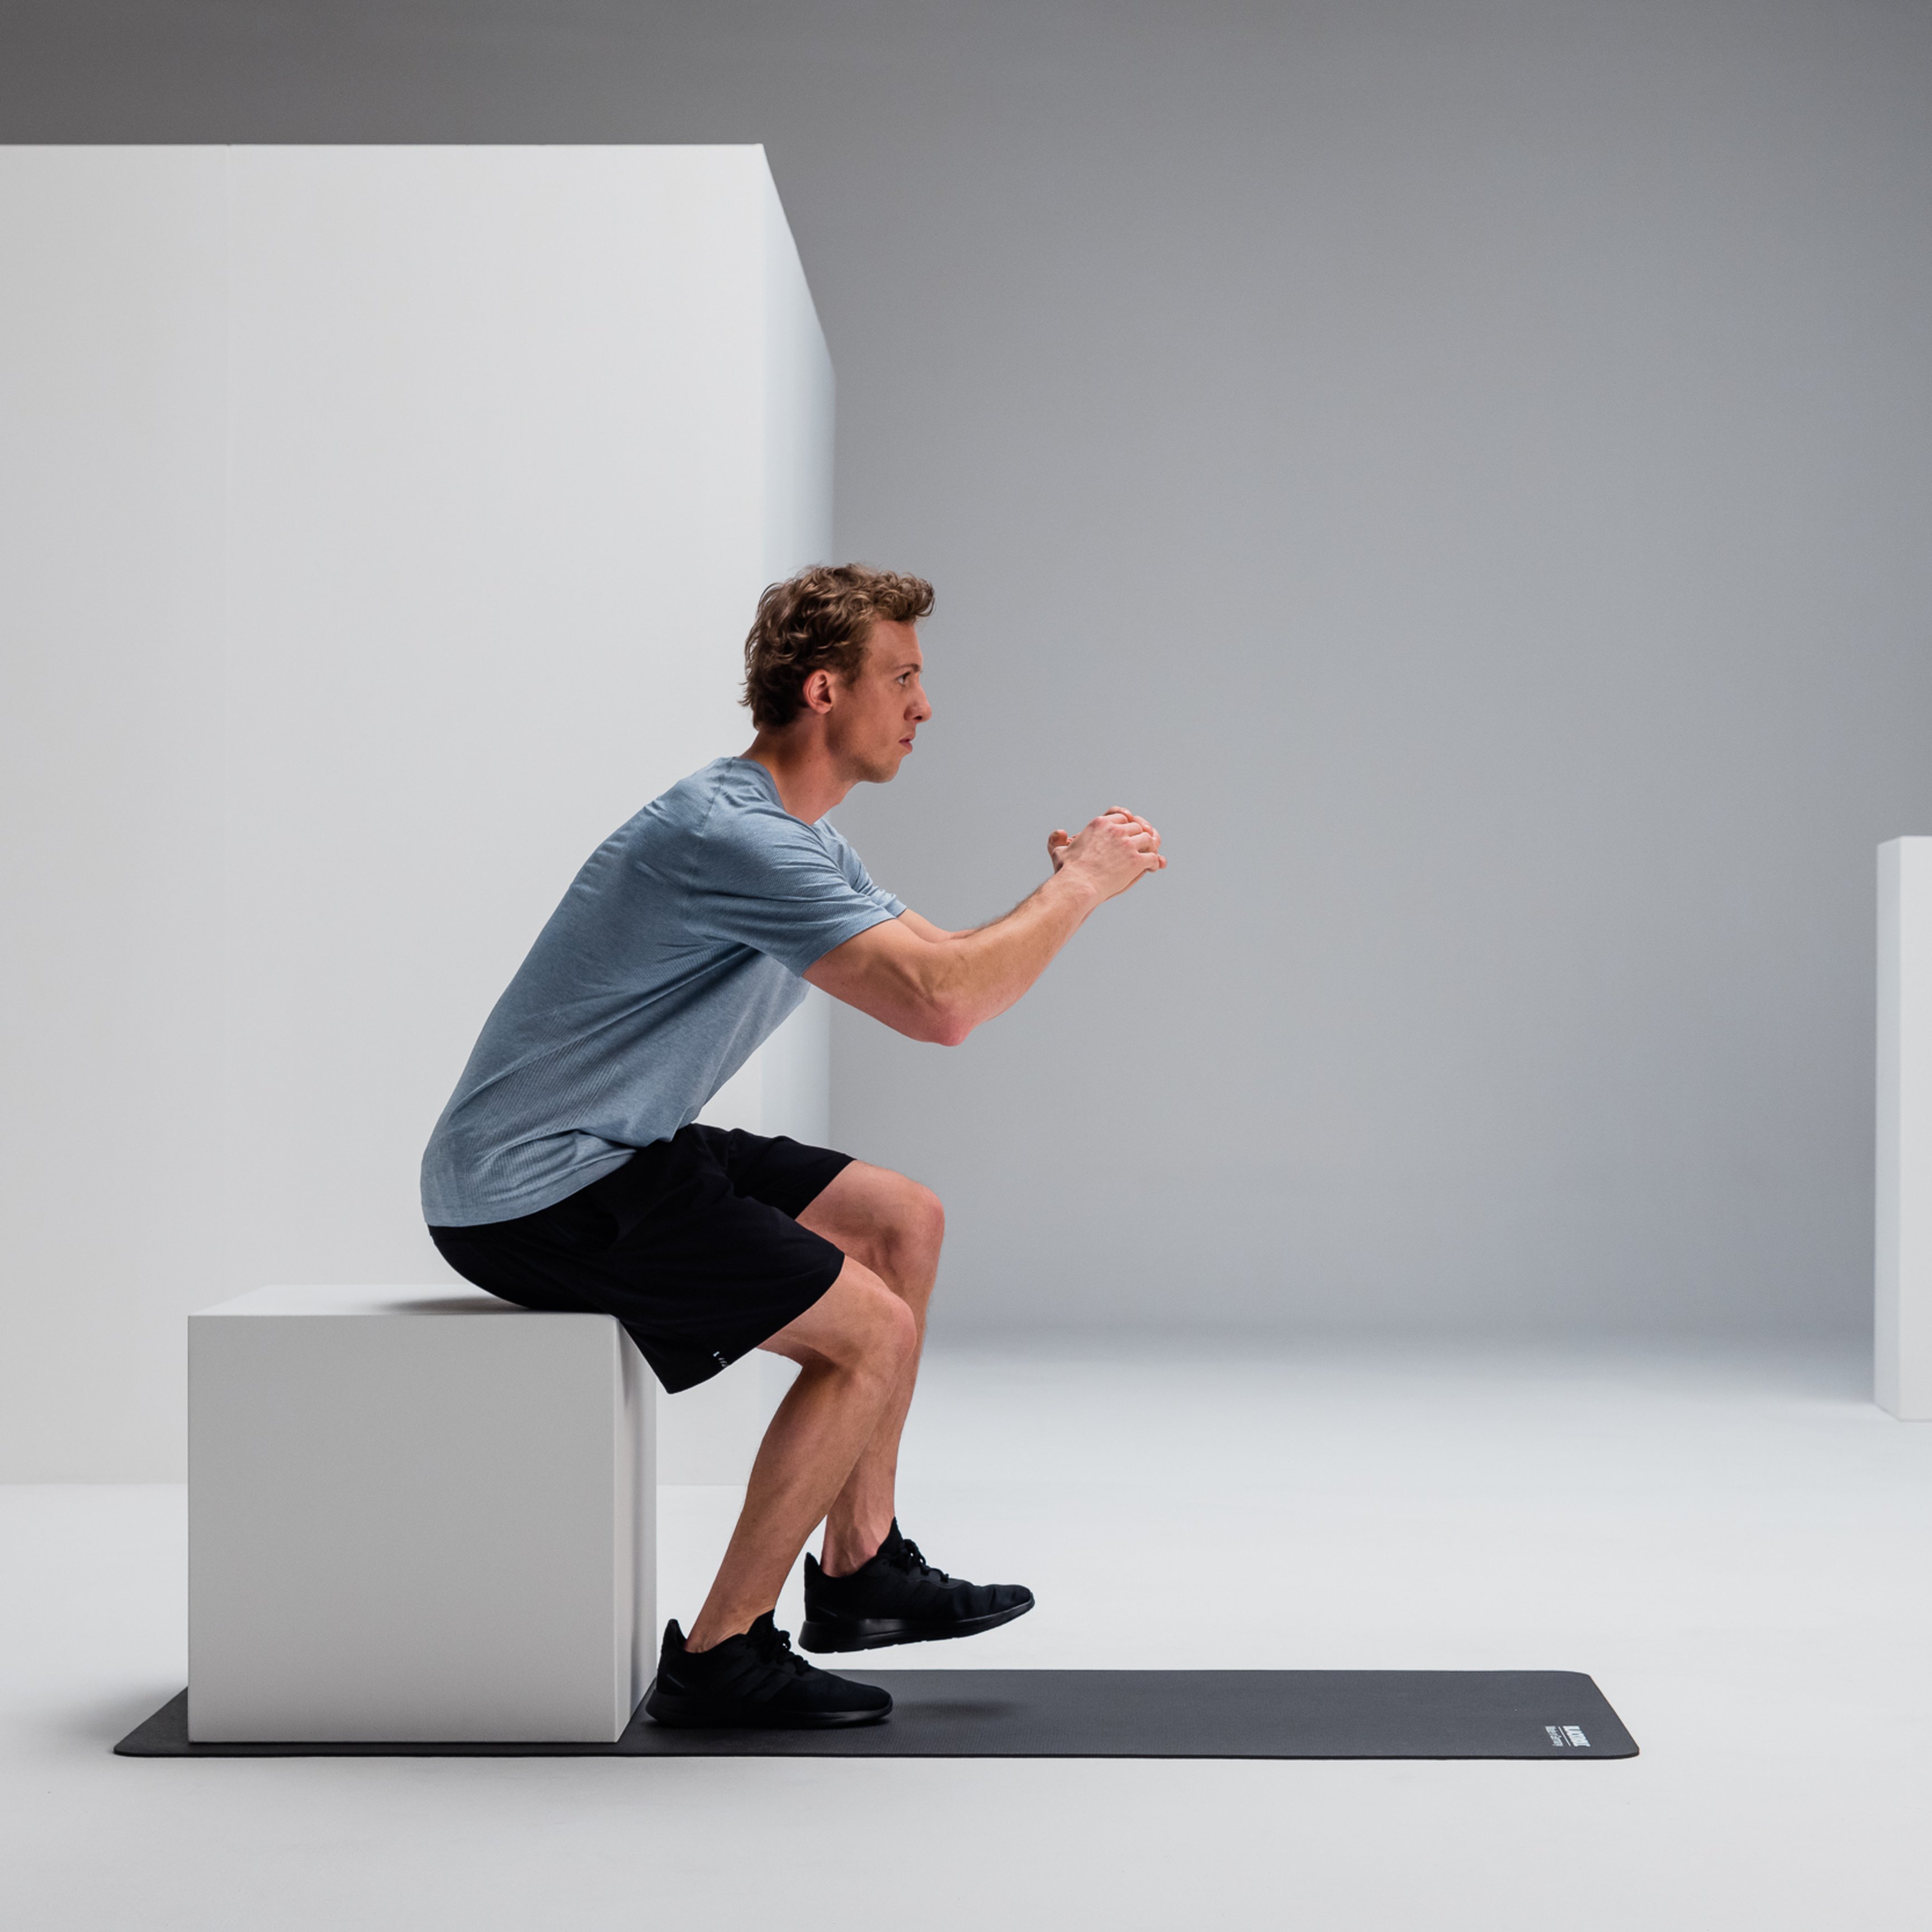
Single-Leg Calf Raise
Stand with the ball of one foot on the BLOCK in front of a wall. Your heel should be suspended in the air. Push yourself up into a toe stand. Slowly and controlledly lower your heel back down. If you find the exercise difficult, stand with both balls of your feet on the BLOCK. This puts less strain on your calf muscles.
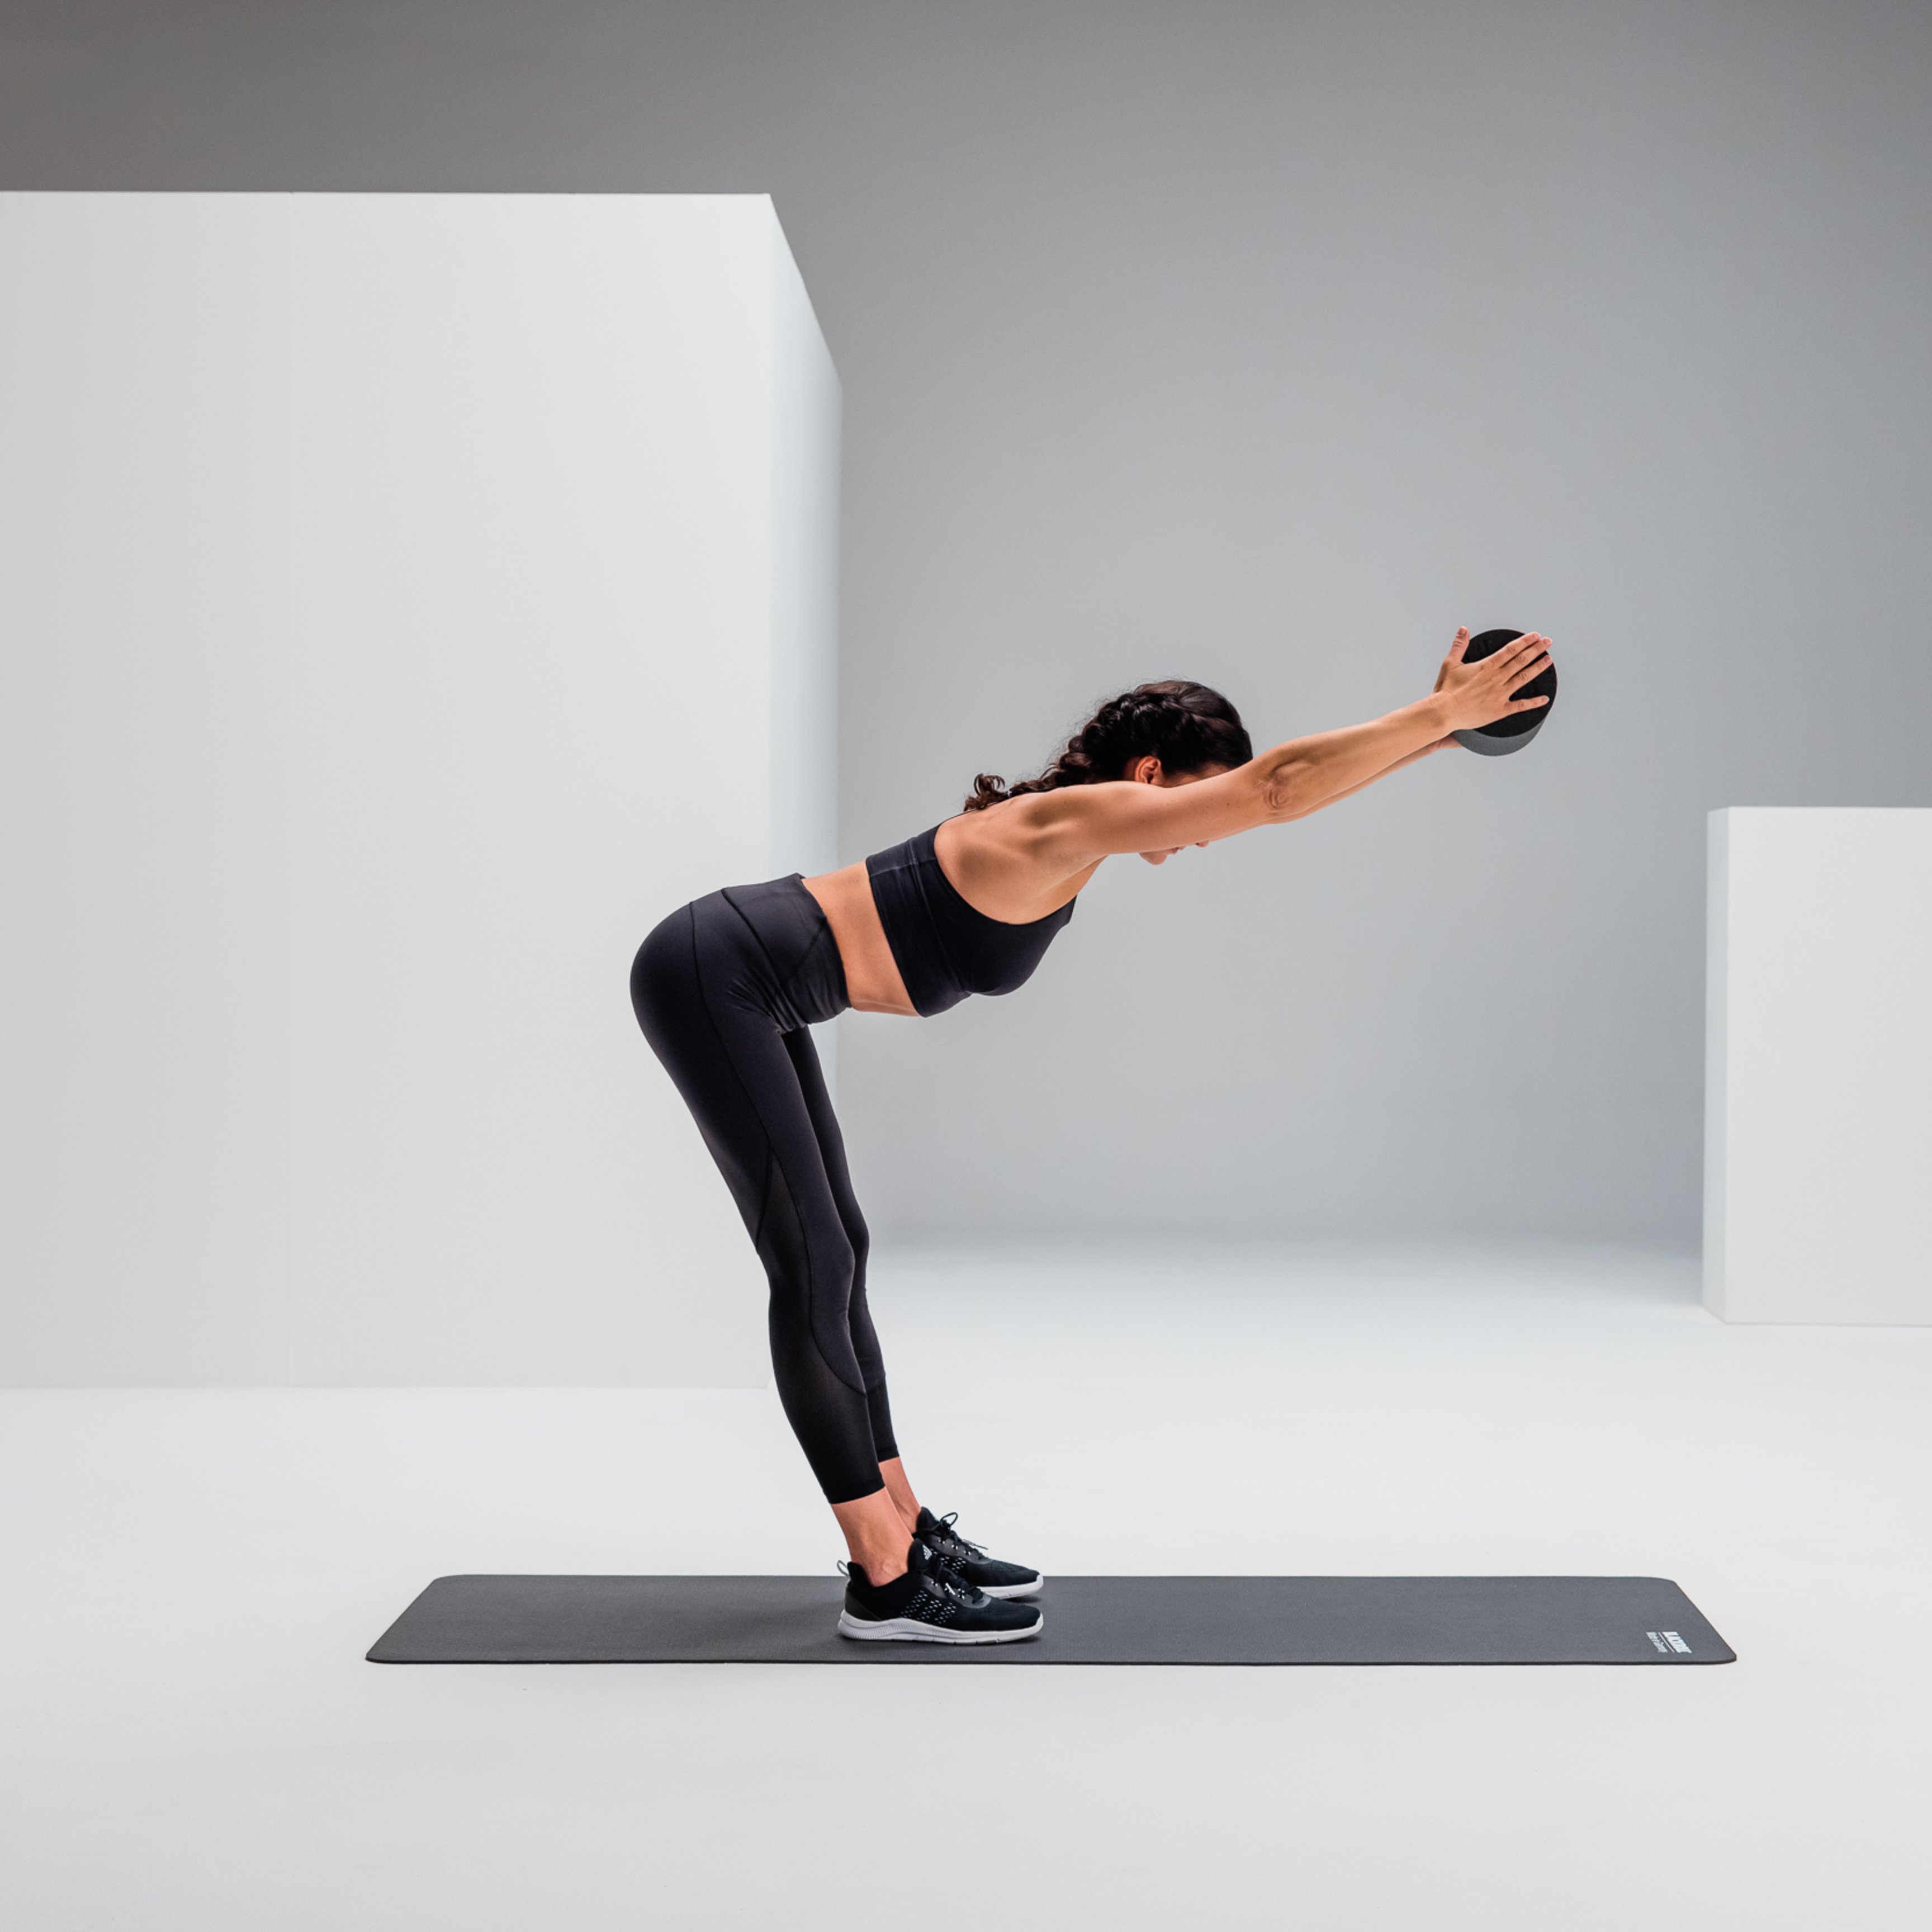
Good Mornings
Start with your feet shoulder-width apart. Keep your knees slightly bent. Hold the BLACKROLL between your hands, which are extended overhead. Push your pelvis back. Lean forward with a straight back. Return to the starting position. Bend your upper body forward until you feel a stretch in the back of your thighs.
Lunge
Start in a lunge position. Place your back foot on the BLACKROLL. Keep your upper body upright. Slowly lower your hips toward the ground. Your front knee should form a right angle. Move back to the starting position. Make sure your front knee is directly above your ankle and that your upper body doesn’t lean forward. If you don’t have a BLACKROLL handy, you can of course do this exercise without one.
Front Squat
Stand with your feet hip-width apart on the SUPER BAND. Place the other end on your shoulders. Cross your hands. Keep your upper body upright. Bend your knees as deeply as possible. Return to the starting position.
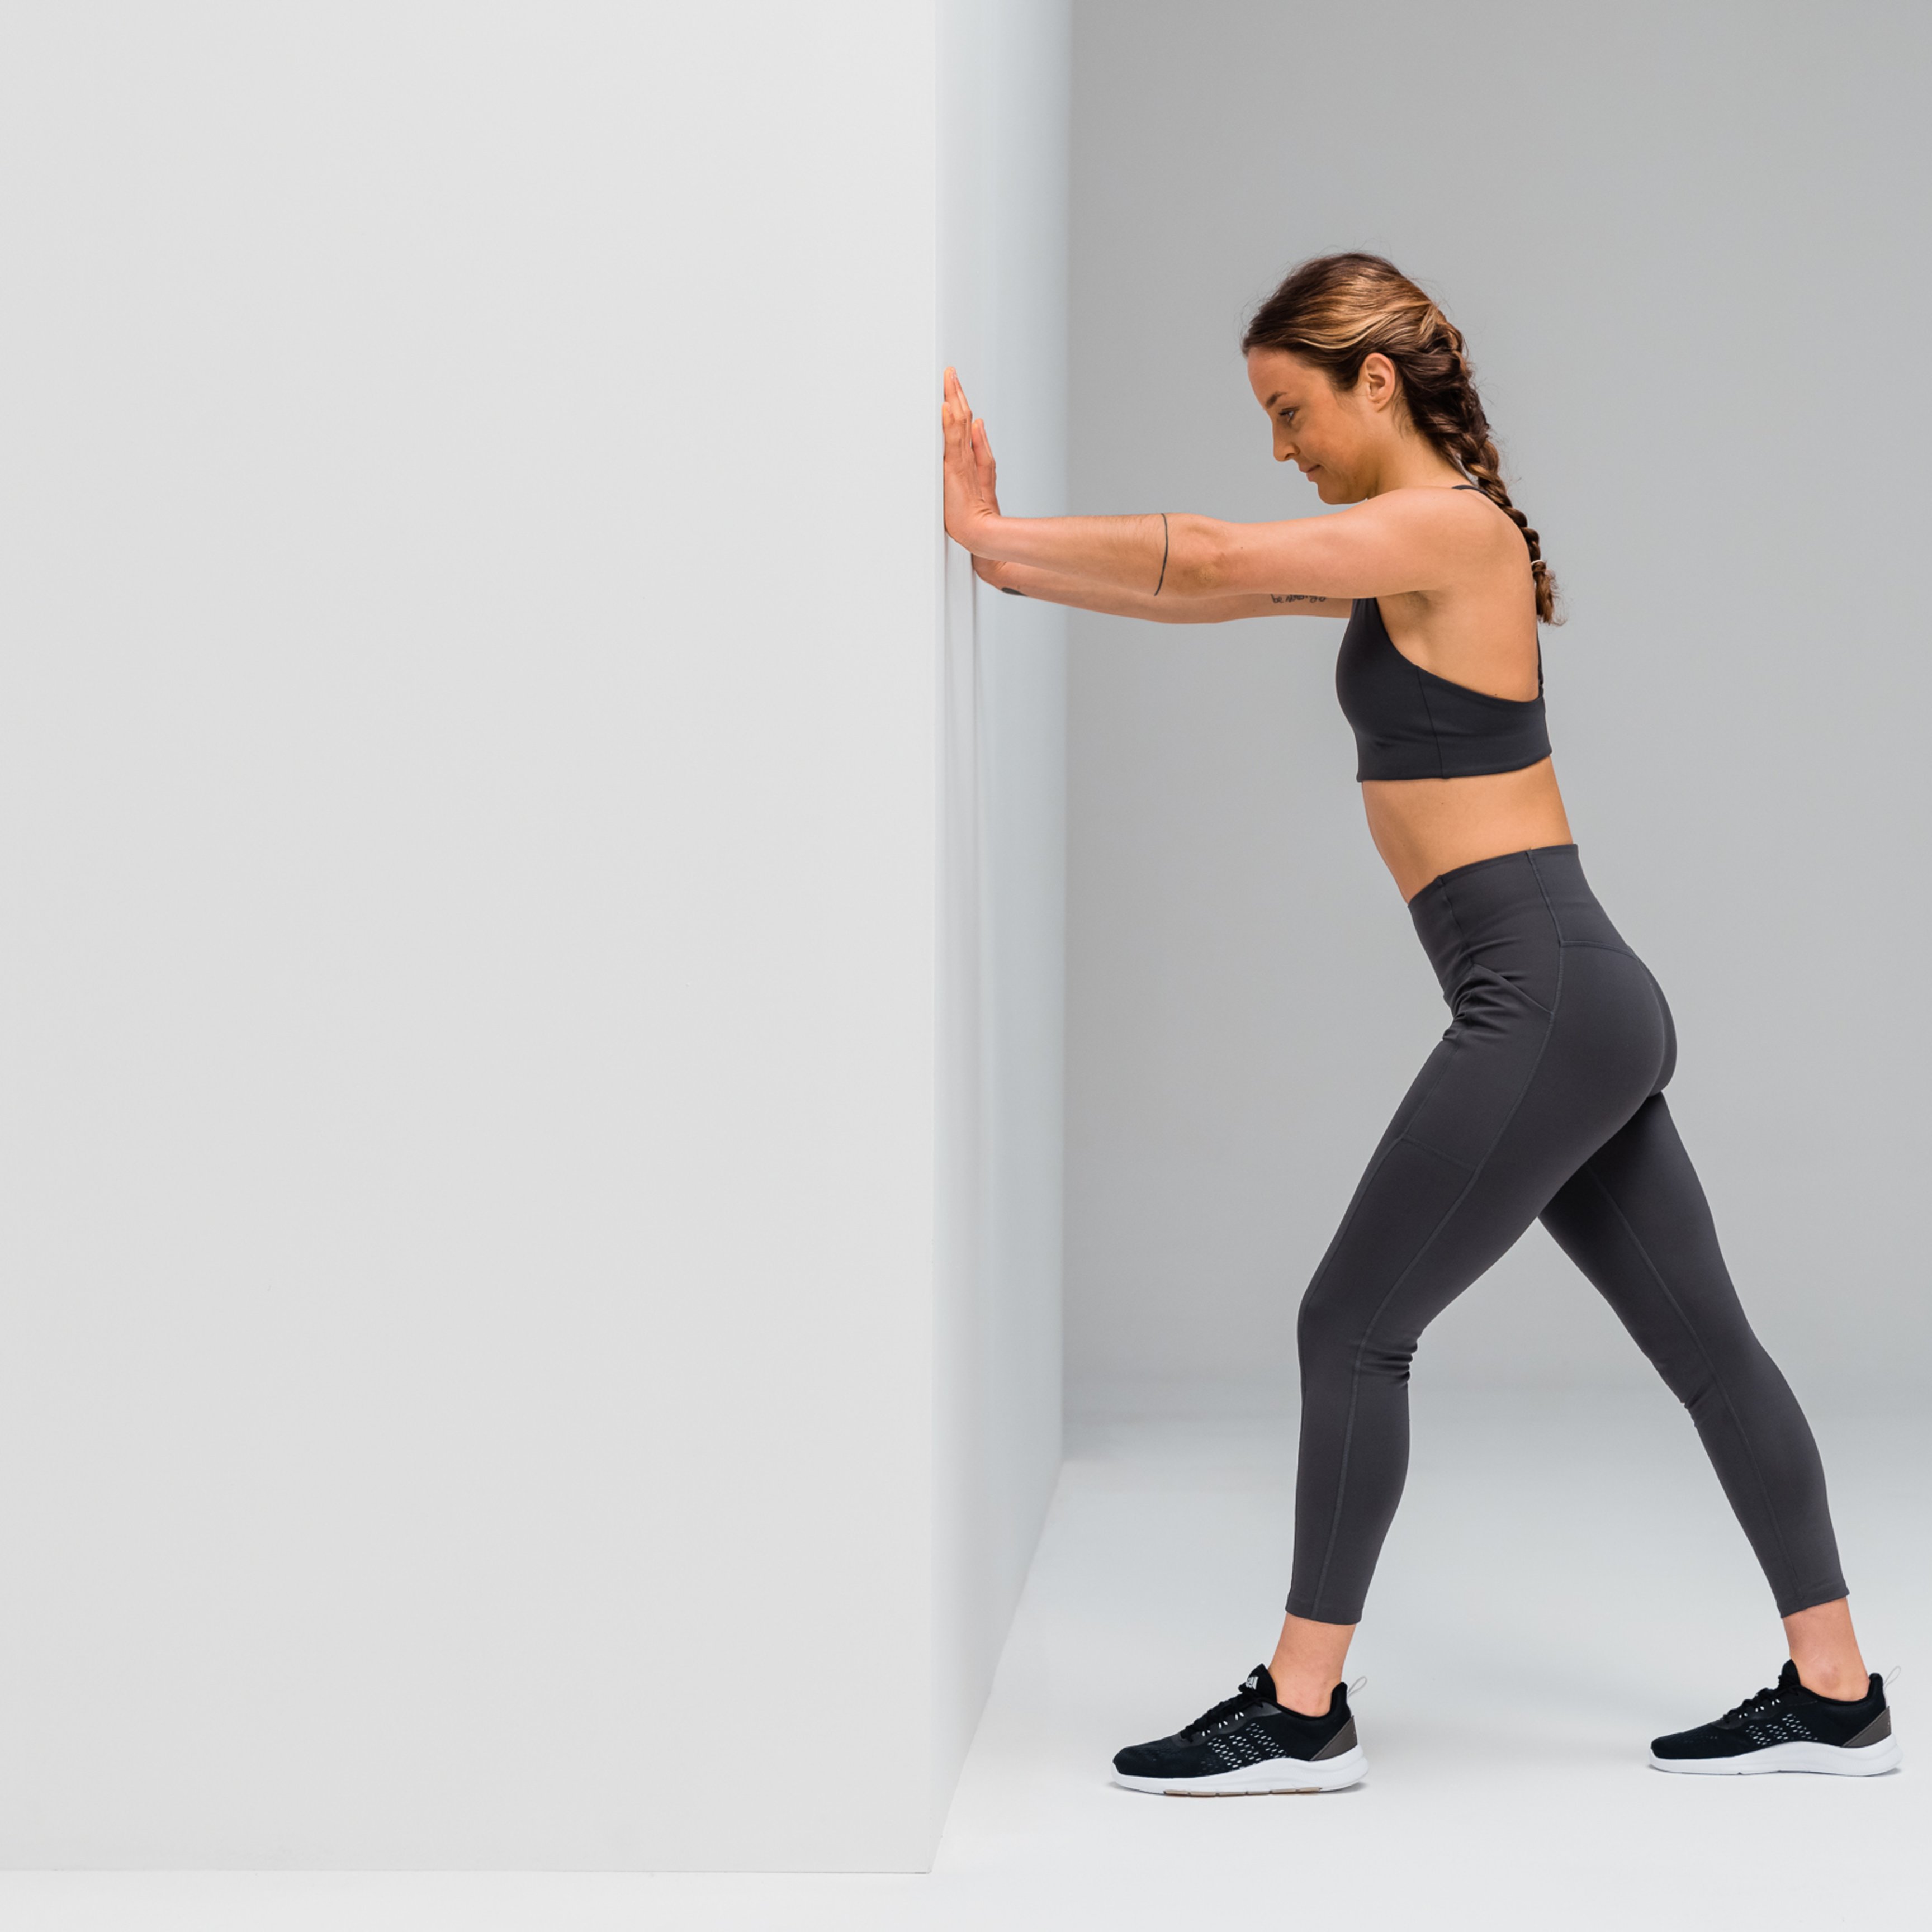
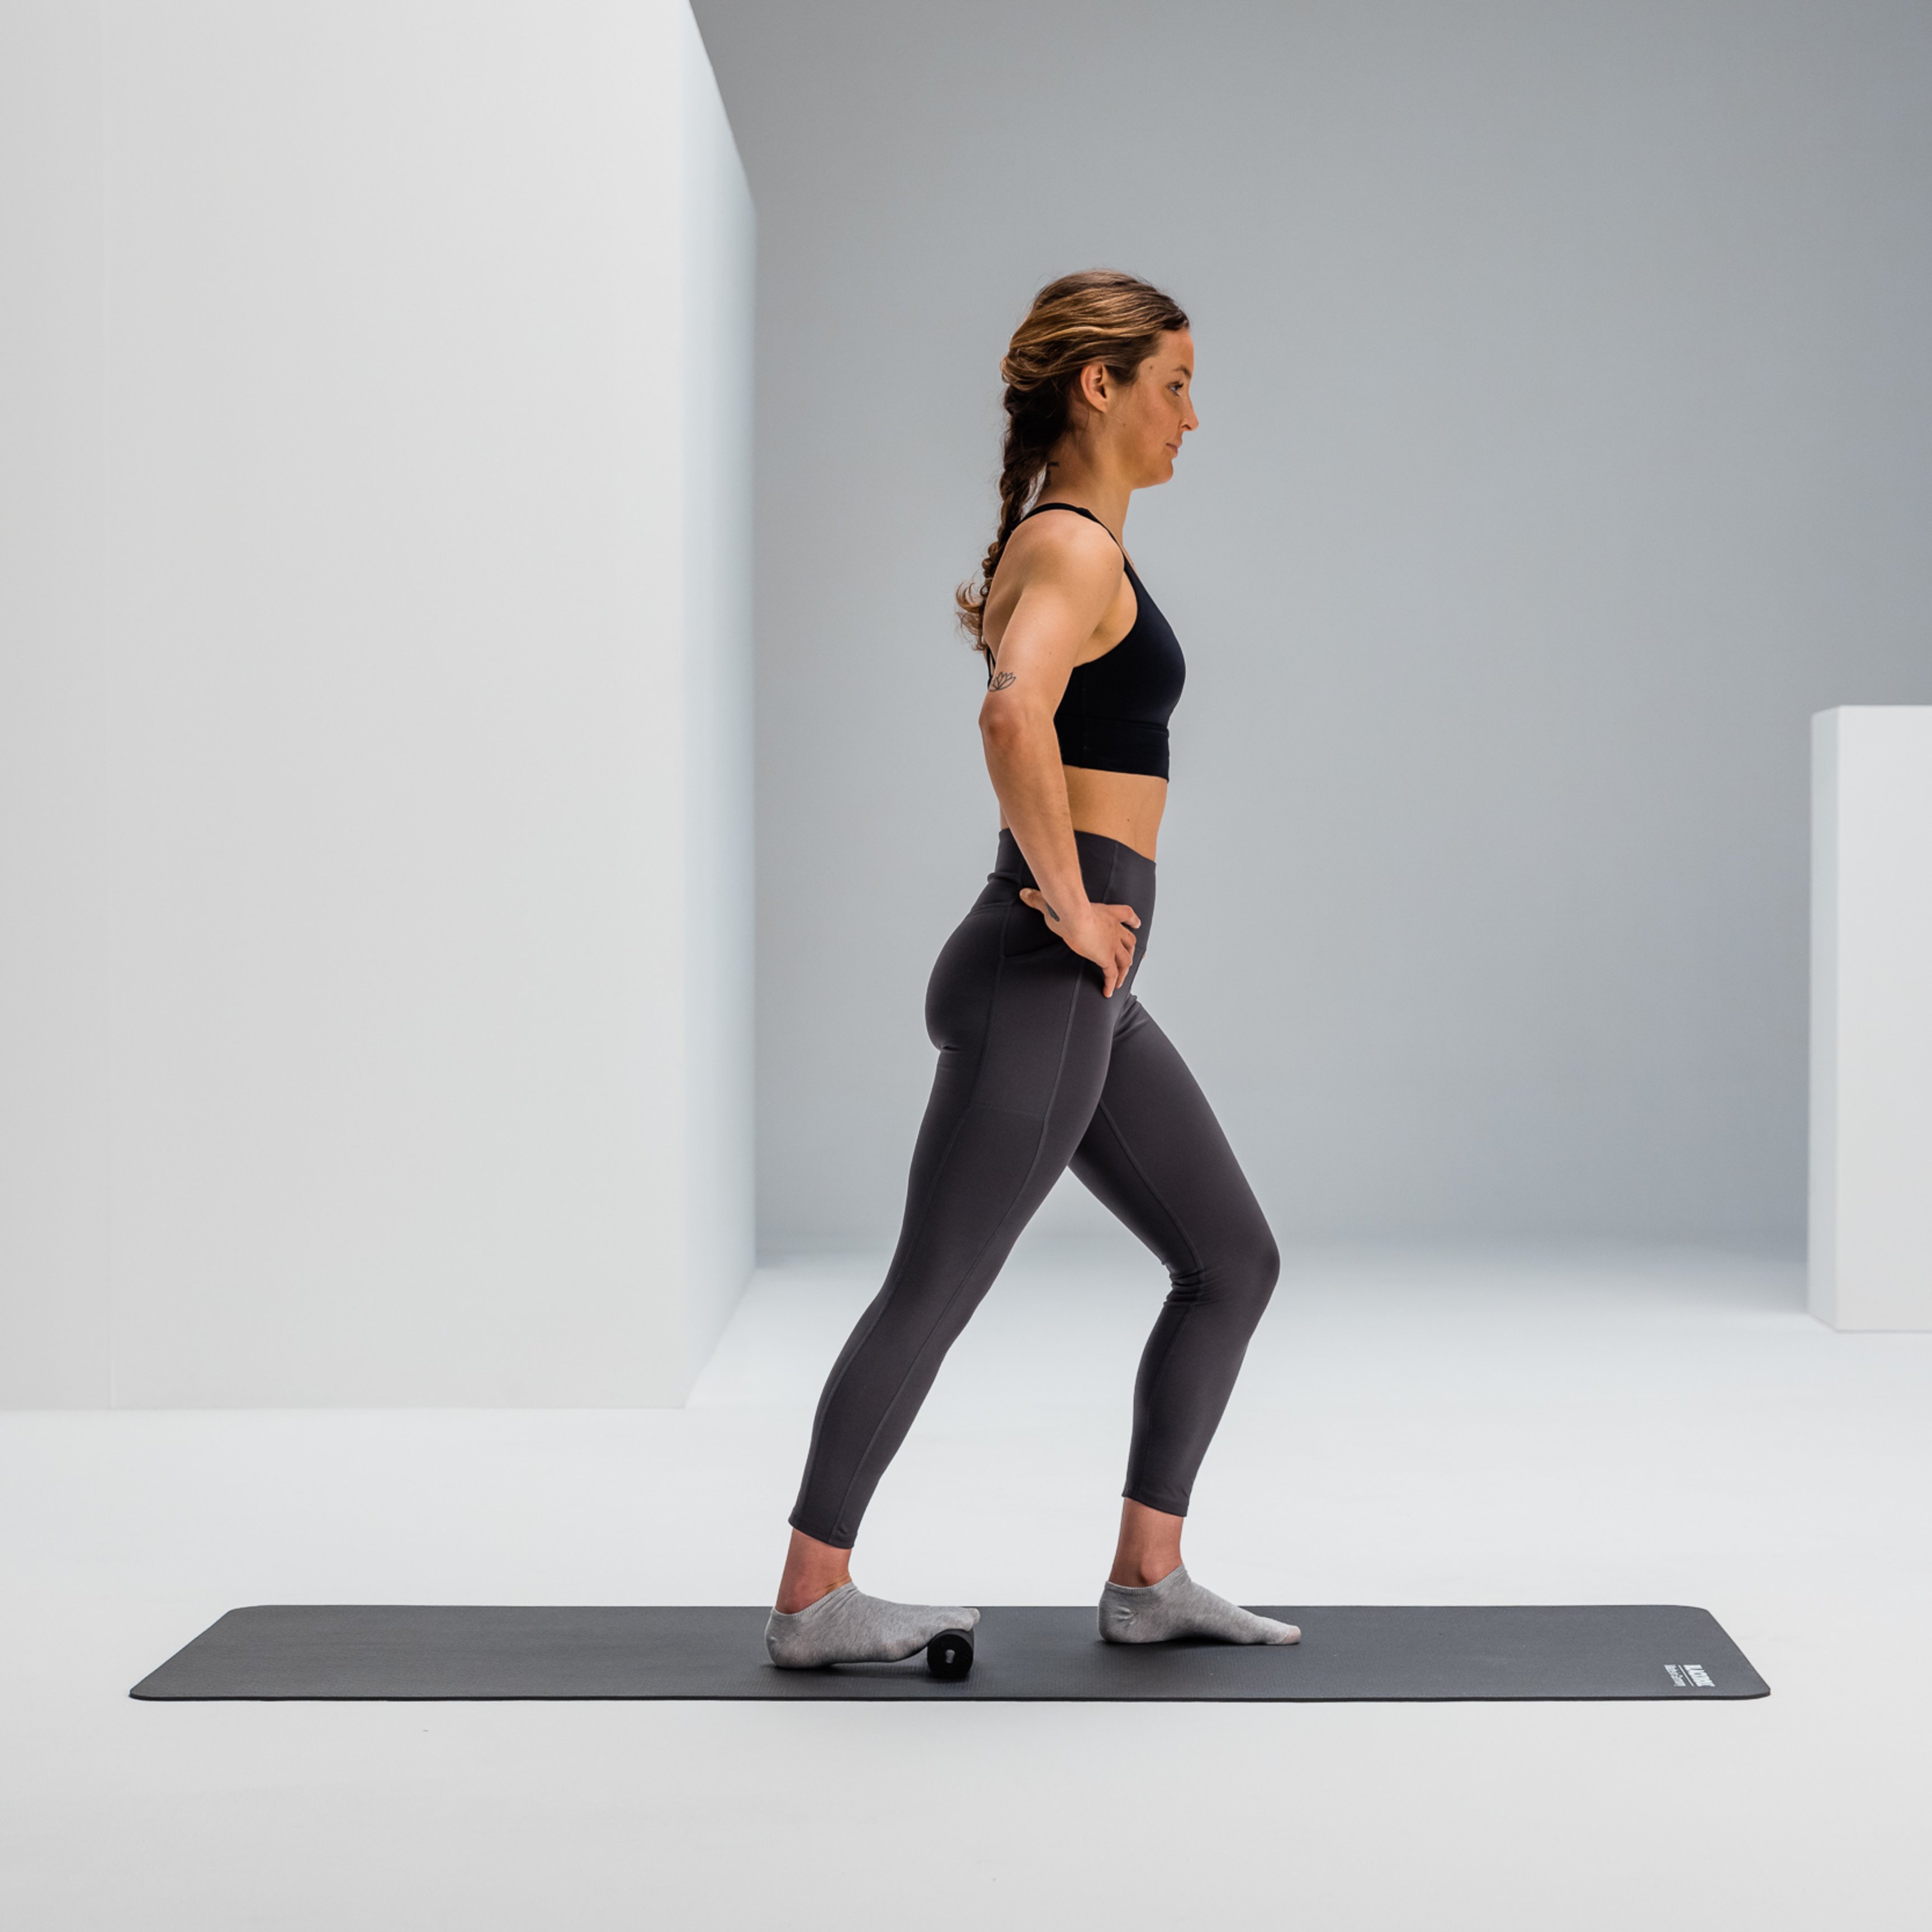
Calf Stretch
Stand in a lunge position facing a wall. Support yourself with your hands. Shift your body weight onto your front leg. Make sure the entire sole of your back foot is flat on the floor. Keep your back knee straight.
Calf Stretch with Our Mini
Start in an upright standing position. Place the ball of your foot on the foam roller. Keep your heel on the floor and your knee straight. Shift your weight forward. This will increase the stretch in the sole of your foot and your calf muscles. To strengthen the muscles while stretching them, press the sole of your foot into the roller. Release the tension. Go a little further into the stretch.
Among other things, stretching your ankle joint can also help prevent such an injury.
Ankle Mobilization
Place the ball of your foot on the MINI. Push your knee in different “directions” beyond the tip of your foot. Keep your heel firmly on the floor the whole time.
Compression stockings or our compression boots can also help prevent shin pain and general leg pain from occurring in the first place.Some studies suggest that such stockings may be helpful in the prevention or treatment of shin splints.
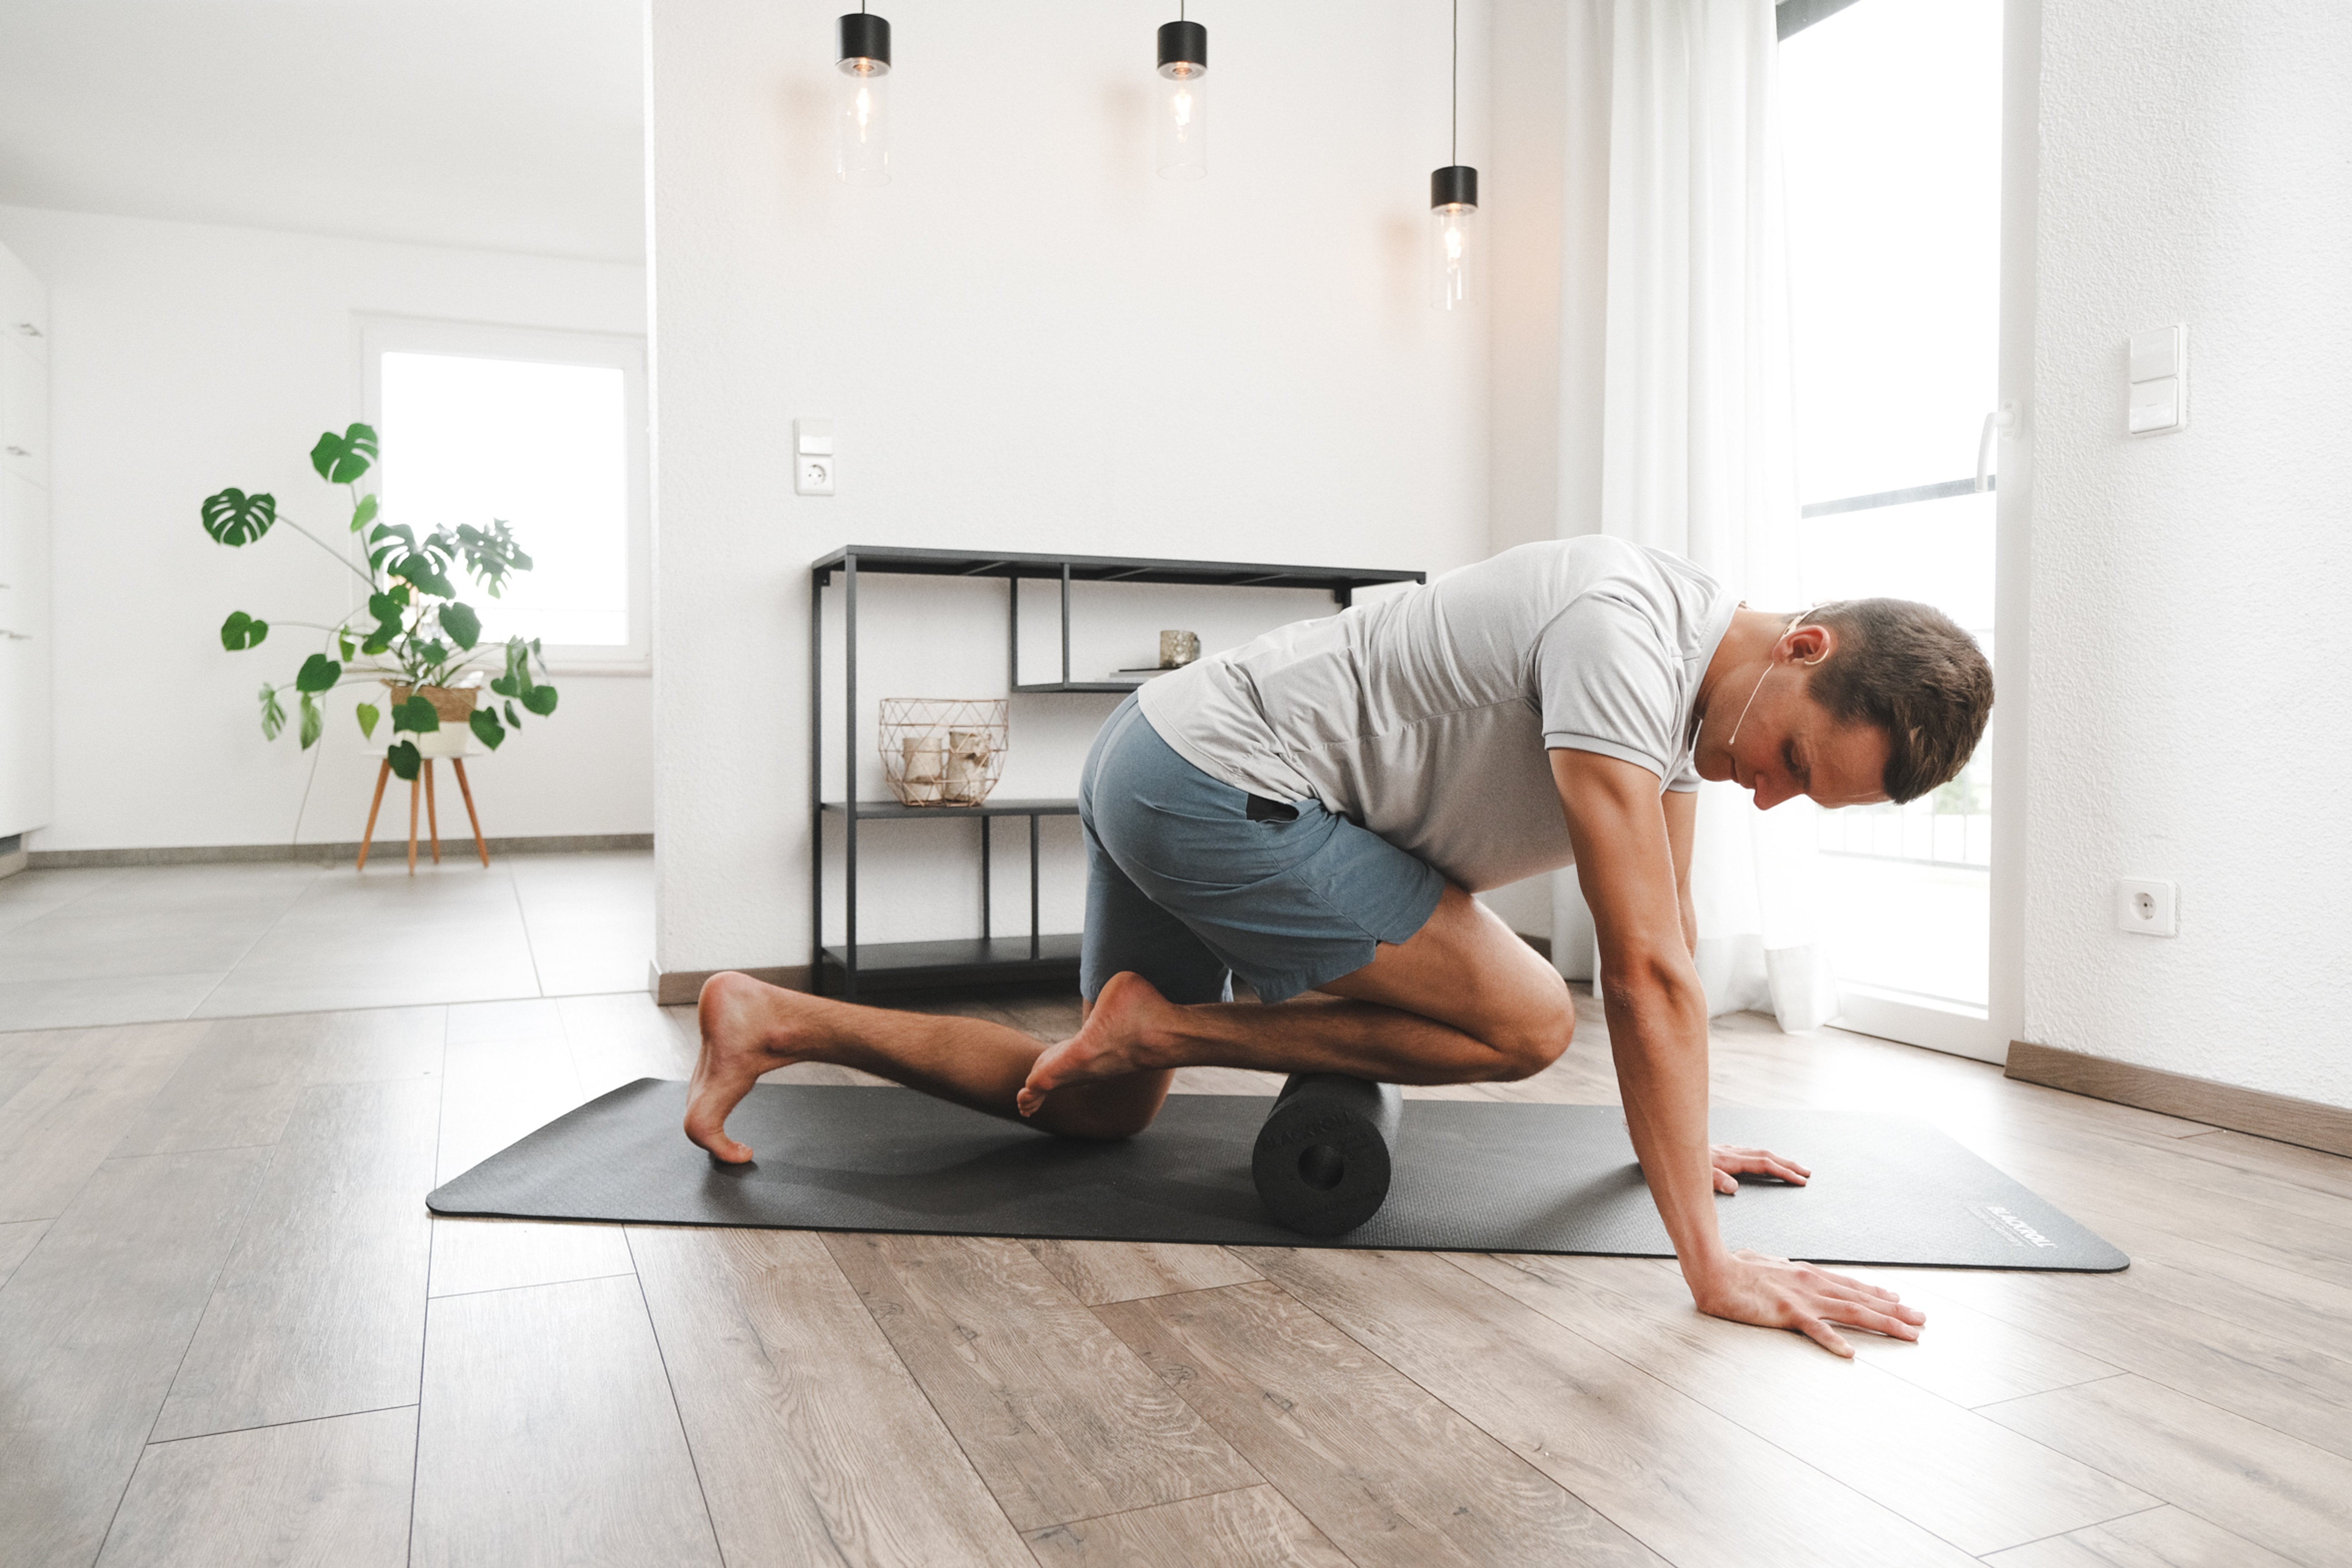
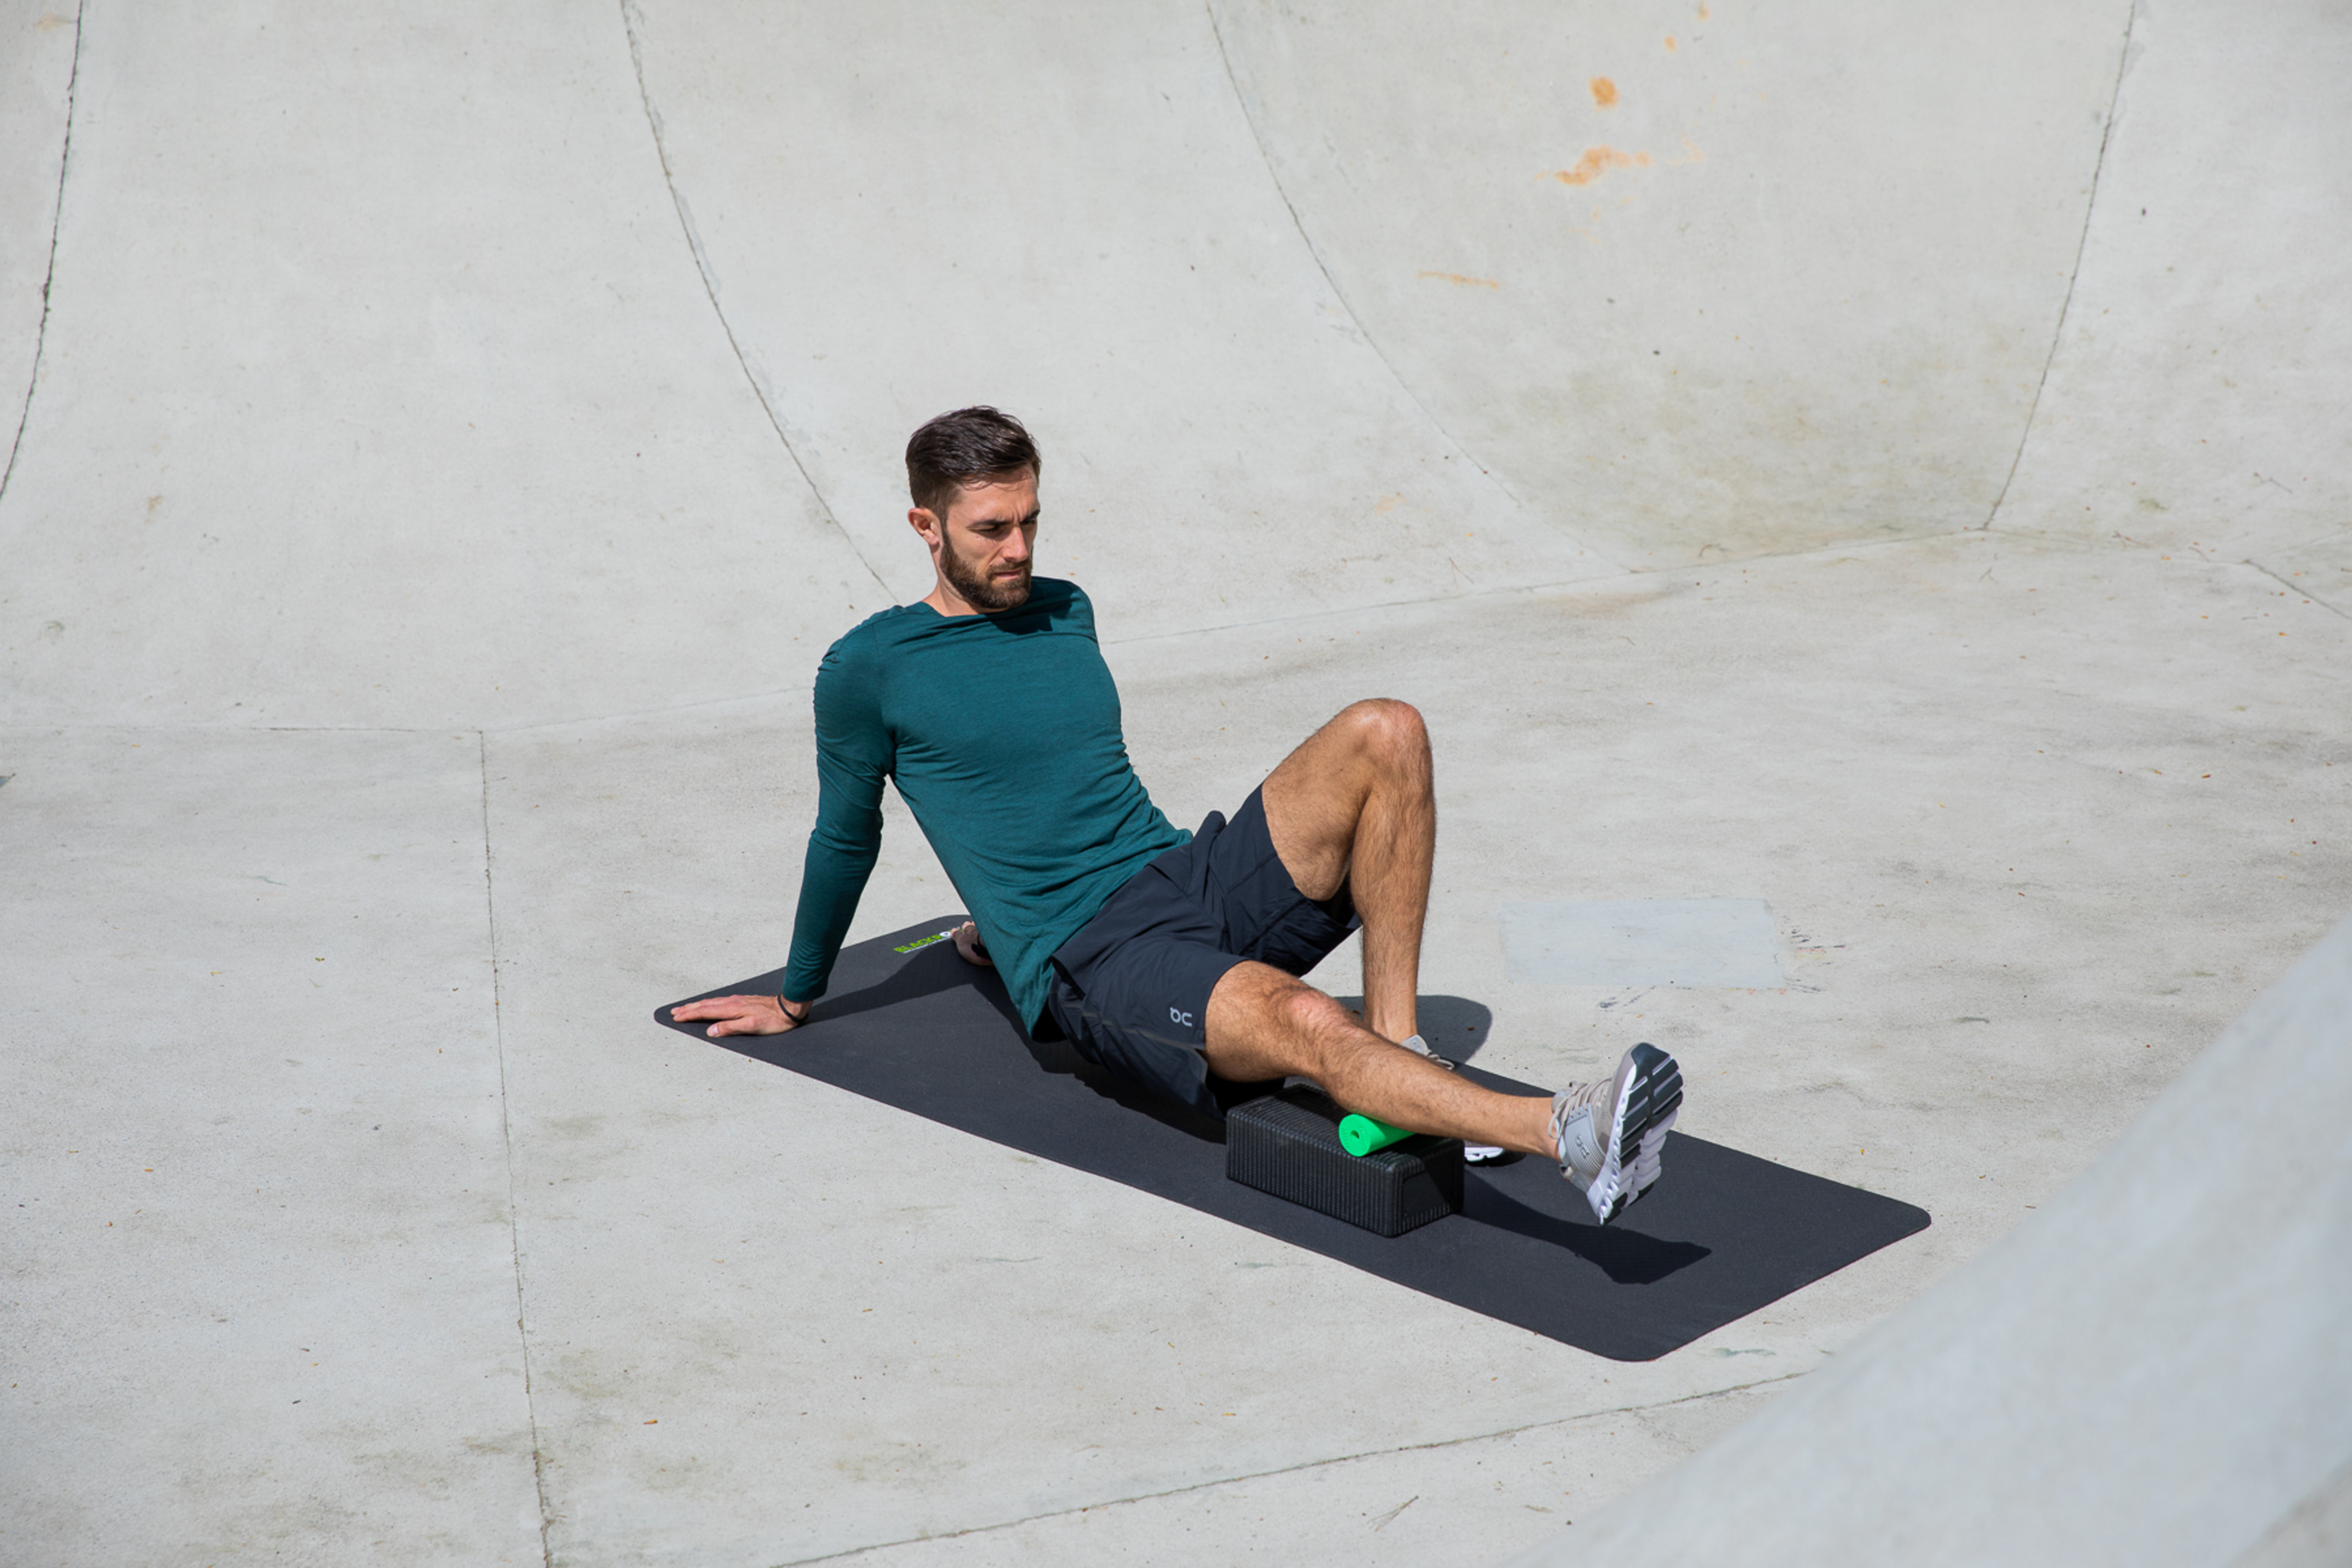
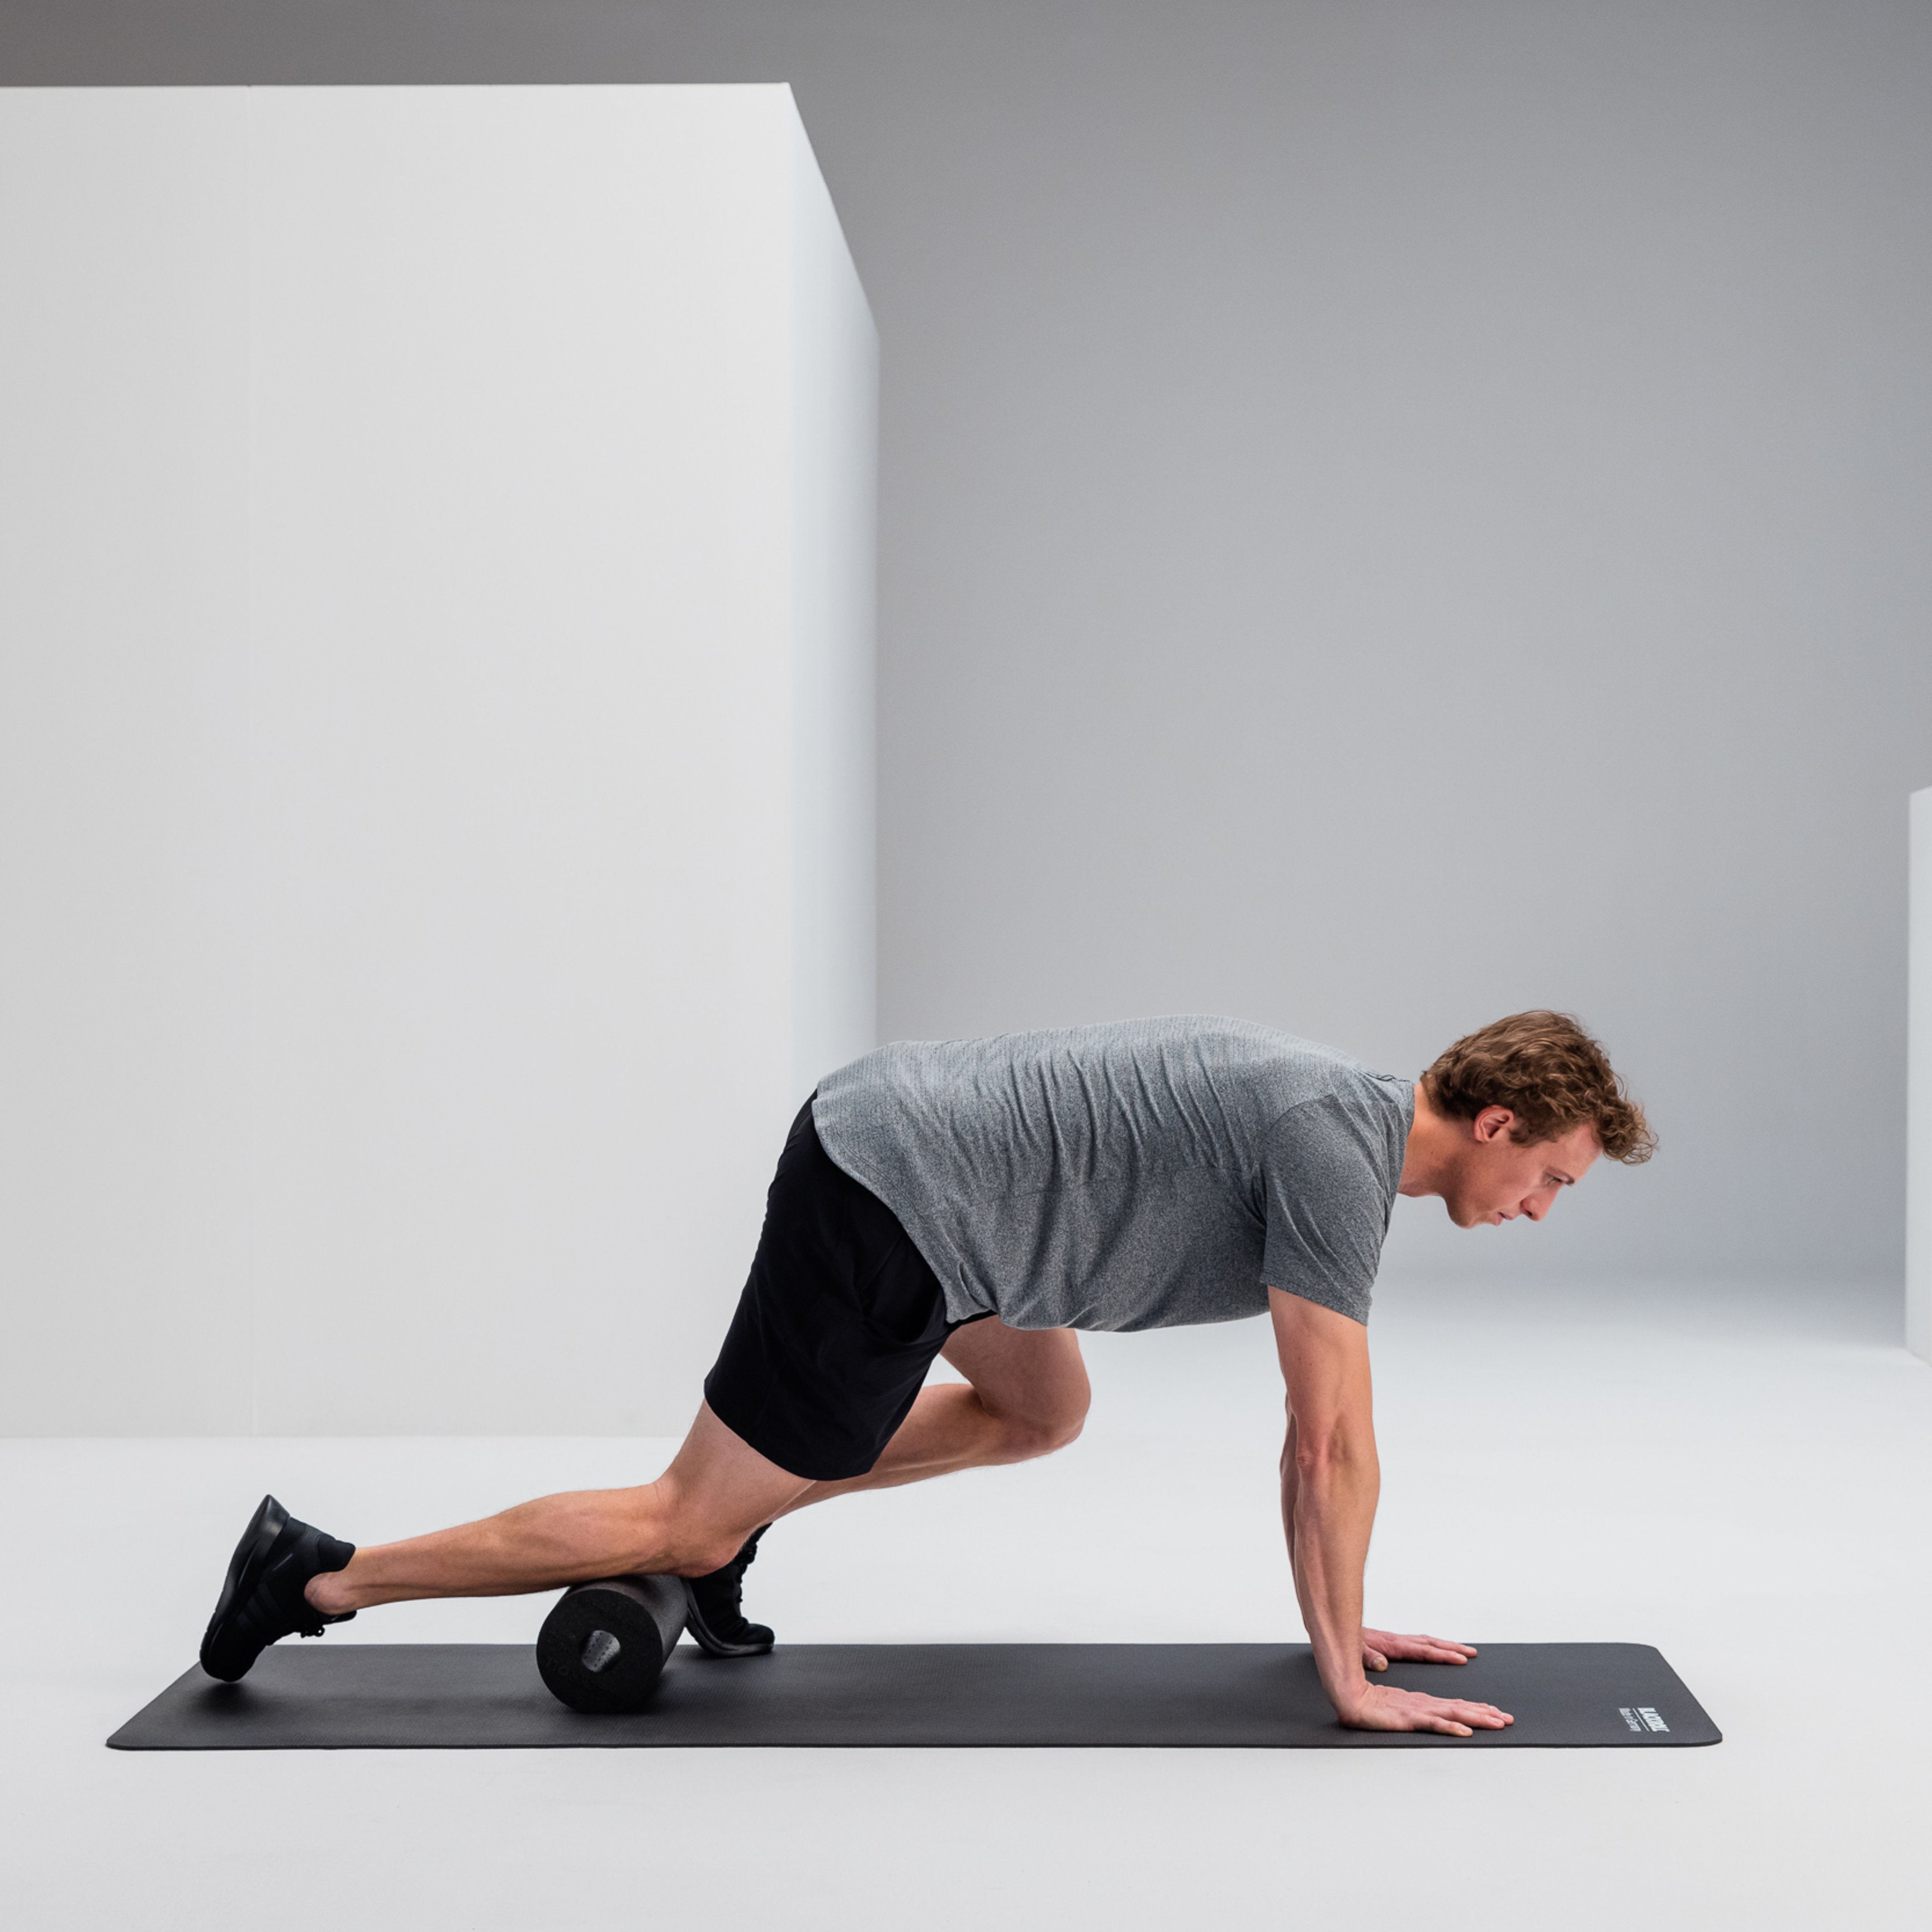
Shin Massage
Start on all fours. Place your shin on the BLACKROLL. Rotate your foot slightly inward. Slowly roll your shin from the knee to the ankle.
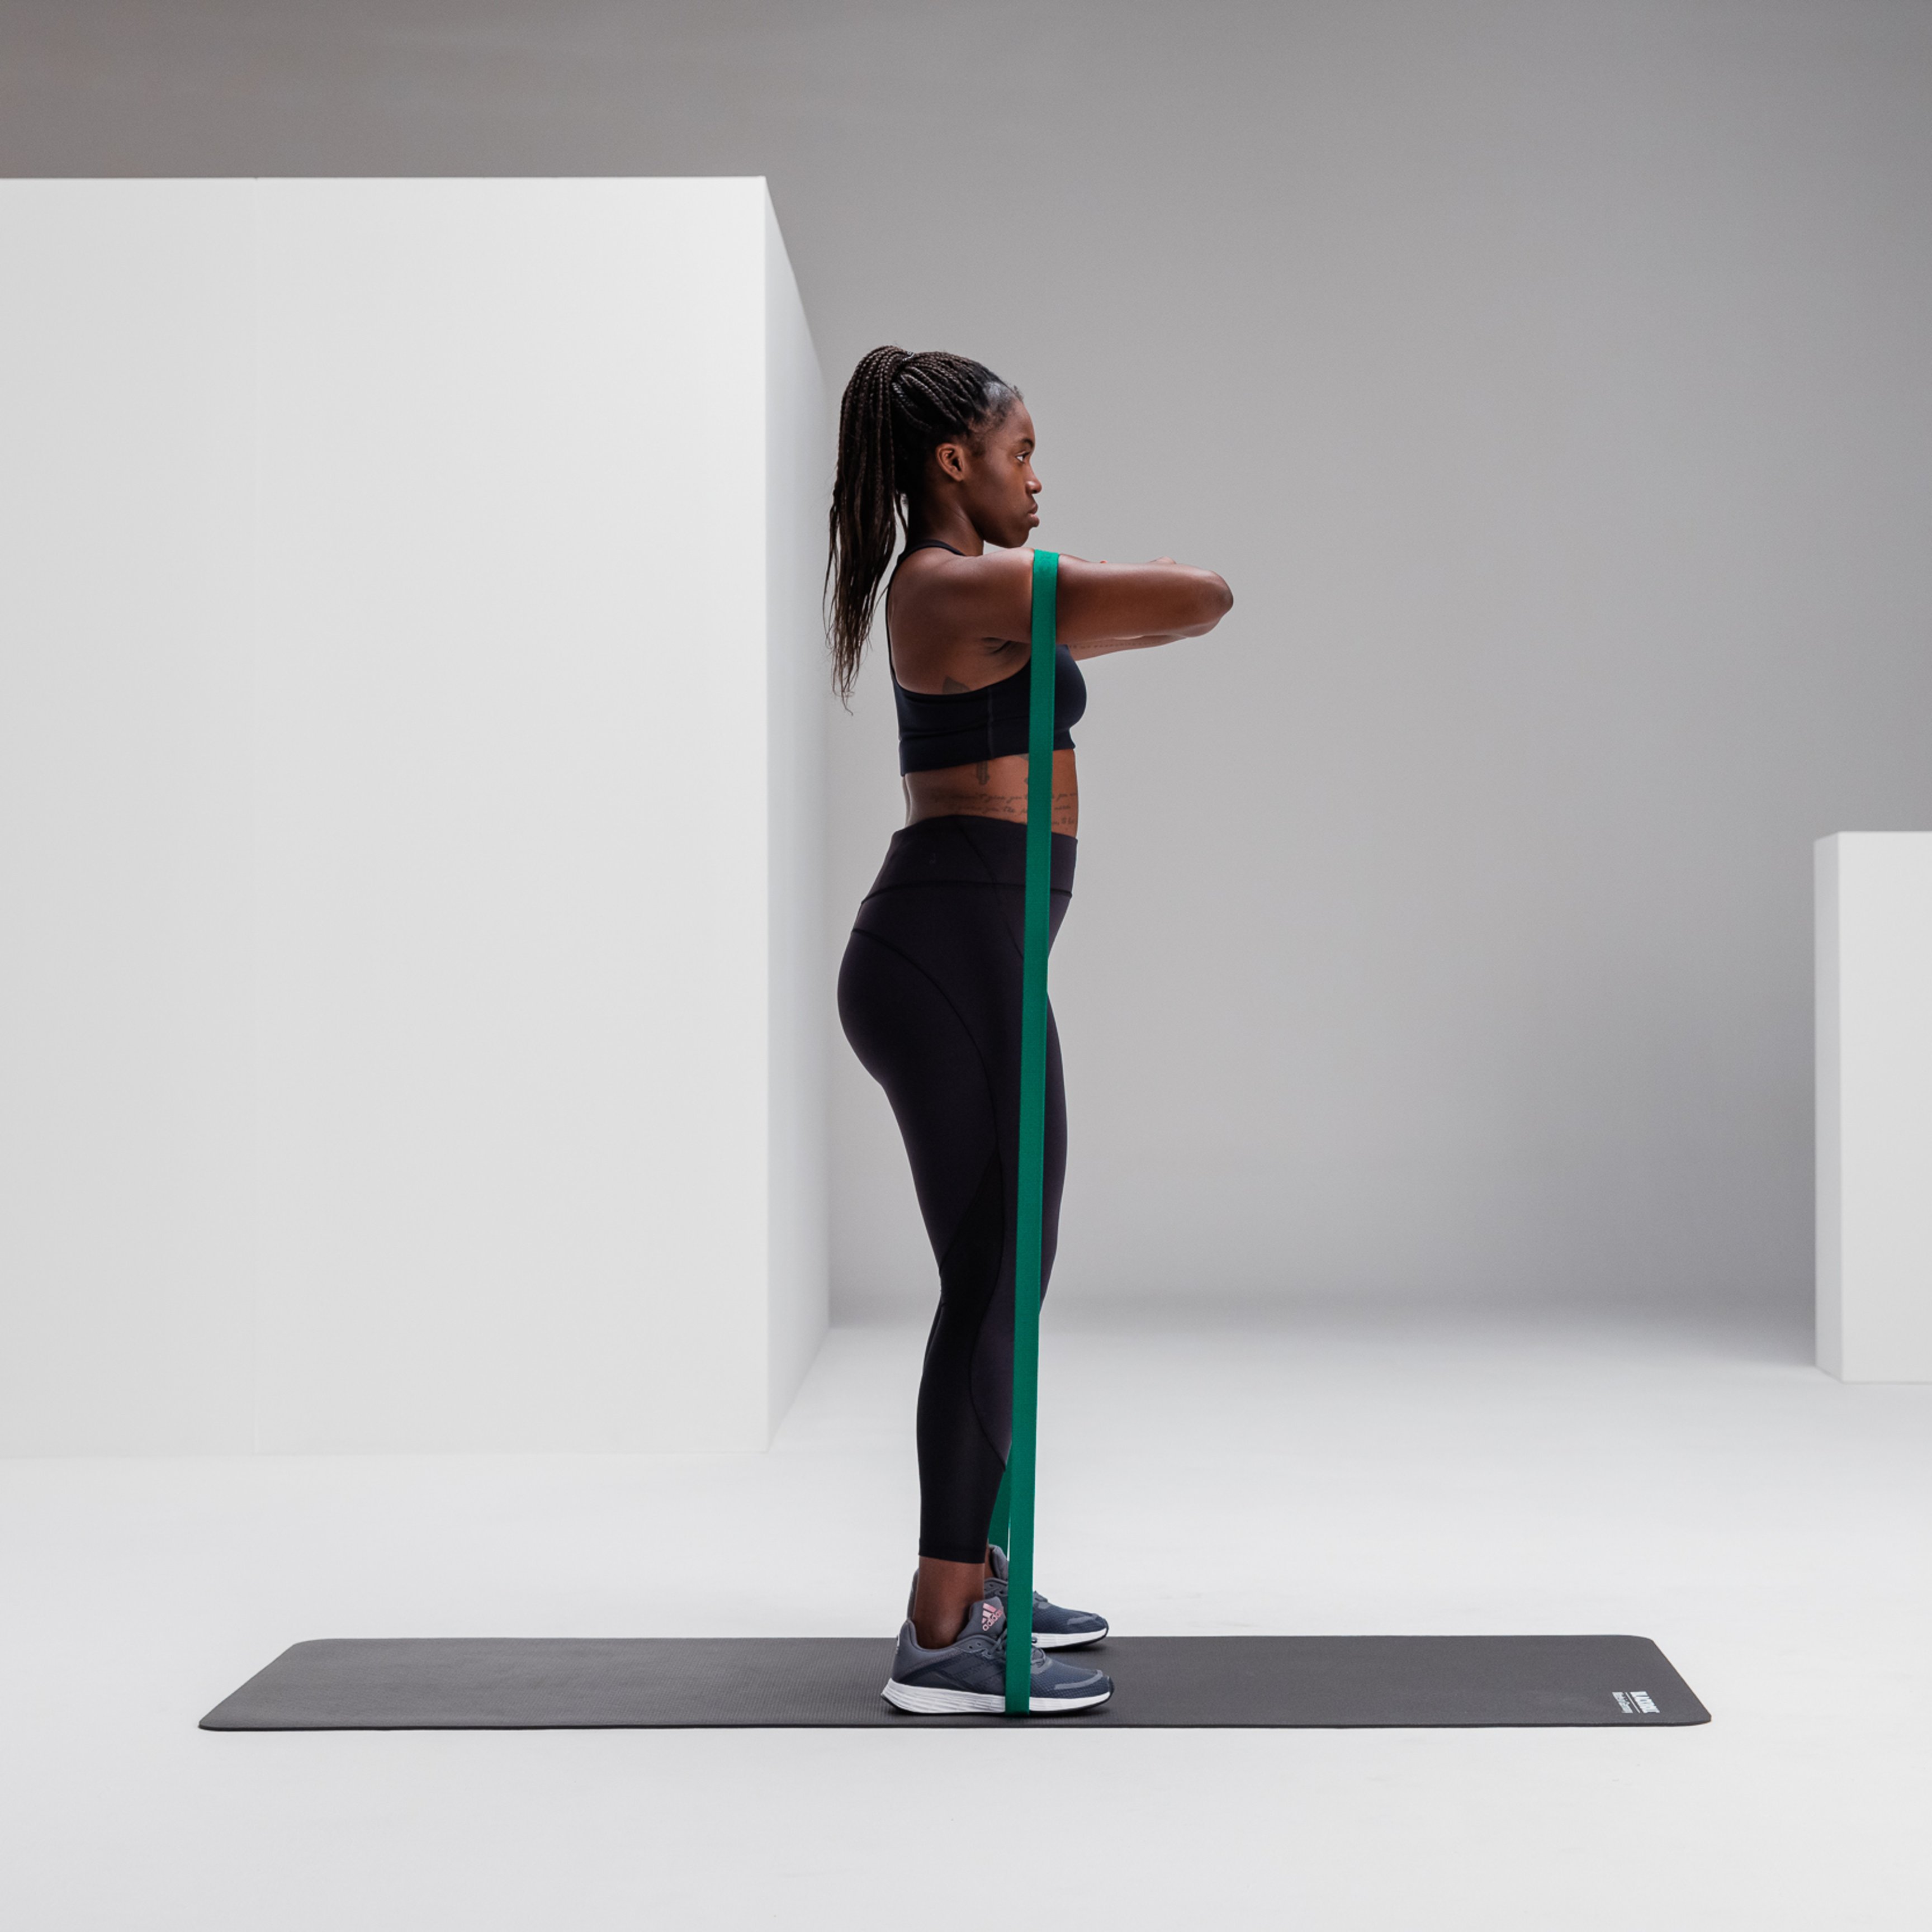
Shin Activation
While seated, wrap the BLACKROLL LOOP BAND around your feet. Bend one leg at the knee. Keep the other leg straight. Move the foot of the bent leg up and down. Then switch legs.
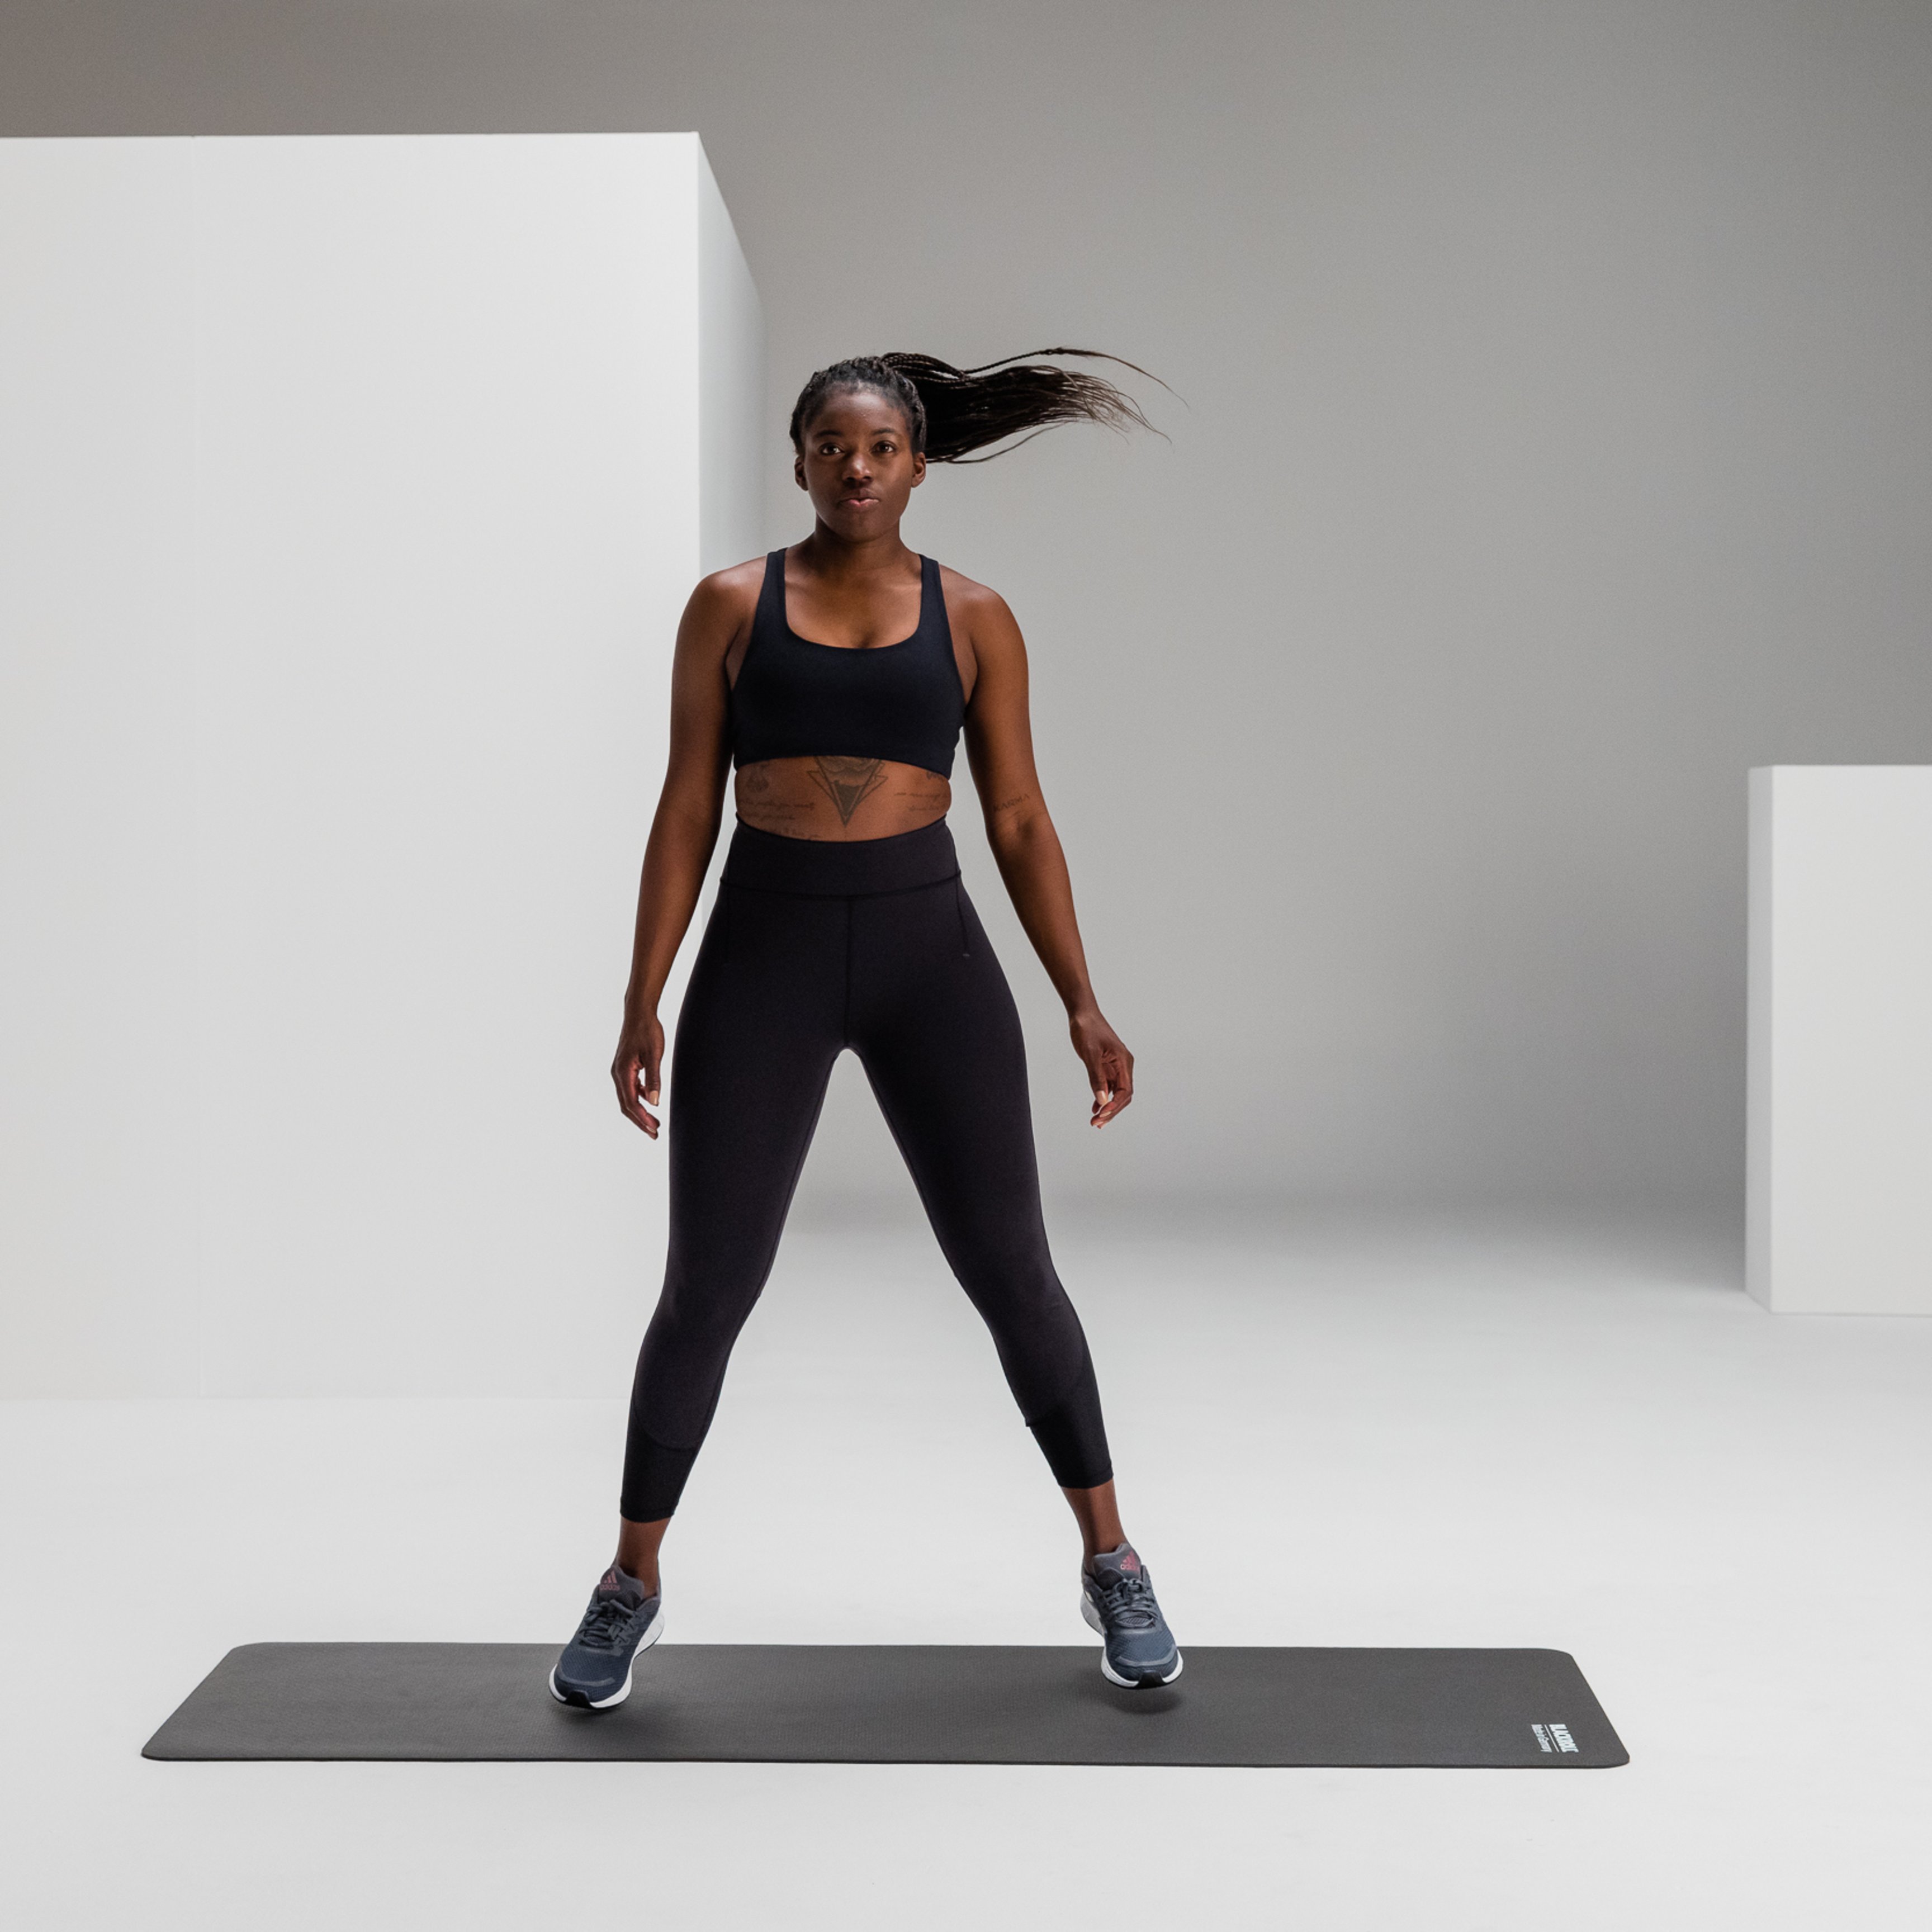
Activation Jumps
Stand with your feet hip-width apart. Keep your knees slightly bent. Perform small jumping movements in place. Make sure the movements are springy. Jump in all directions.
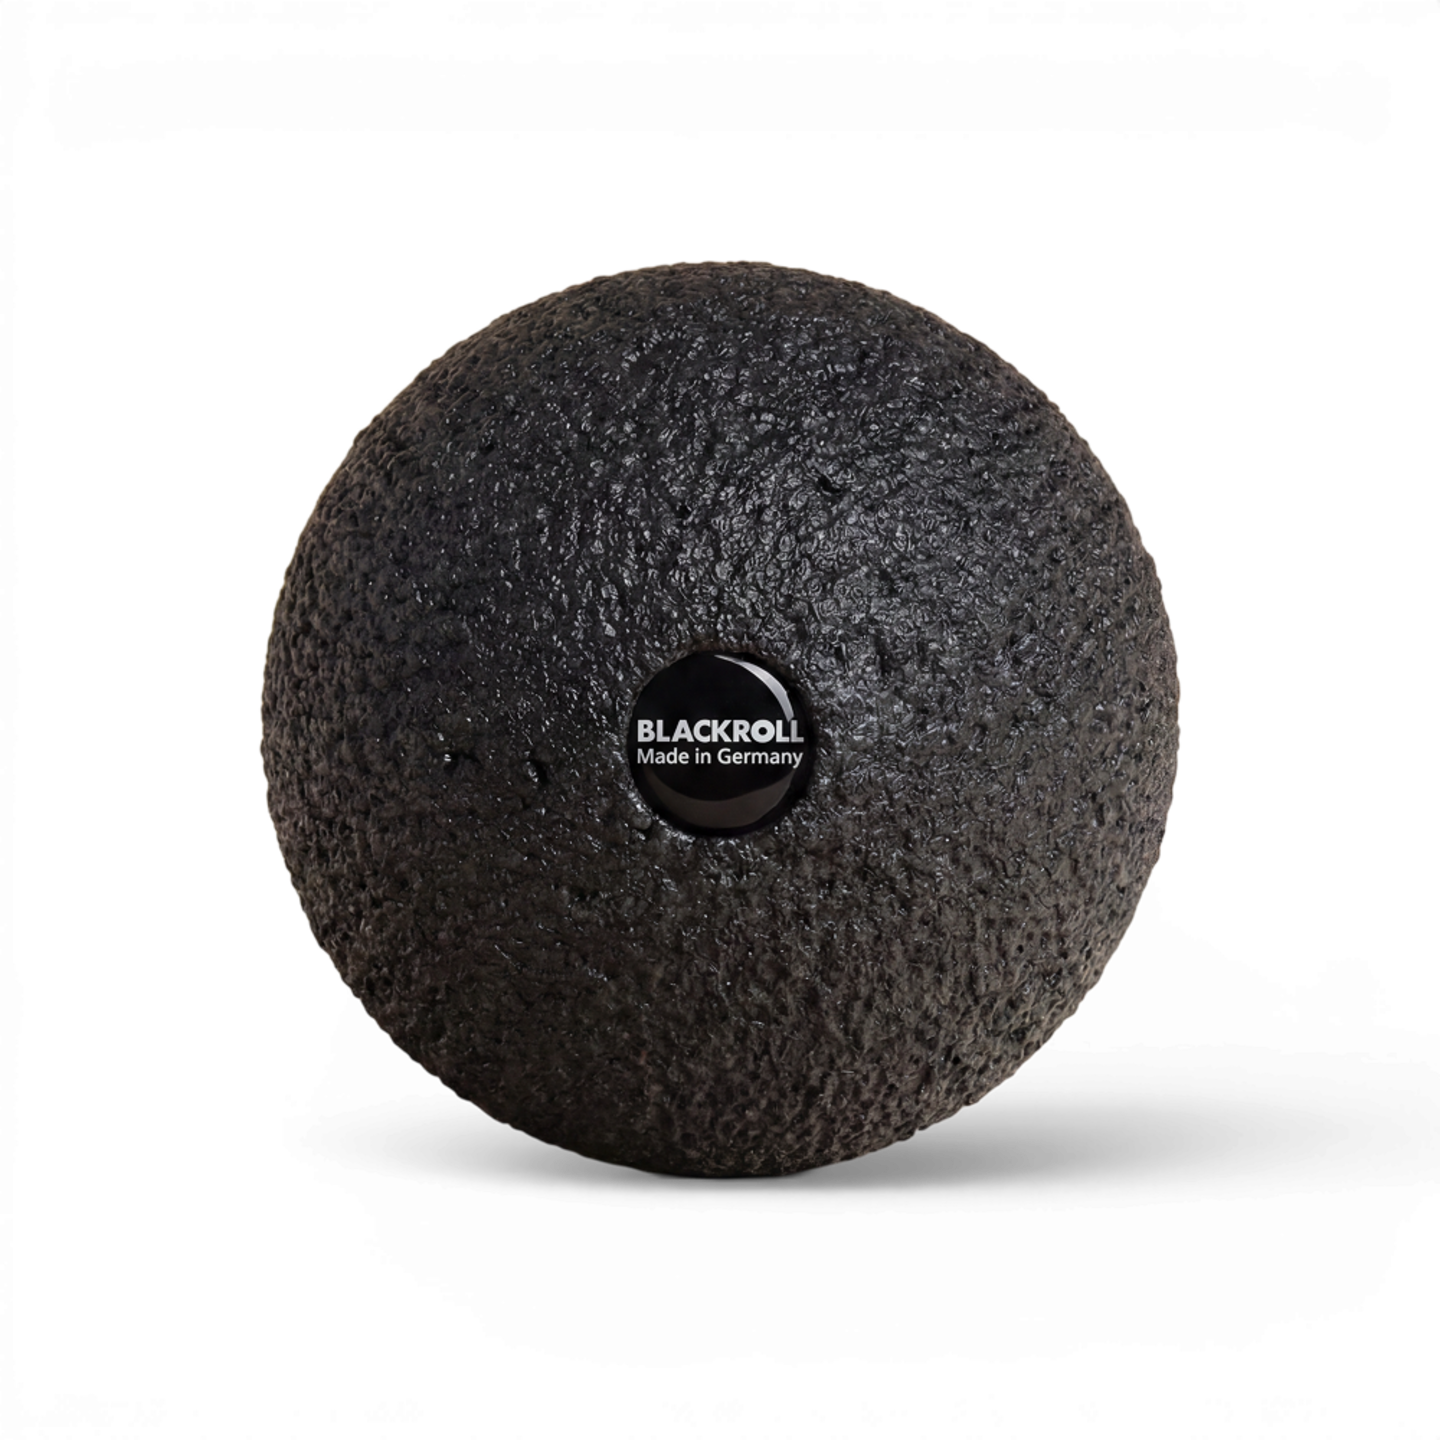

Ball 08
Available in multiple variants
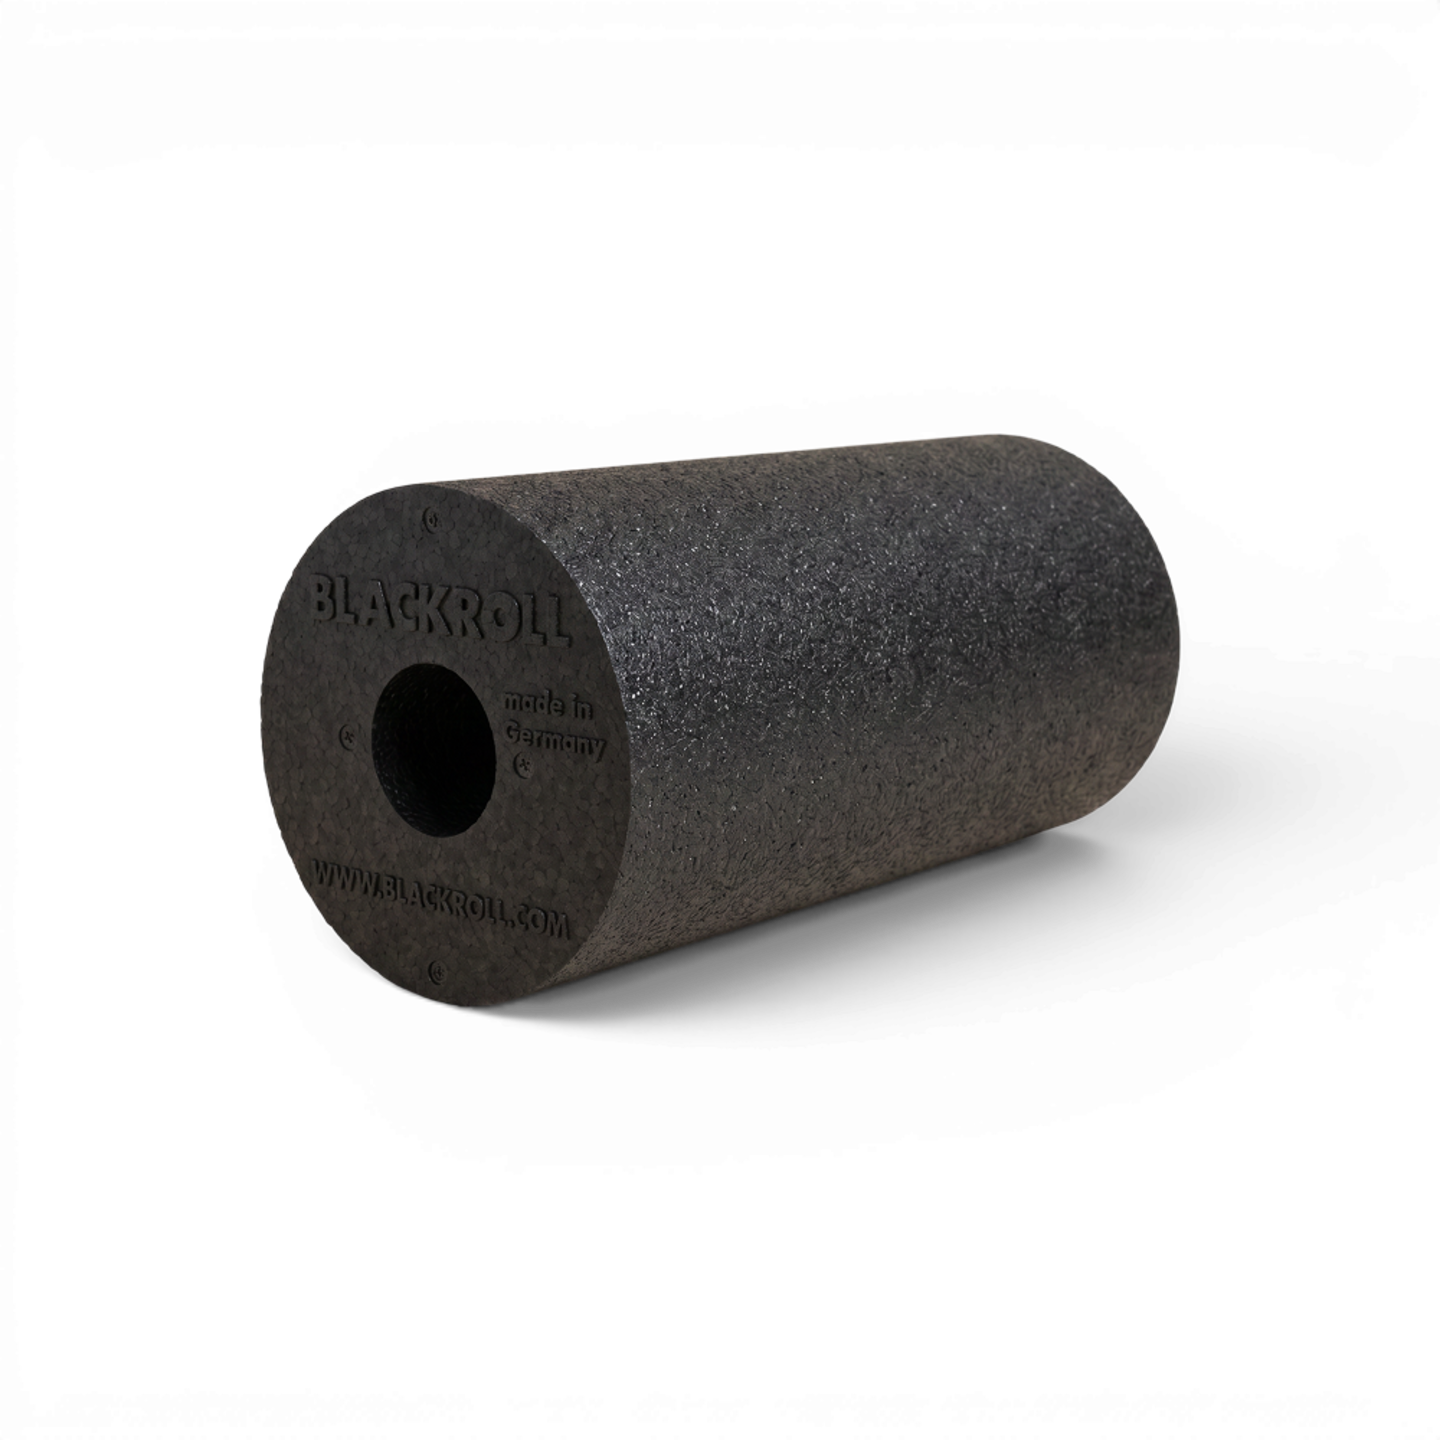
Standard
Available in multiple variants
Super Band
Available in multiple variants