Patellar Tip Syndrome – Symptoms, Causes, and Exercises for Jumper’s Knee

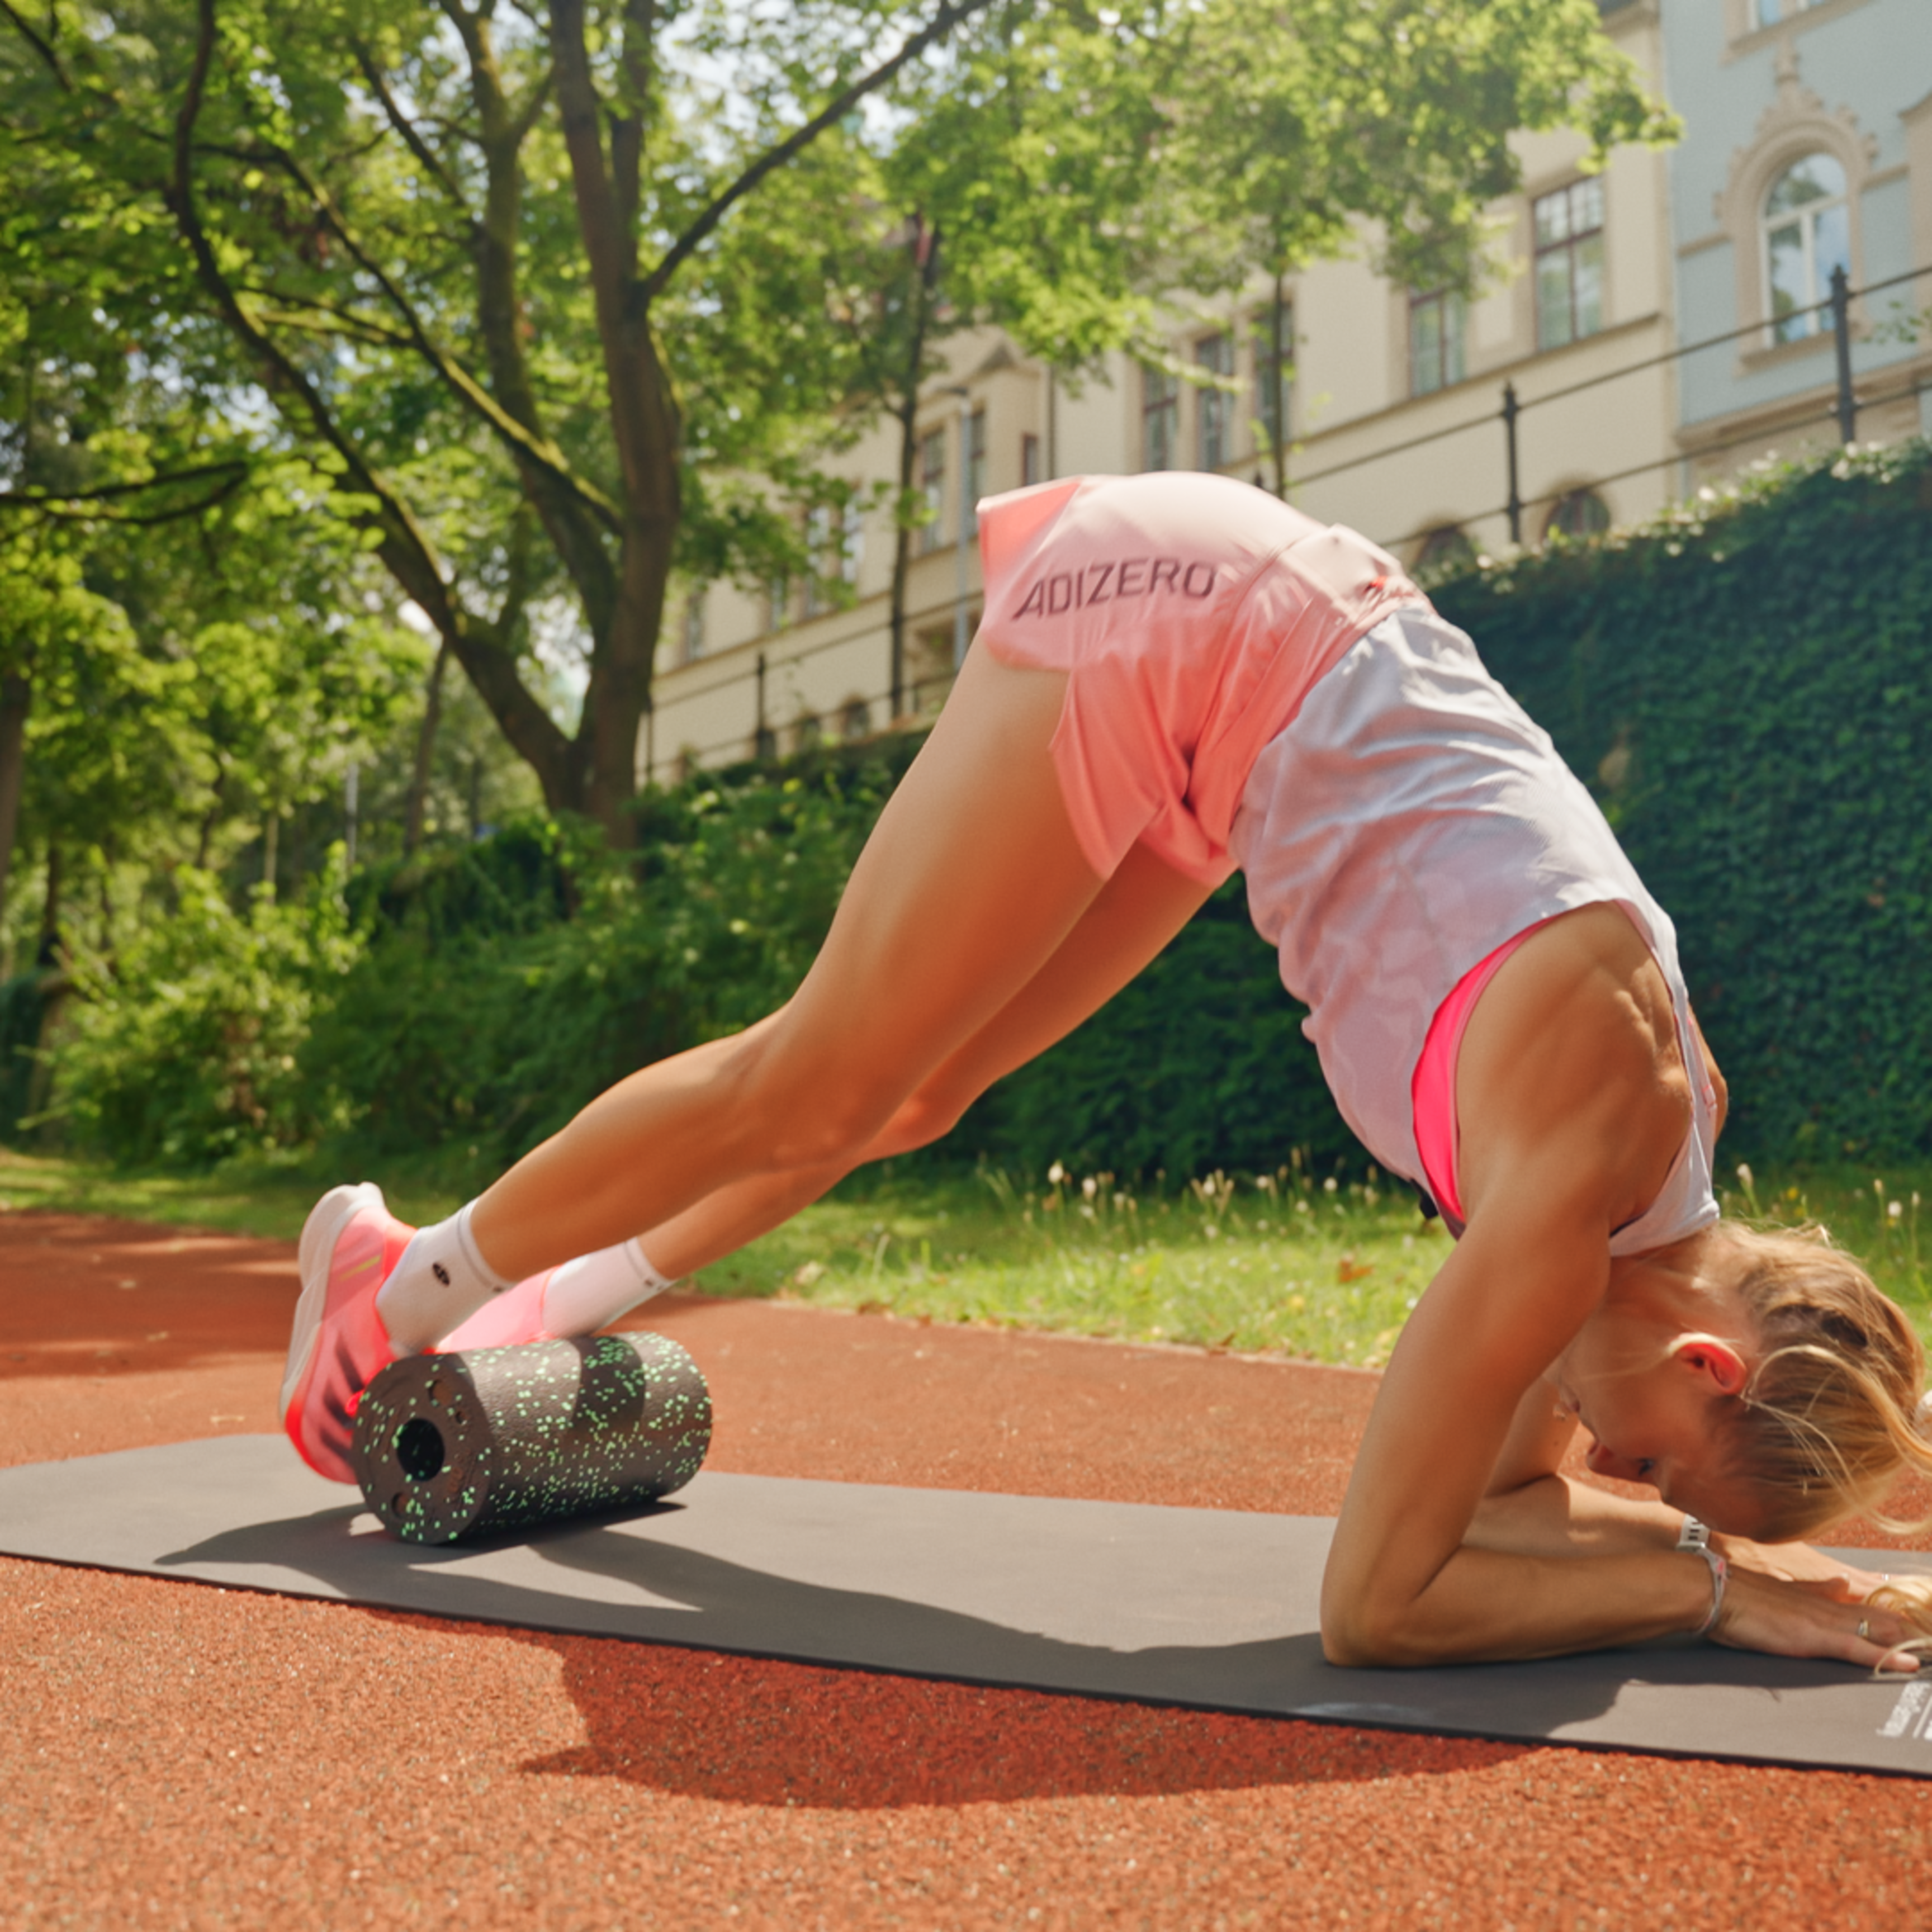
If you experience a sharp pain right below your kneecap after basketball or volleyball practice, it can quickly become a persistent problem. To prevent it from getting that far—especially if you jump frequently during sports—you should be aware of patellar tip syndrome.
Patellar tip syndrome—also known as jumper’s knee—is one of the most common overuse injuries among athletes. People who regularly participate in sports involving a lot of jumping are particularly at risk. However, with the right understanding and targeted exercises, you can successfully address and prevent the problem.
What is patellar tip syndrome?
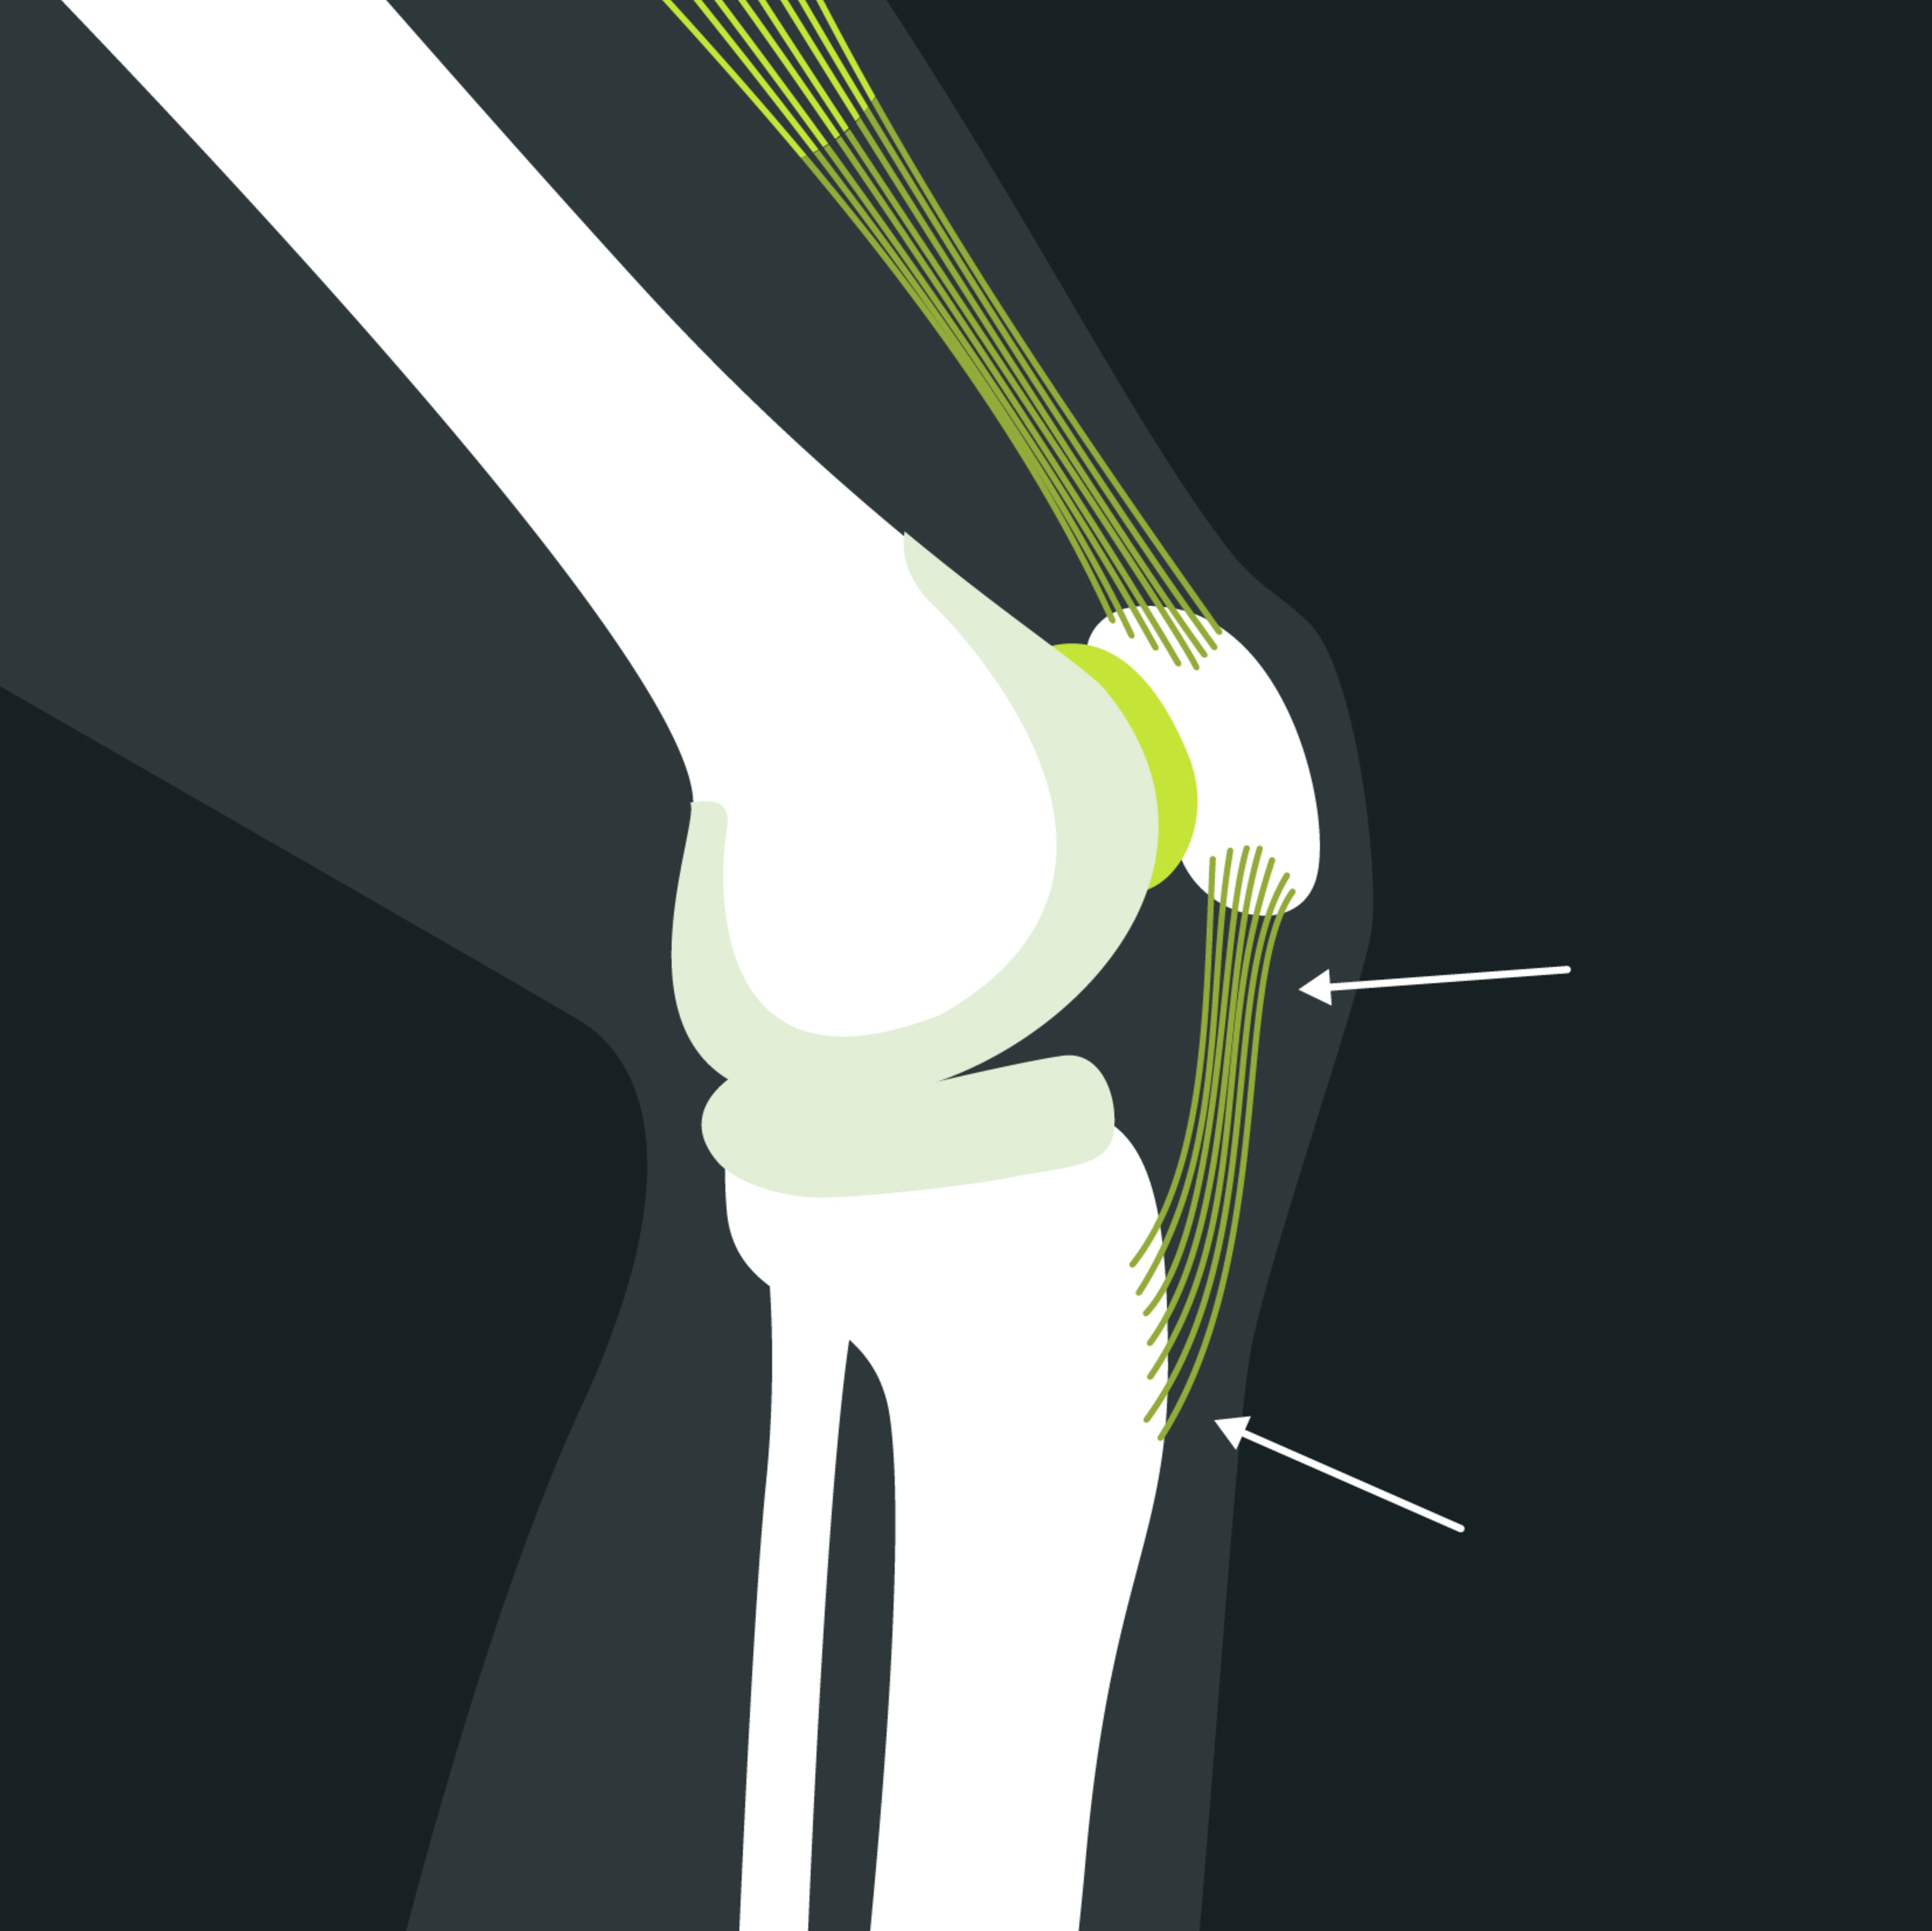
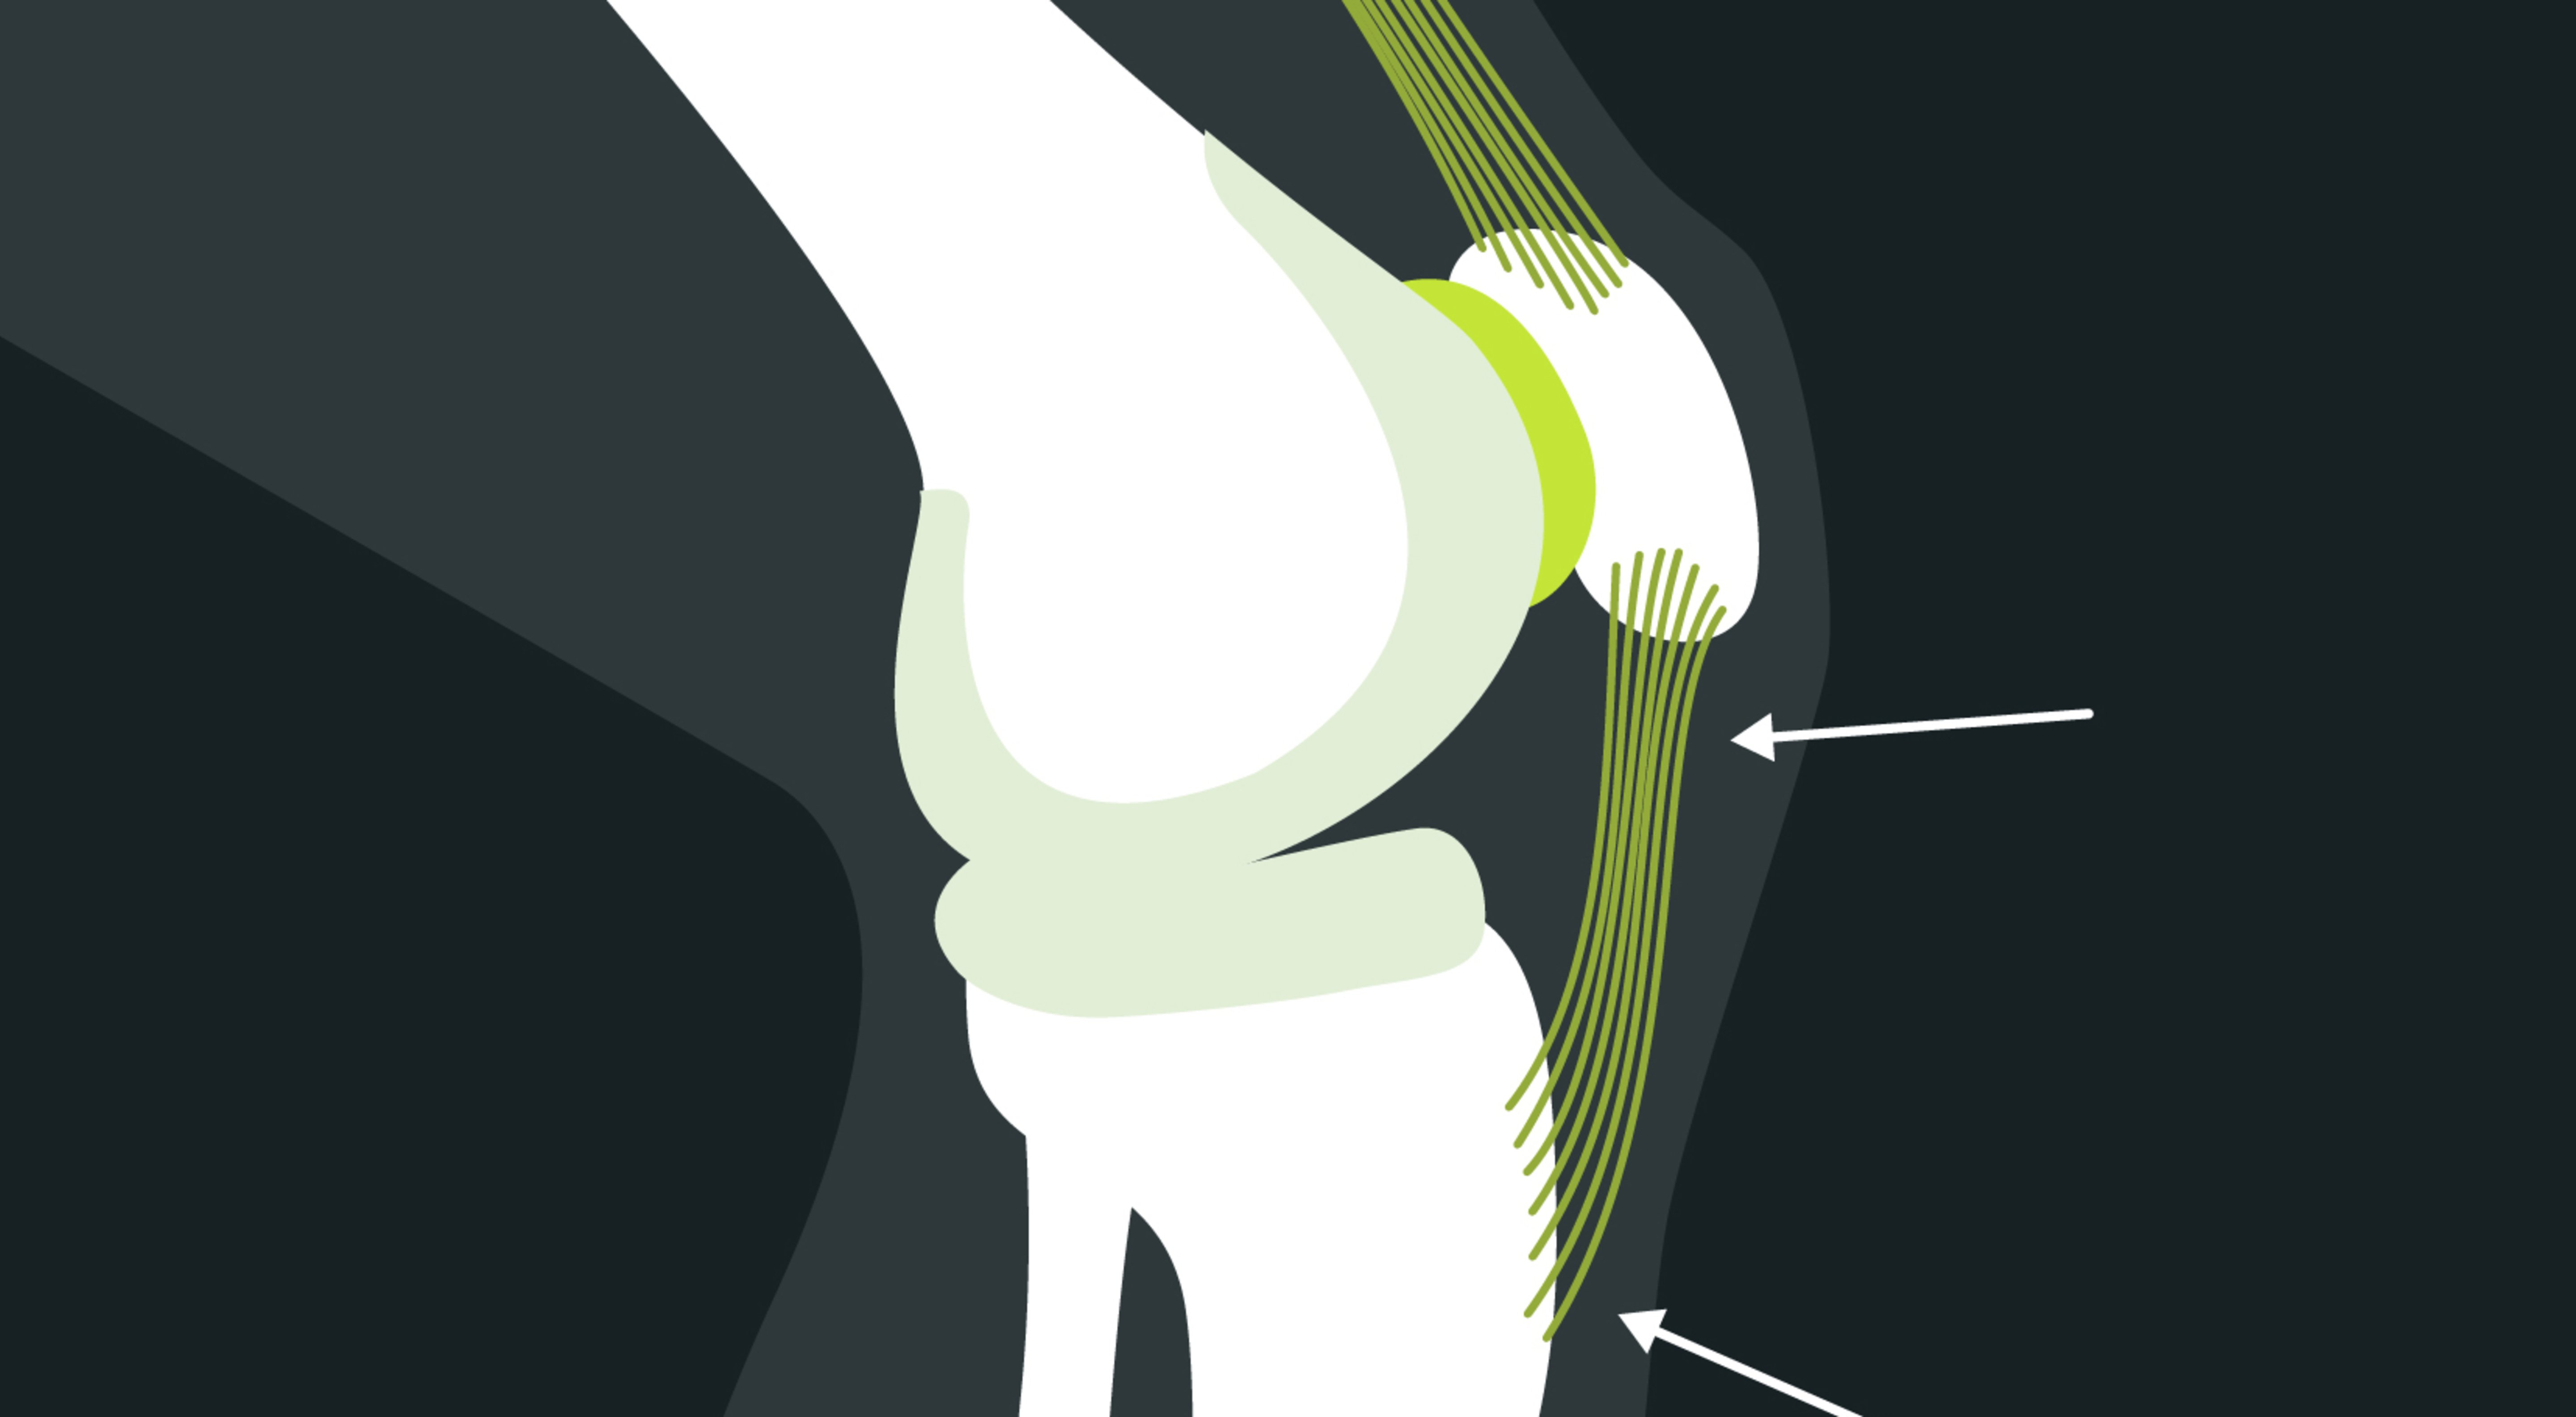
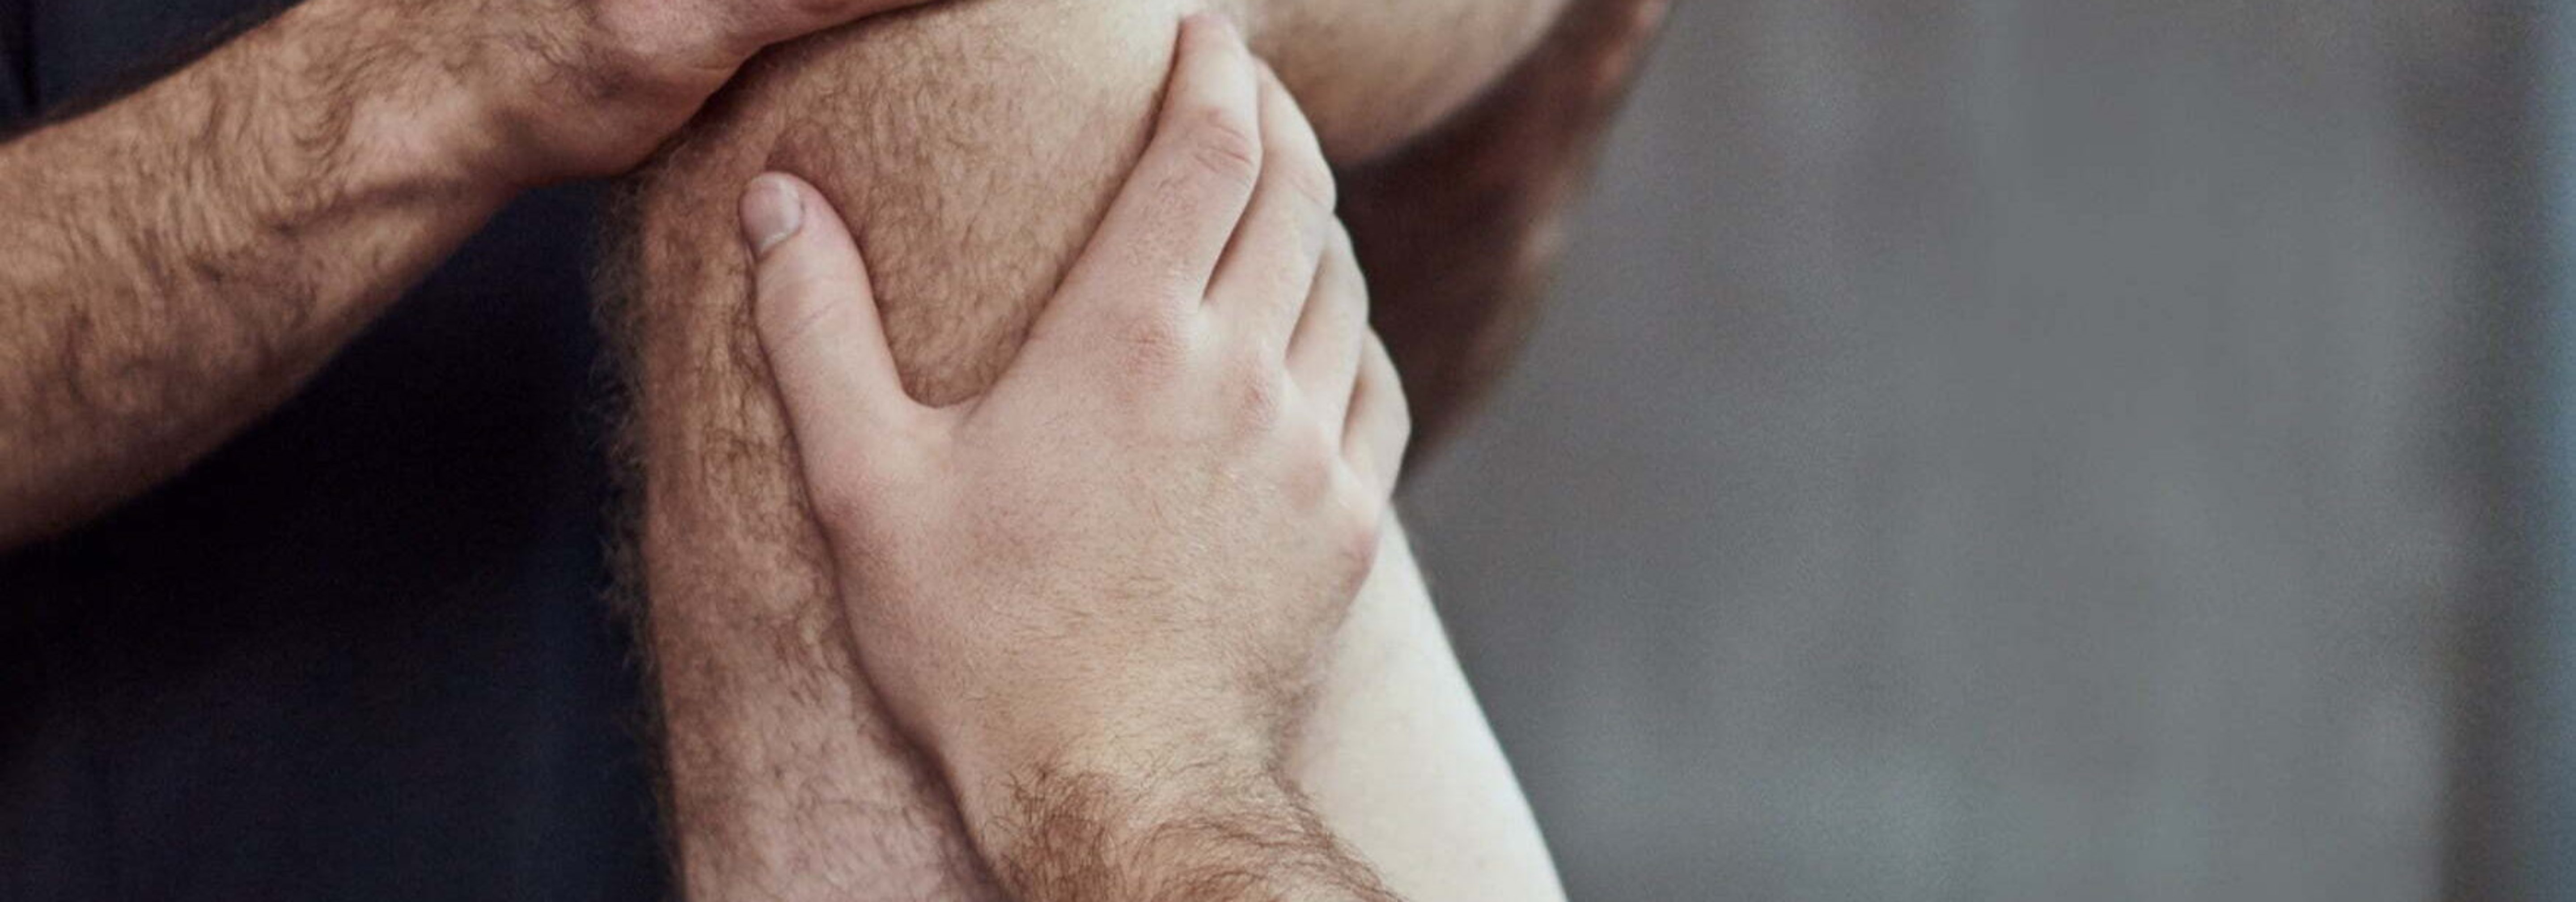
Patellar tip syndrome is a painful irritation of the patellar tendon at its attachment point below the kneecap. This tendon—which is actually more like a ligament—connects your kneecap to the shinbone and transmits the force from your thigh muscles to your lower leg.
The name “jumper’s knee” already reveals the types of movements that typically cause this injury: repeated jumping and landing motions. During these movements, the patellar tendon is subjected to strong tensile forces, which over time lead to minor injuries (microtraumas) and ultimately to pain.
Studies show that up to 40 percent of all professional basketball and volleyball players are affected by patellar tip syndrome at some point in their careers.

Patellar Tip Syndrome: Causes and Risk Factors
The main cause is overuse of the patellar tendon due to repeated jumping motions. Various factors can increase your personal risk:
Sports-related risk factors:
- Basketball and volleyball
- Track and field (high jump and long jump)
- Handball, tennis, and squash (stop-and-go movements)
Training-related risks:
- Increasing training intensity too quickly
- Insufficient recovery periods
- Training on surfaces that are too hard
- Insufficient warm-up before intense jumping sessions
Anatomical factors:
- Patellar misalignment (e.g., patella alta)
- Leg alignmentabnormalities (knock-knees or bowlegs)
- Imbalance between the front and back of the thigh
- Congenital ligament weakness

Recognizing Symptoms and Stages of Patellar Tip Syndrome
Patellar tip syndrome usually develops gradually. The pain typically occurs directly below the kneecap—exactly where the patellar tendon attaches.
The four stages of patellar tip syndrome according to Roels:
- Grade 1: You only feel pain after exercising. It usually goes away on its own after a few hours of rest.
- Grade 2: The pain occurs as soon as you start exercising, but may improve during the warm-up. After your workout, it returns with increased intensity.
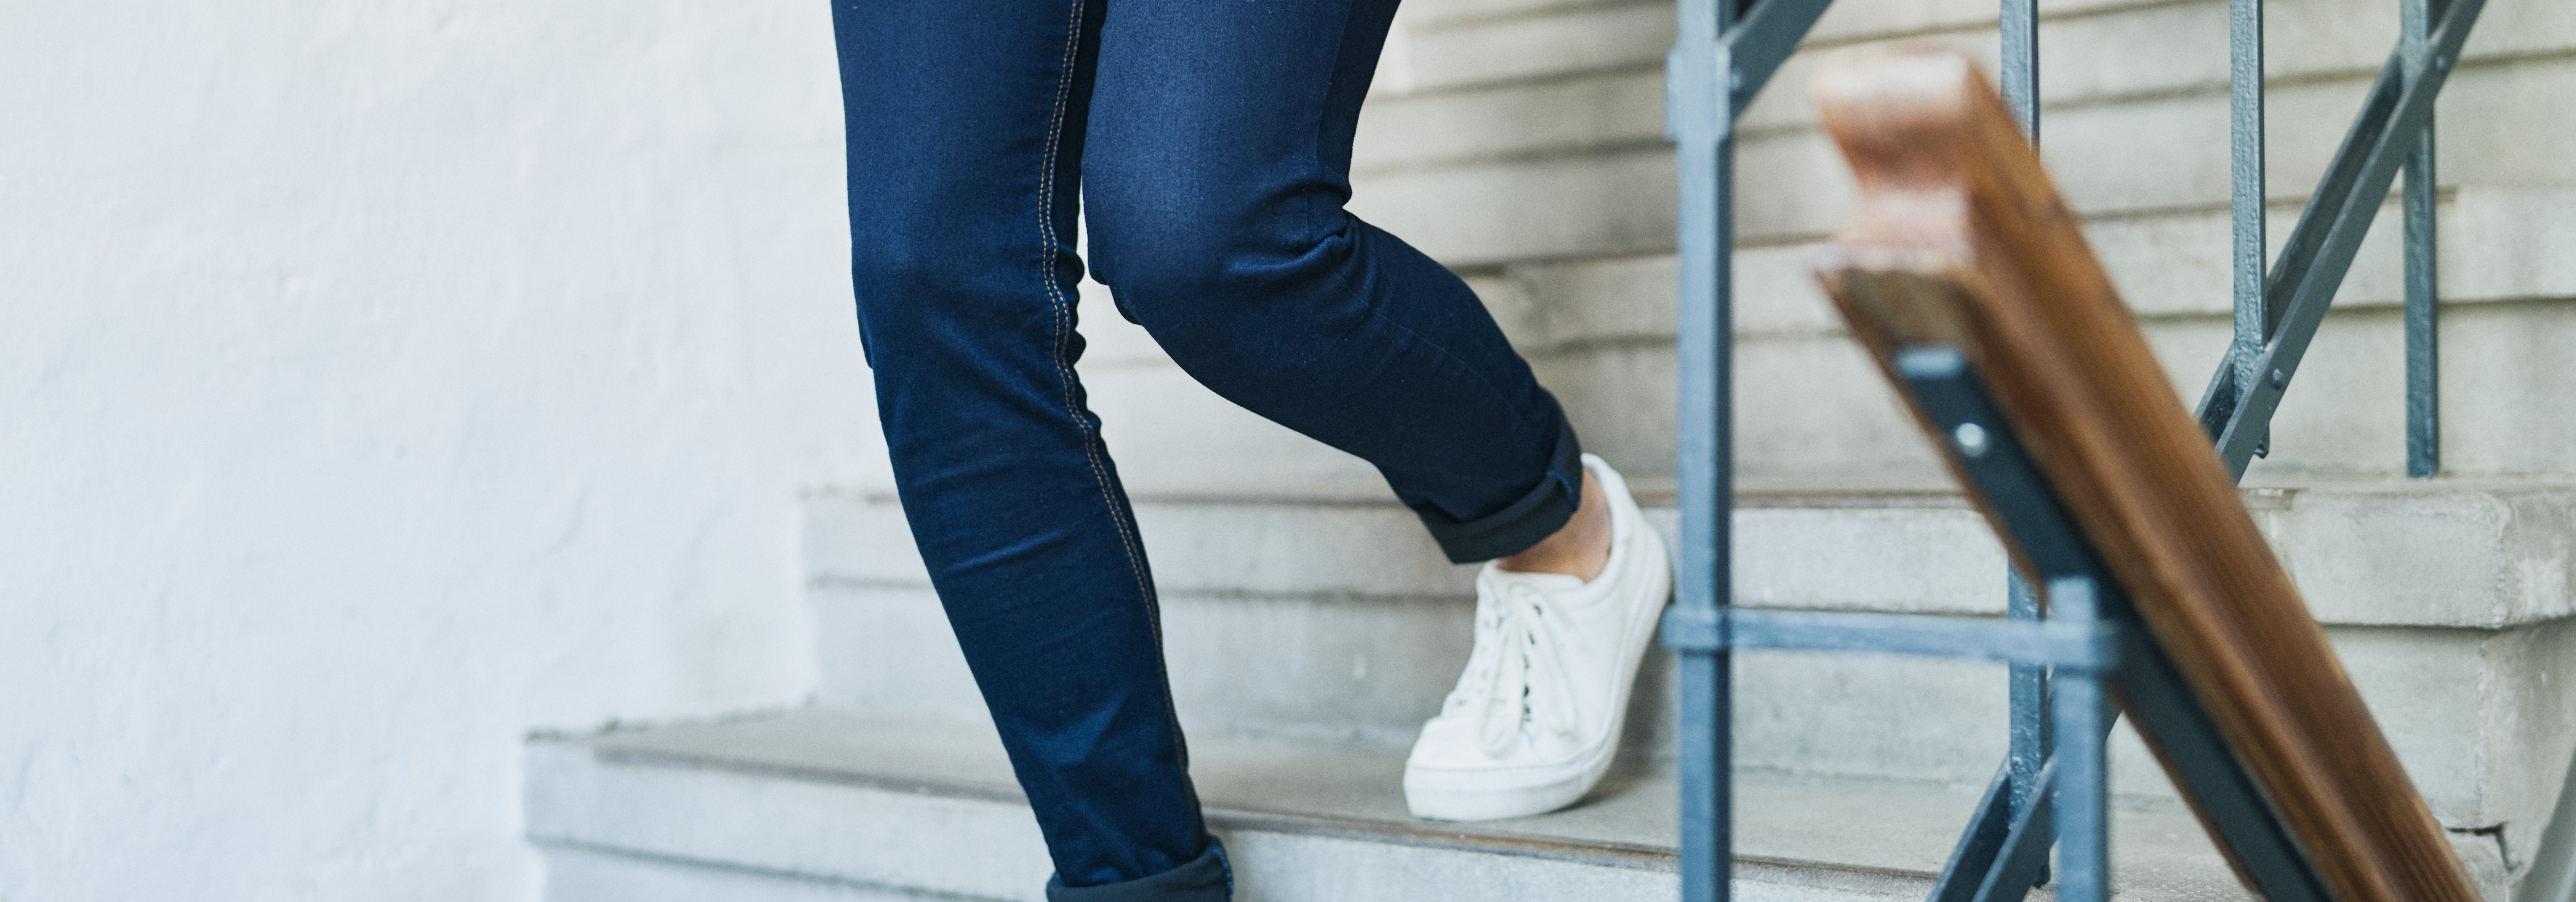
- Grade 3: You now experience pain even at rest and during everyday activities. Climbing stairs or standing up from a squatting position causes problems.
- Grade 4: Complete or partial tear of the patellar tendon—a medical emergency.
Typical symptoms
- Pain that is easily localized at the lower edge of the kneecap
- Worsens with activity (jumping, climbing stairs)
- Pain on palpation of the affected area
- Often affects one side, but can also affect both knees
Even at the first stage—that is, when knee pain occurs regularly after exercise—you should take action. The sooner you act, the better your chances of recovery.
More articles


Jumper’s Knee: Diagnosis and Tests
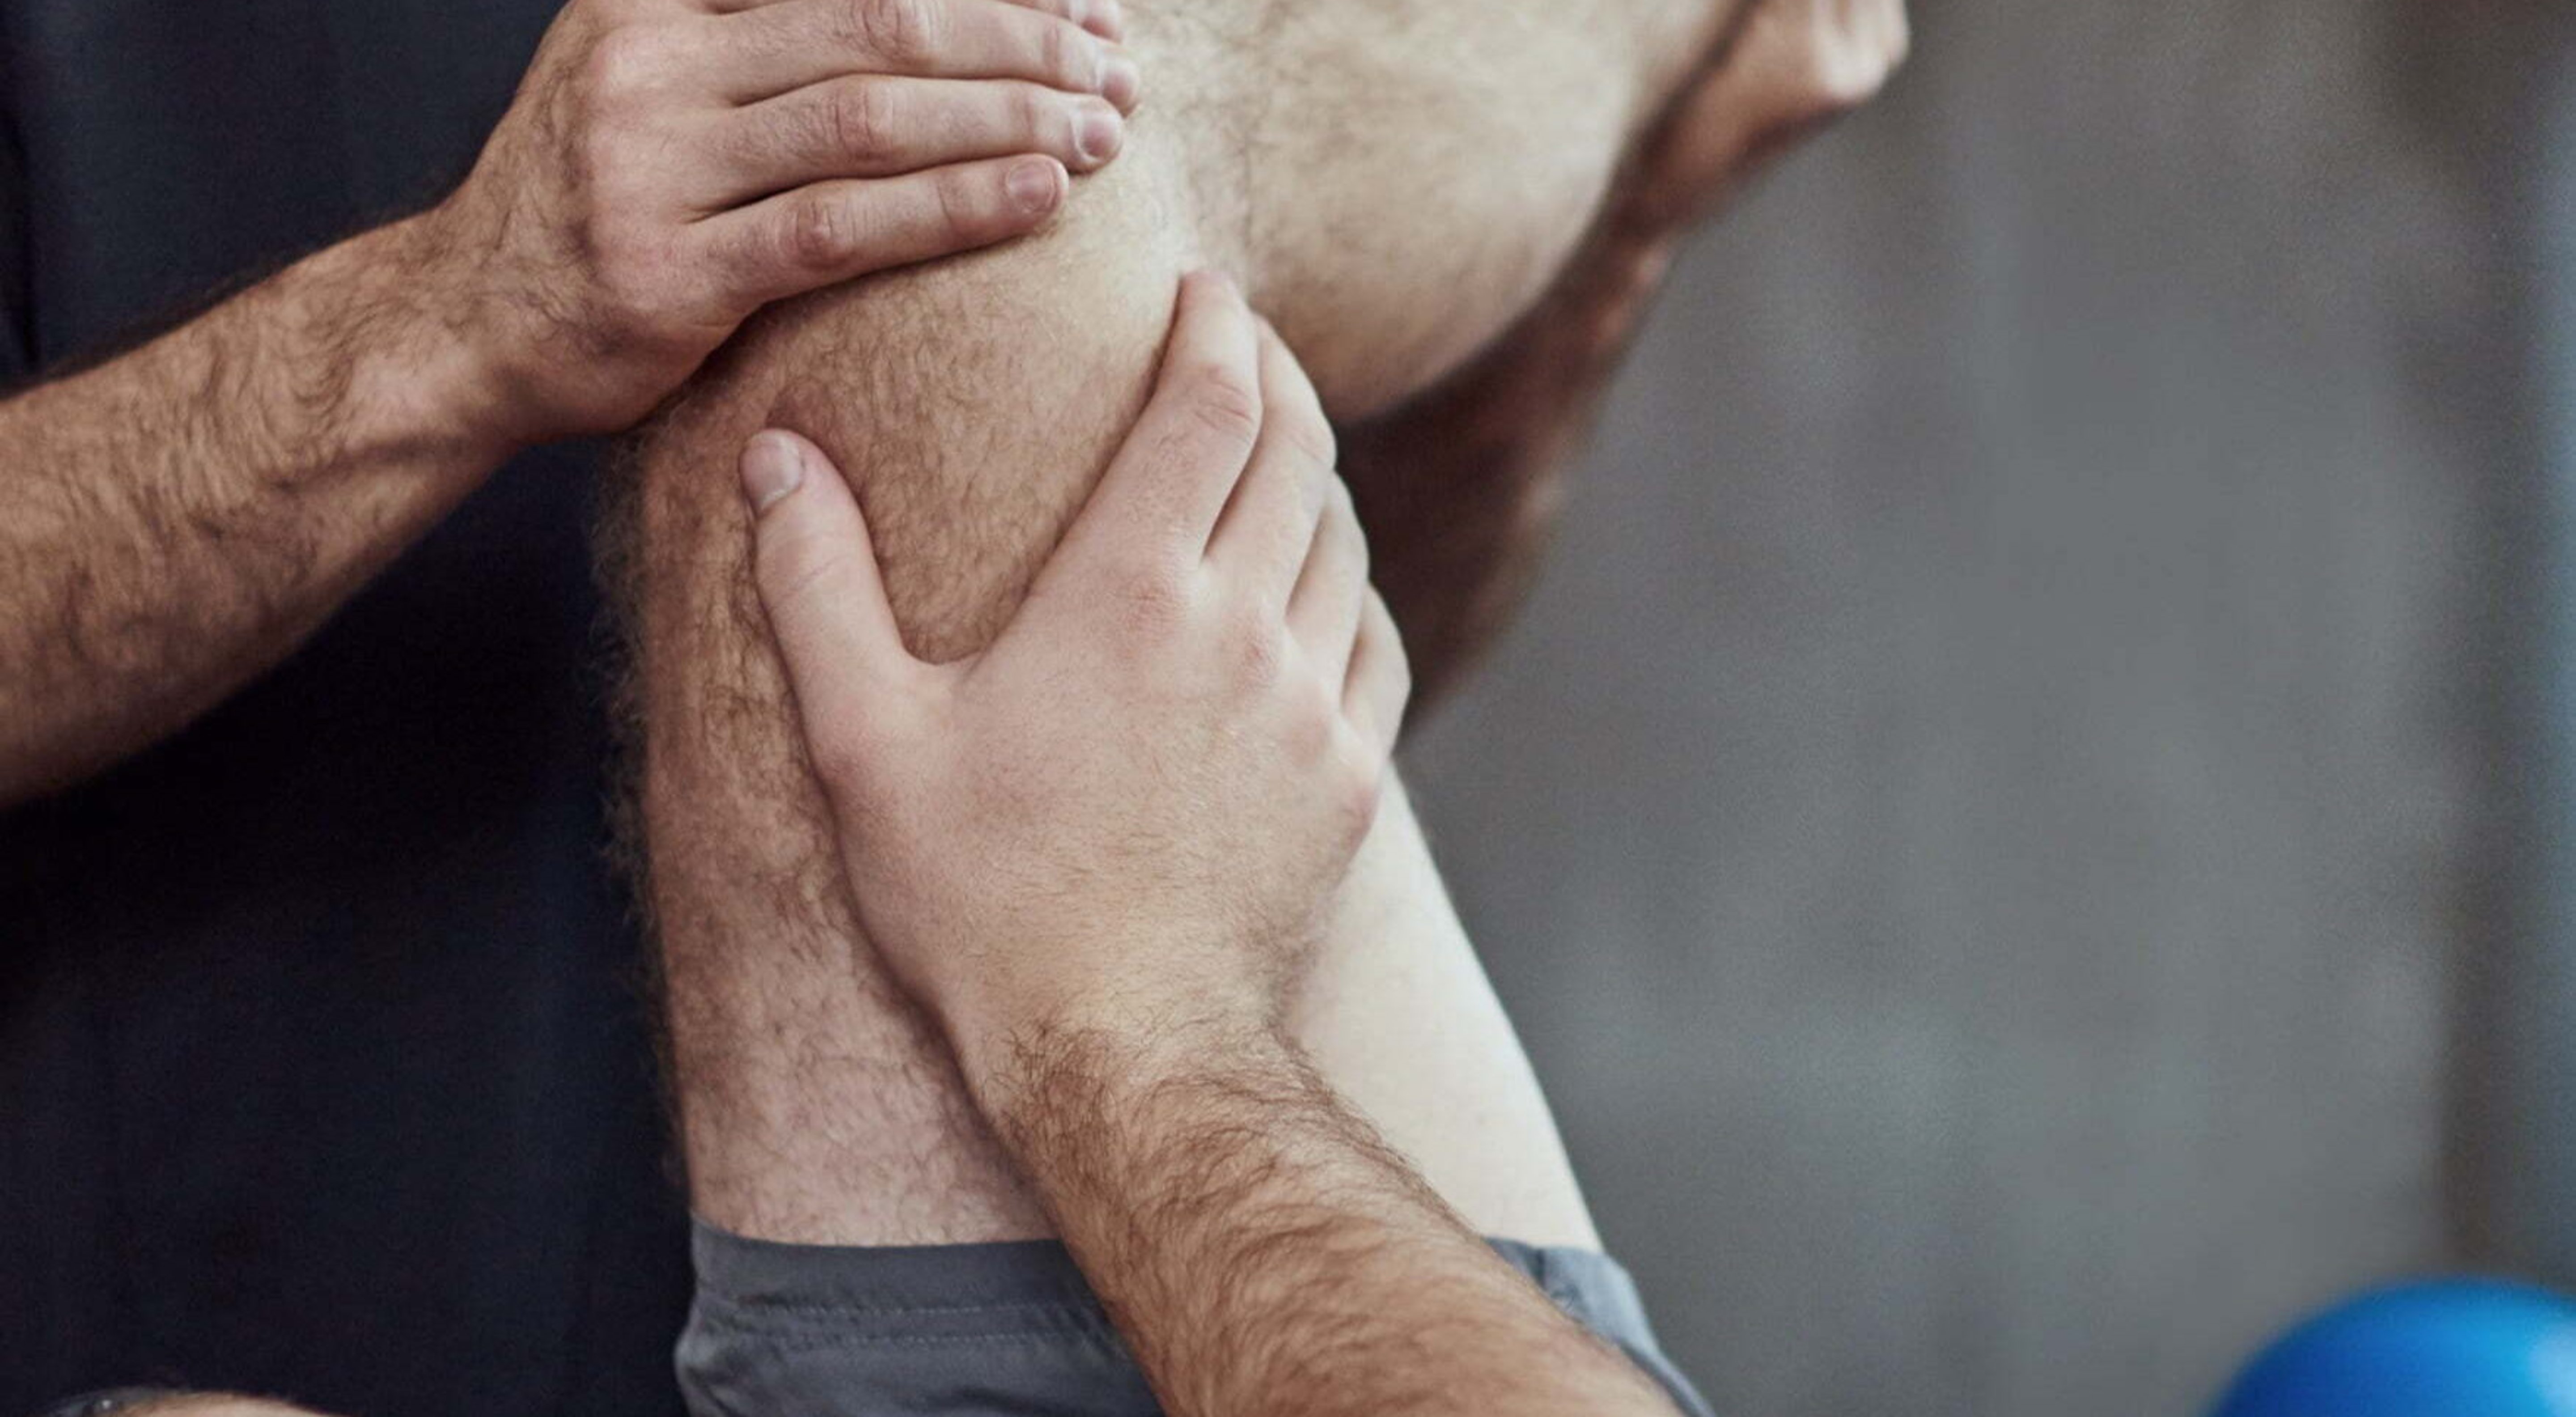
To diagnose patellar tip syndrome, a review of your medical history and a physical examination are necessary. Experienced doctors can often make the correct diagnosis through targeted tests alone.
Physical Examination:
- Pressure pain test: Targeted finger pressure on the lower edge of the kneecap
- Resistance test: Extending the knee against resistance intensifies the pain
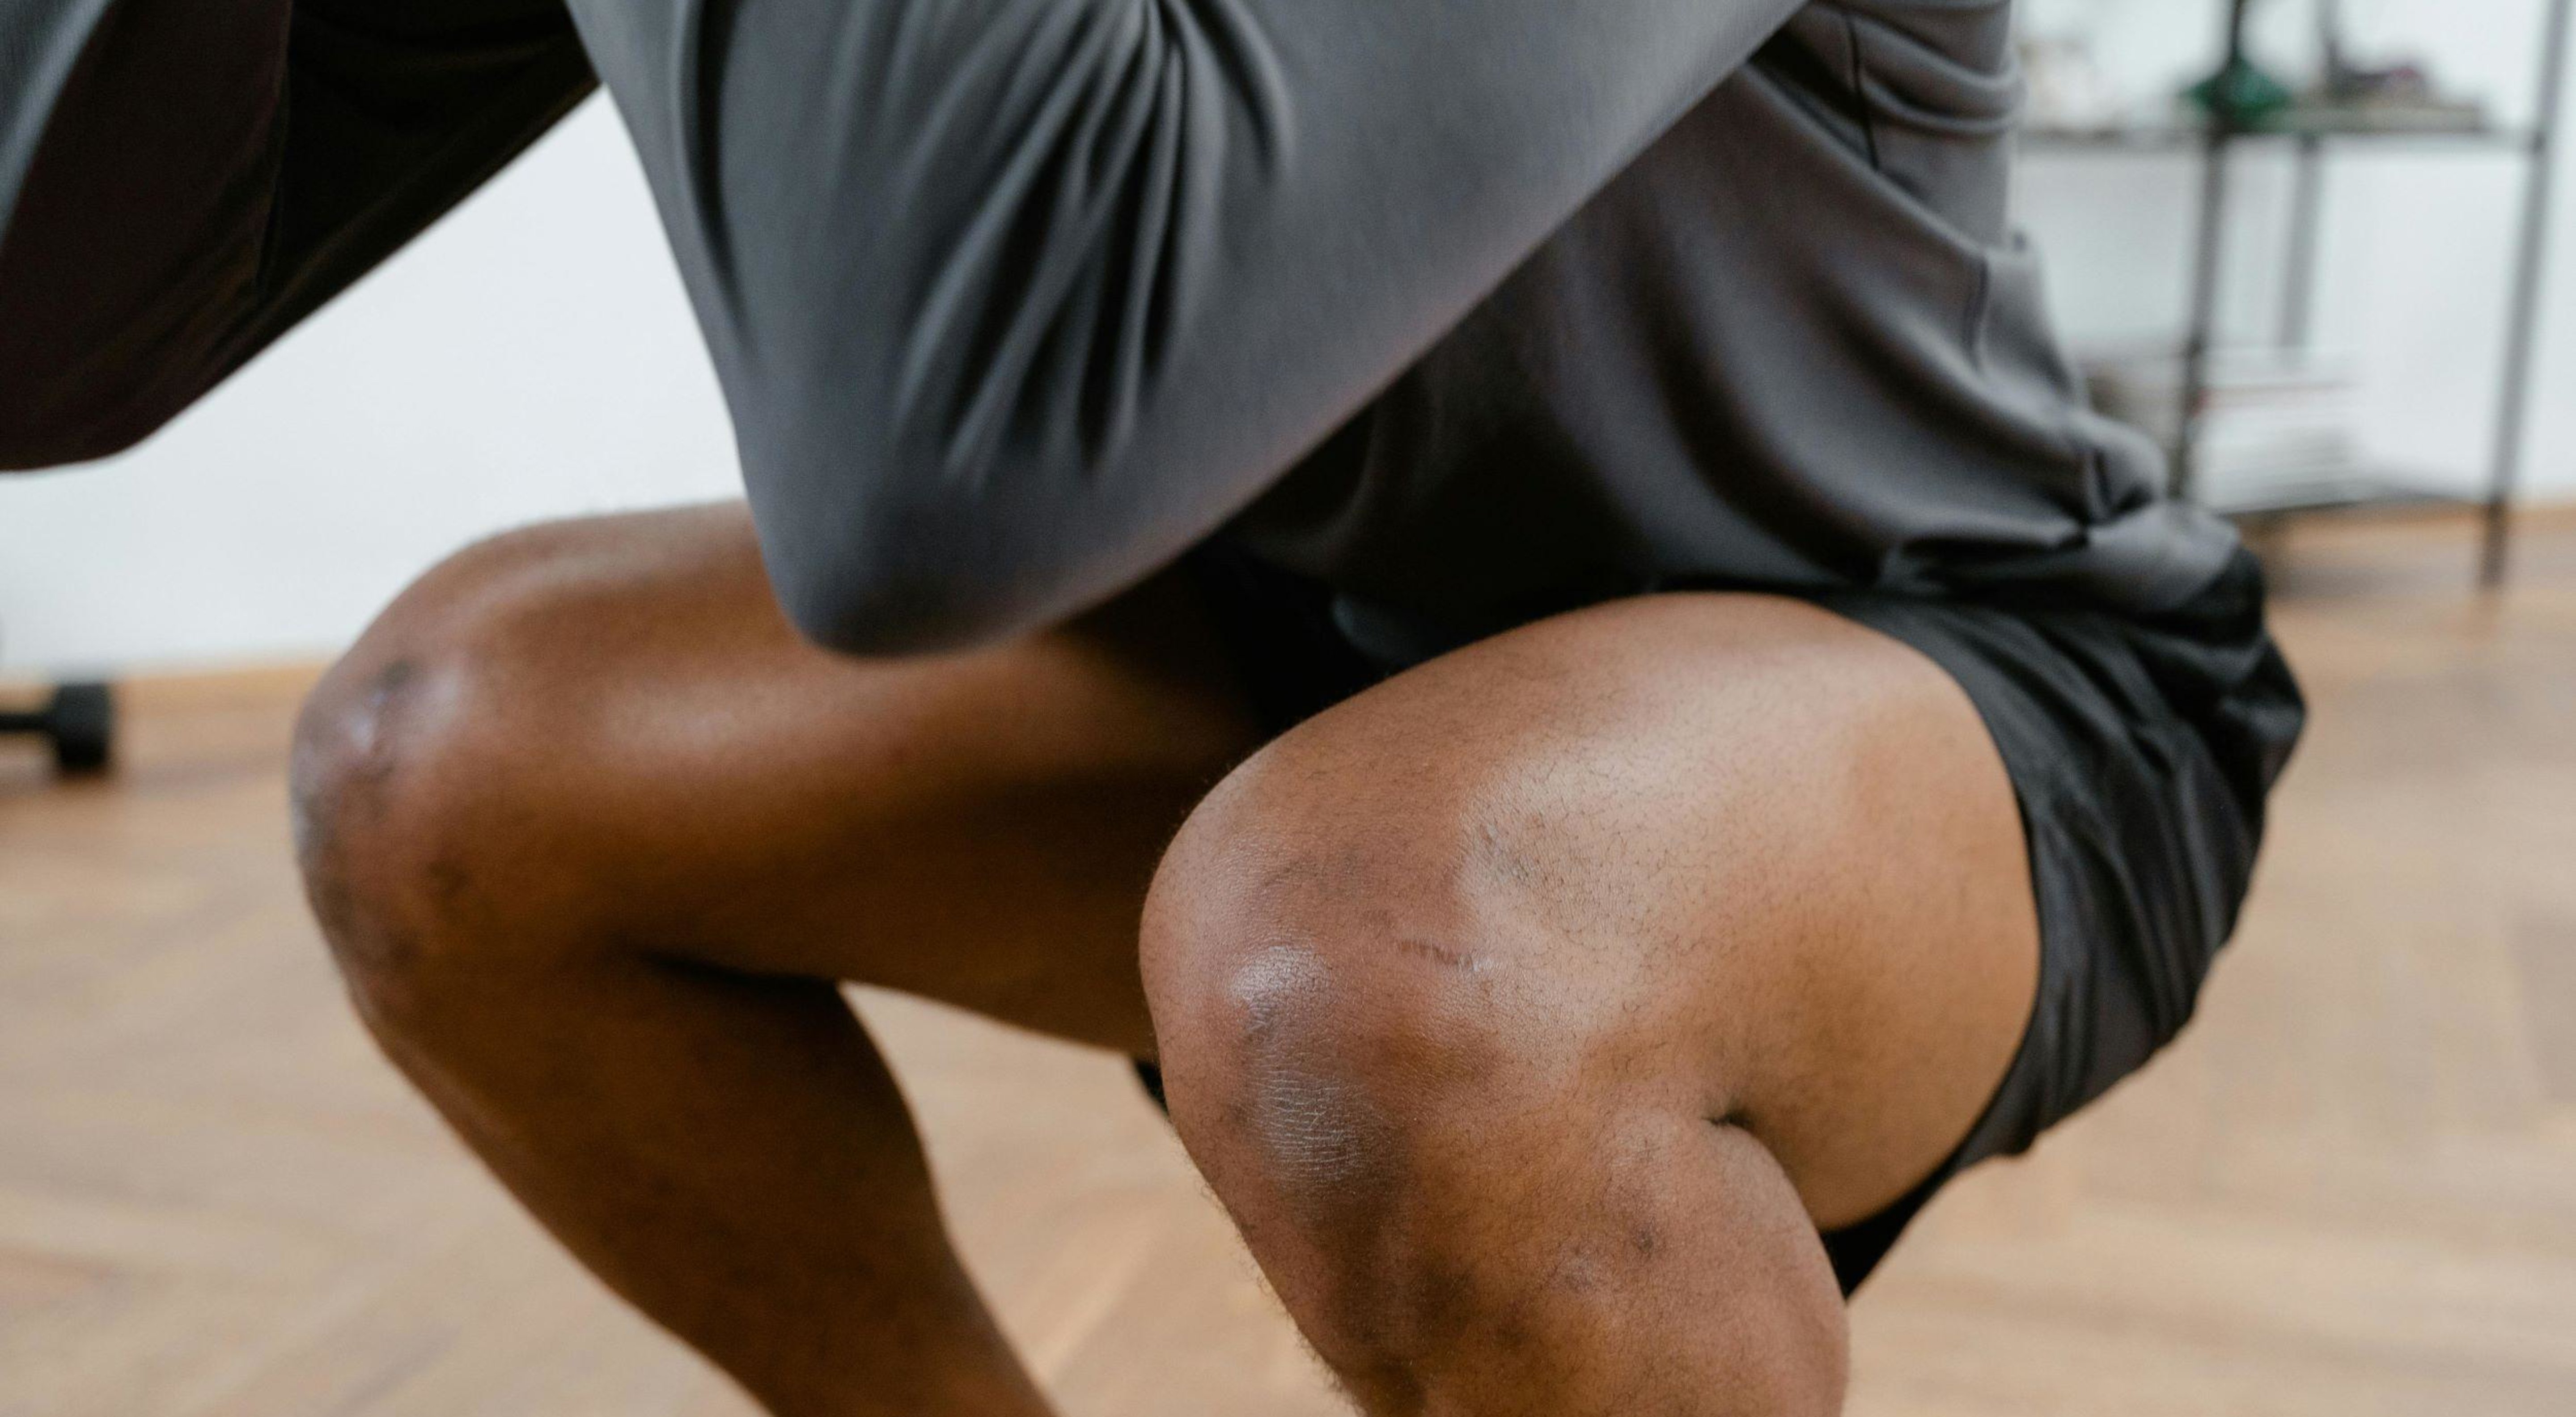
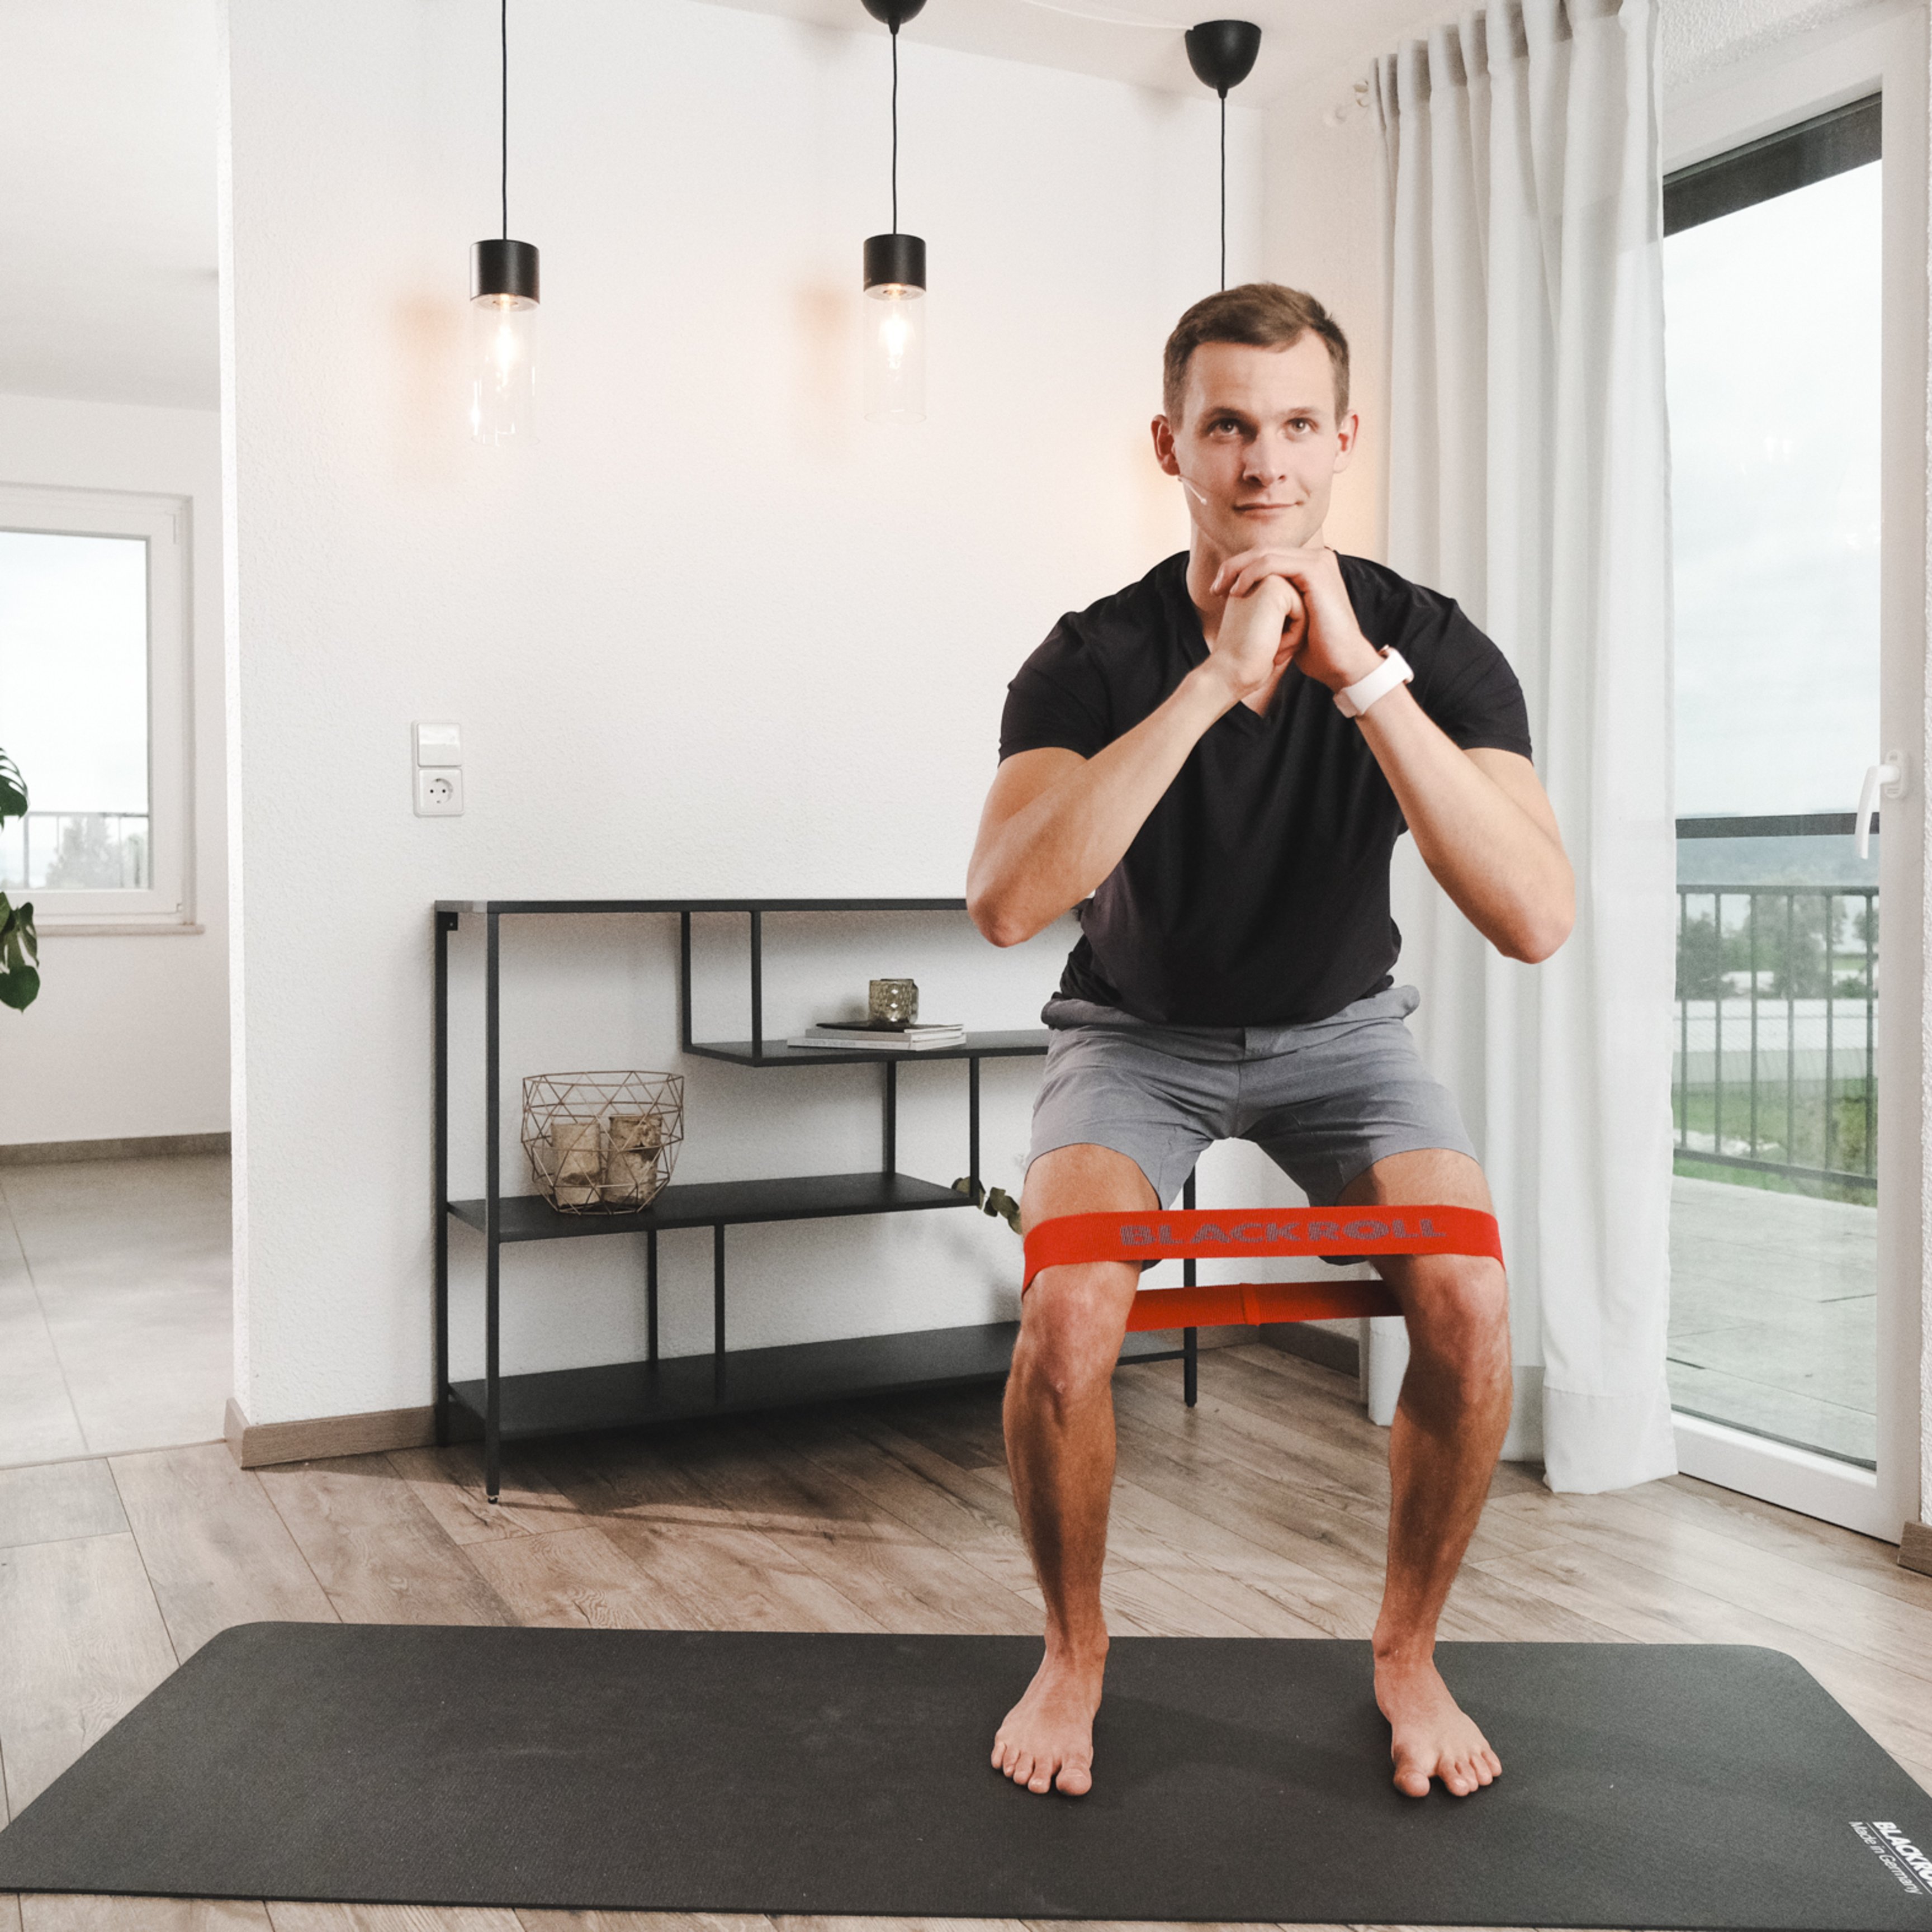
- Squat test: Single-leg squats can trigger typical symptoms
Imaging procedures:
- Ultrasound: Shows tendon thickening and structural changes
- MRI: Detailed visualization of tendon damage and bone marrow edema
- X-ray: Primarily used to rule out other conditions
Stabilizing the Knee: 4 Effective Exercises for Home
Treatment: What Helps with Patellar Tip Syndrome?
In most cases, patellar tip syndrome can be successfully treated without surgery. Conservative therapy requires consistency and a multi-step approach.
Acute Phase – The Peace & Love Principle
When symptoms first appear, experts recommend applying the so-called “Peace & Love” principle. First, “PEACE” for the first 2 days:
- Protect: Avoid painful movements
- Elevate: Elevate the leg to reduce swelling
- Avoidanti-inflammatories: These can interfere with healing
- Compress: A light bandage can help
- Educate: Understand your problem and the treatment
After 2–3 days, the “LOVE” phase begins:
- Load(Weight-bearing): Gradual weight-bearing adapted to pain levels
- Optimism: Maintain a positive attitude toward healing
- Vascularization(Blood Flow): Gentle movement promotes healing
- Exercise(Training): Begin specific exercises
Rest and Activity Modification
A complete break from sports is usually not necessary. However, avoid painful jumping movements and reduce the intensity of your training.
Physical Therapy
An experienced physical therapist can help you with:
- Manual therapy for mobilization
- Strengthening exercises for the entire leg musculature
- Correcting movement patterns
- Developing a personalized exercise program
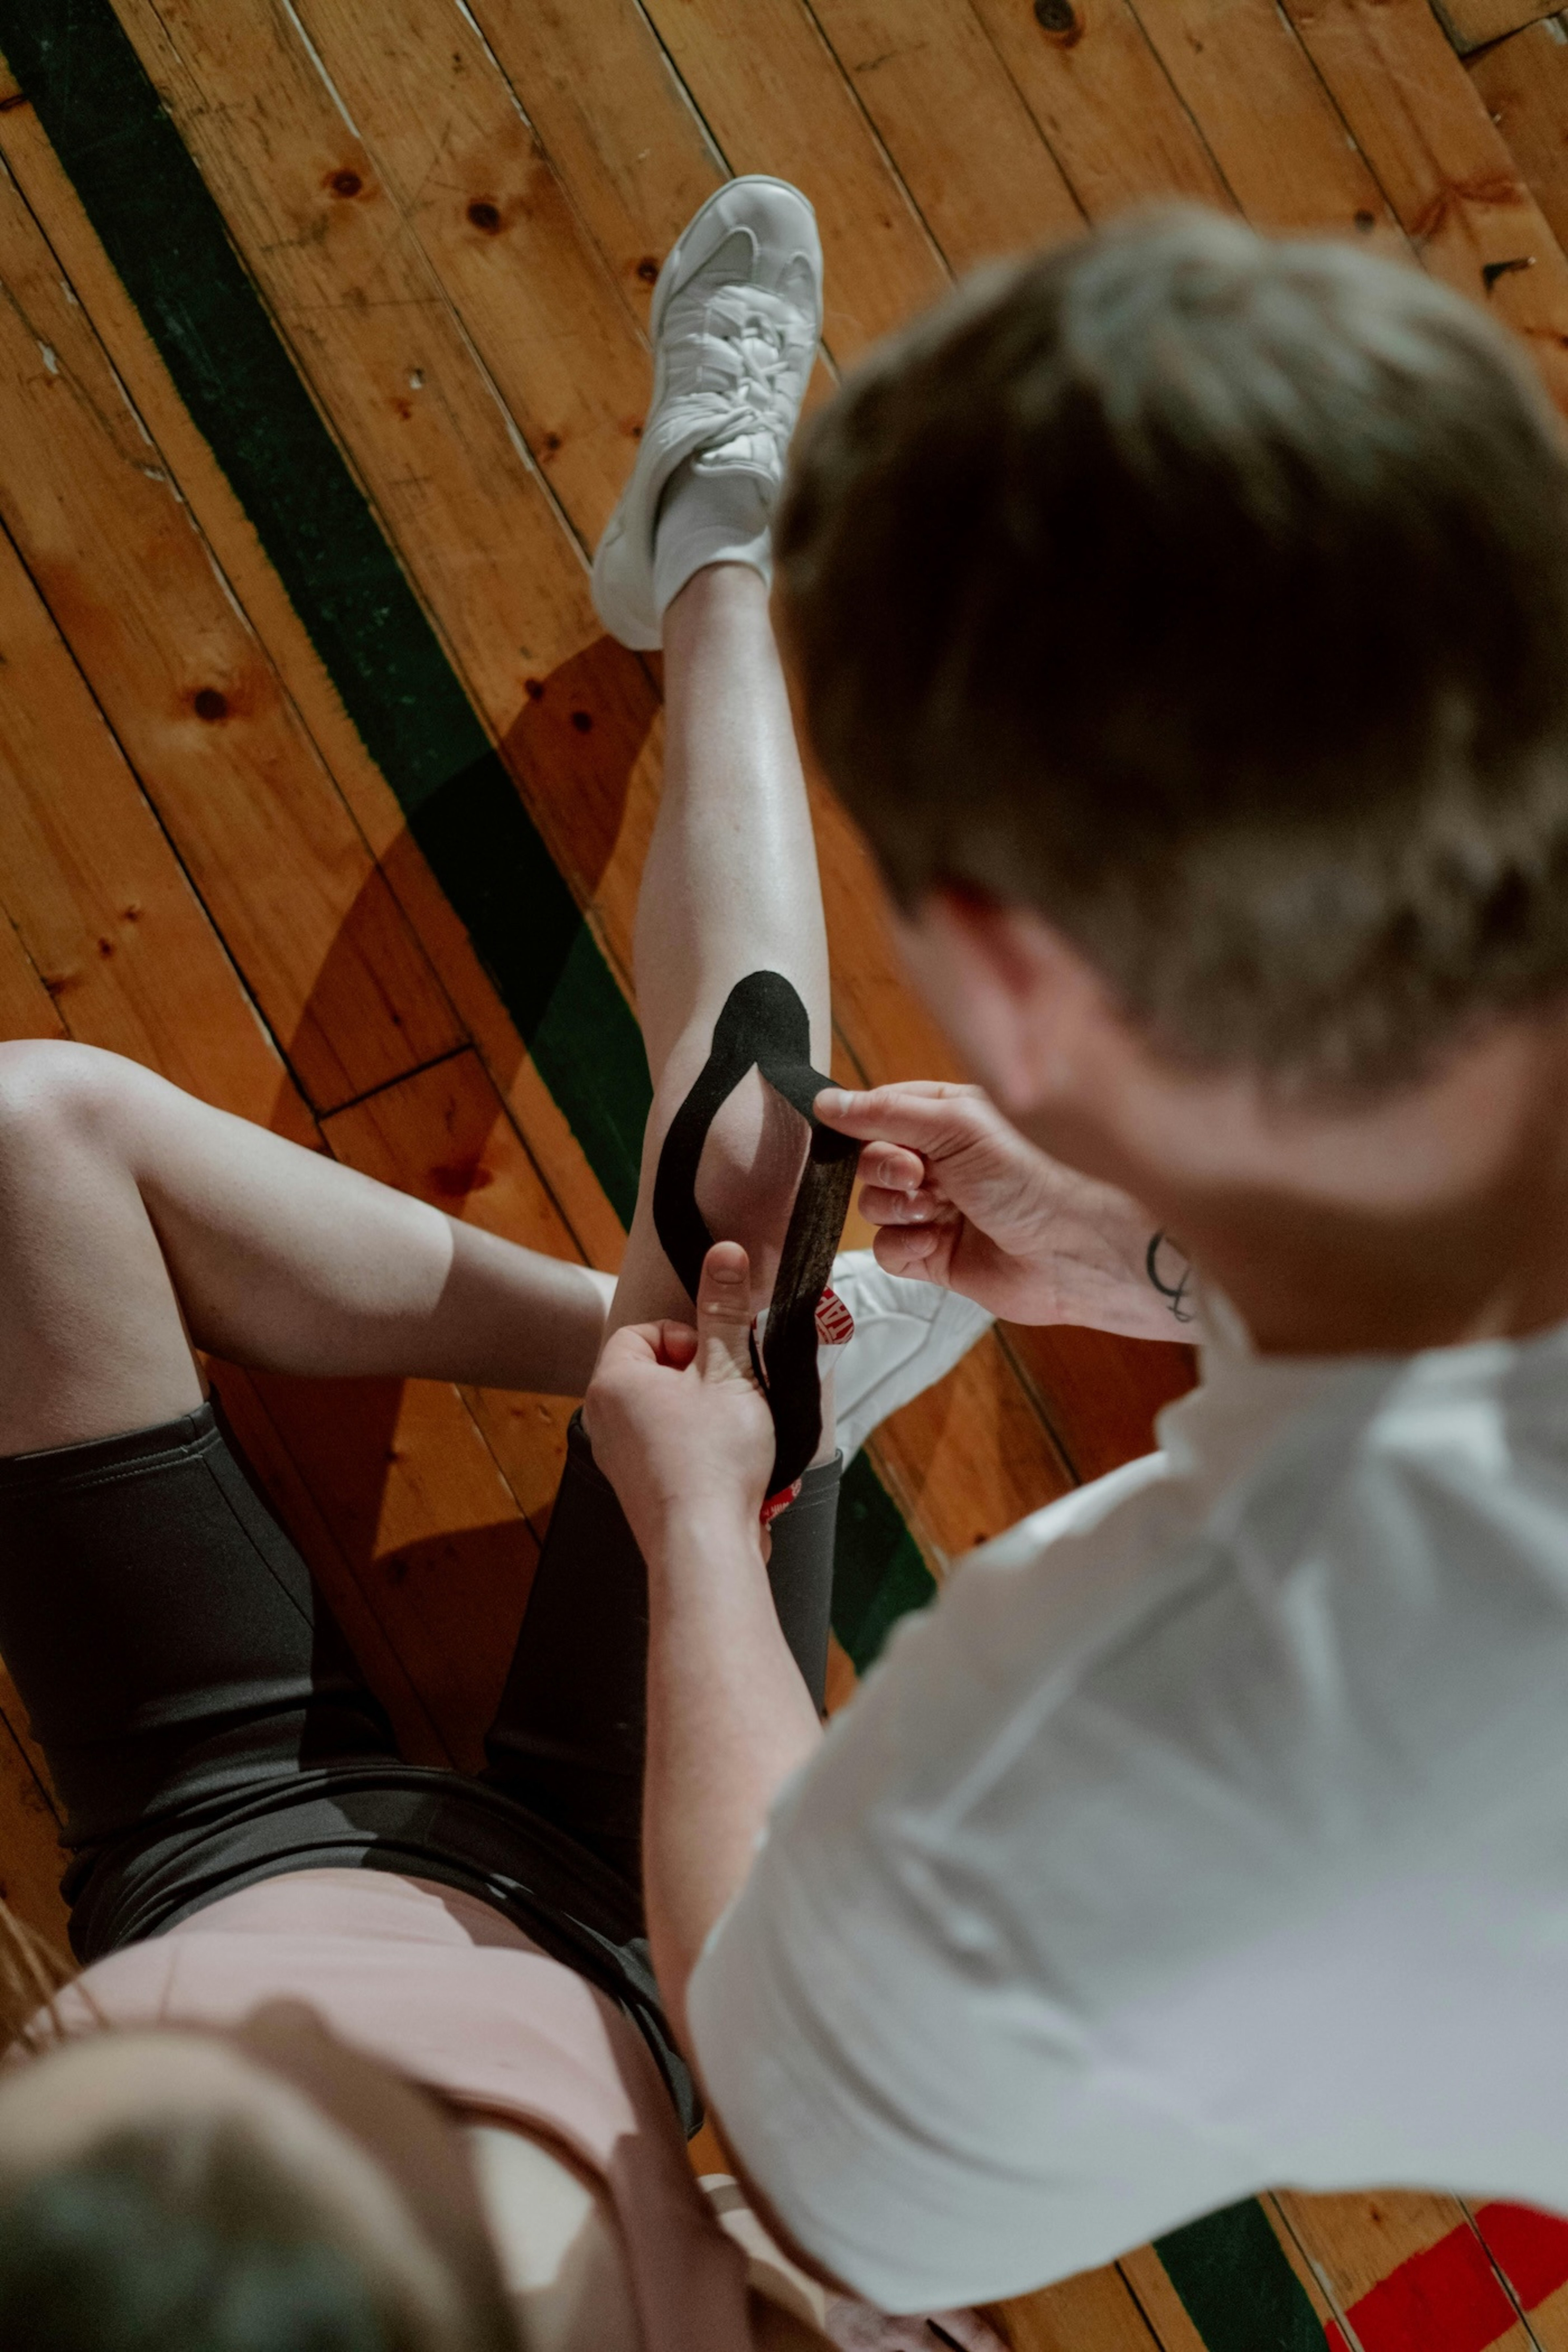
Supportive measures
- Shockwave therapy (ESWT): Can stimulate healing processes and relieve pain
- Patellar tendon braces: Relieve pressure on the tendon through targeted compression
- Cold therapy: For 15–20 minutes in cases of acute pain
- Massage: Relaxes tense muscles and promotes blood circulation
Anti-inflammatory medications (such as ibuprofen) should only be used for a short time to treat severe pain, as they can interfere with tendon healing.
Stability Training for Knee Pain
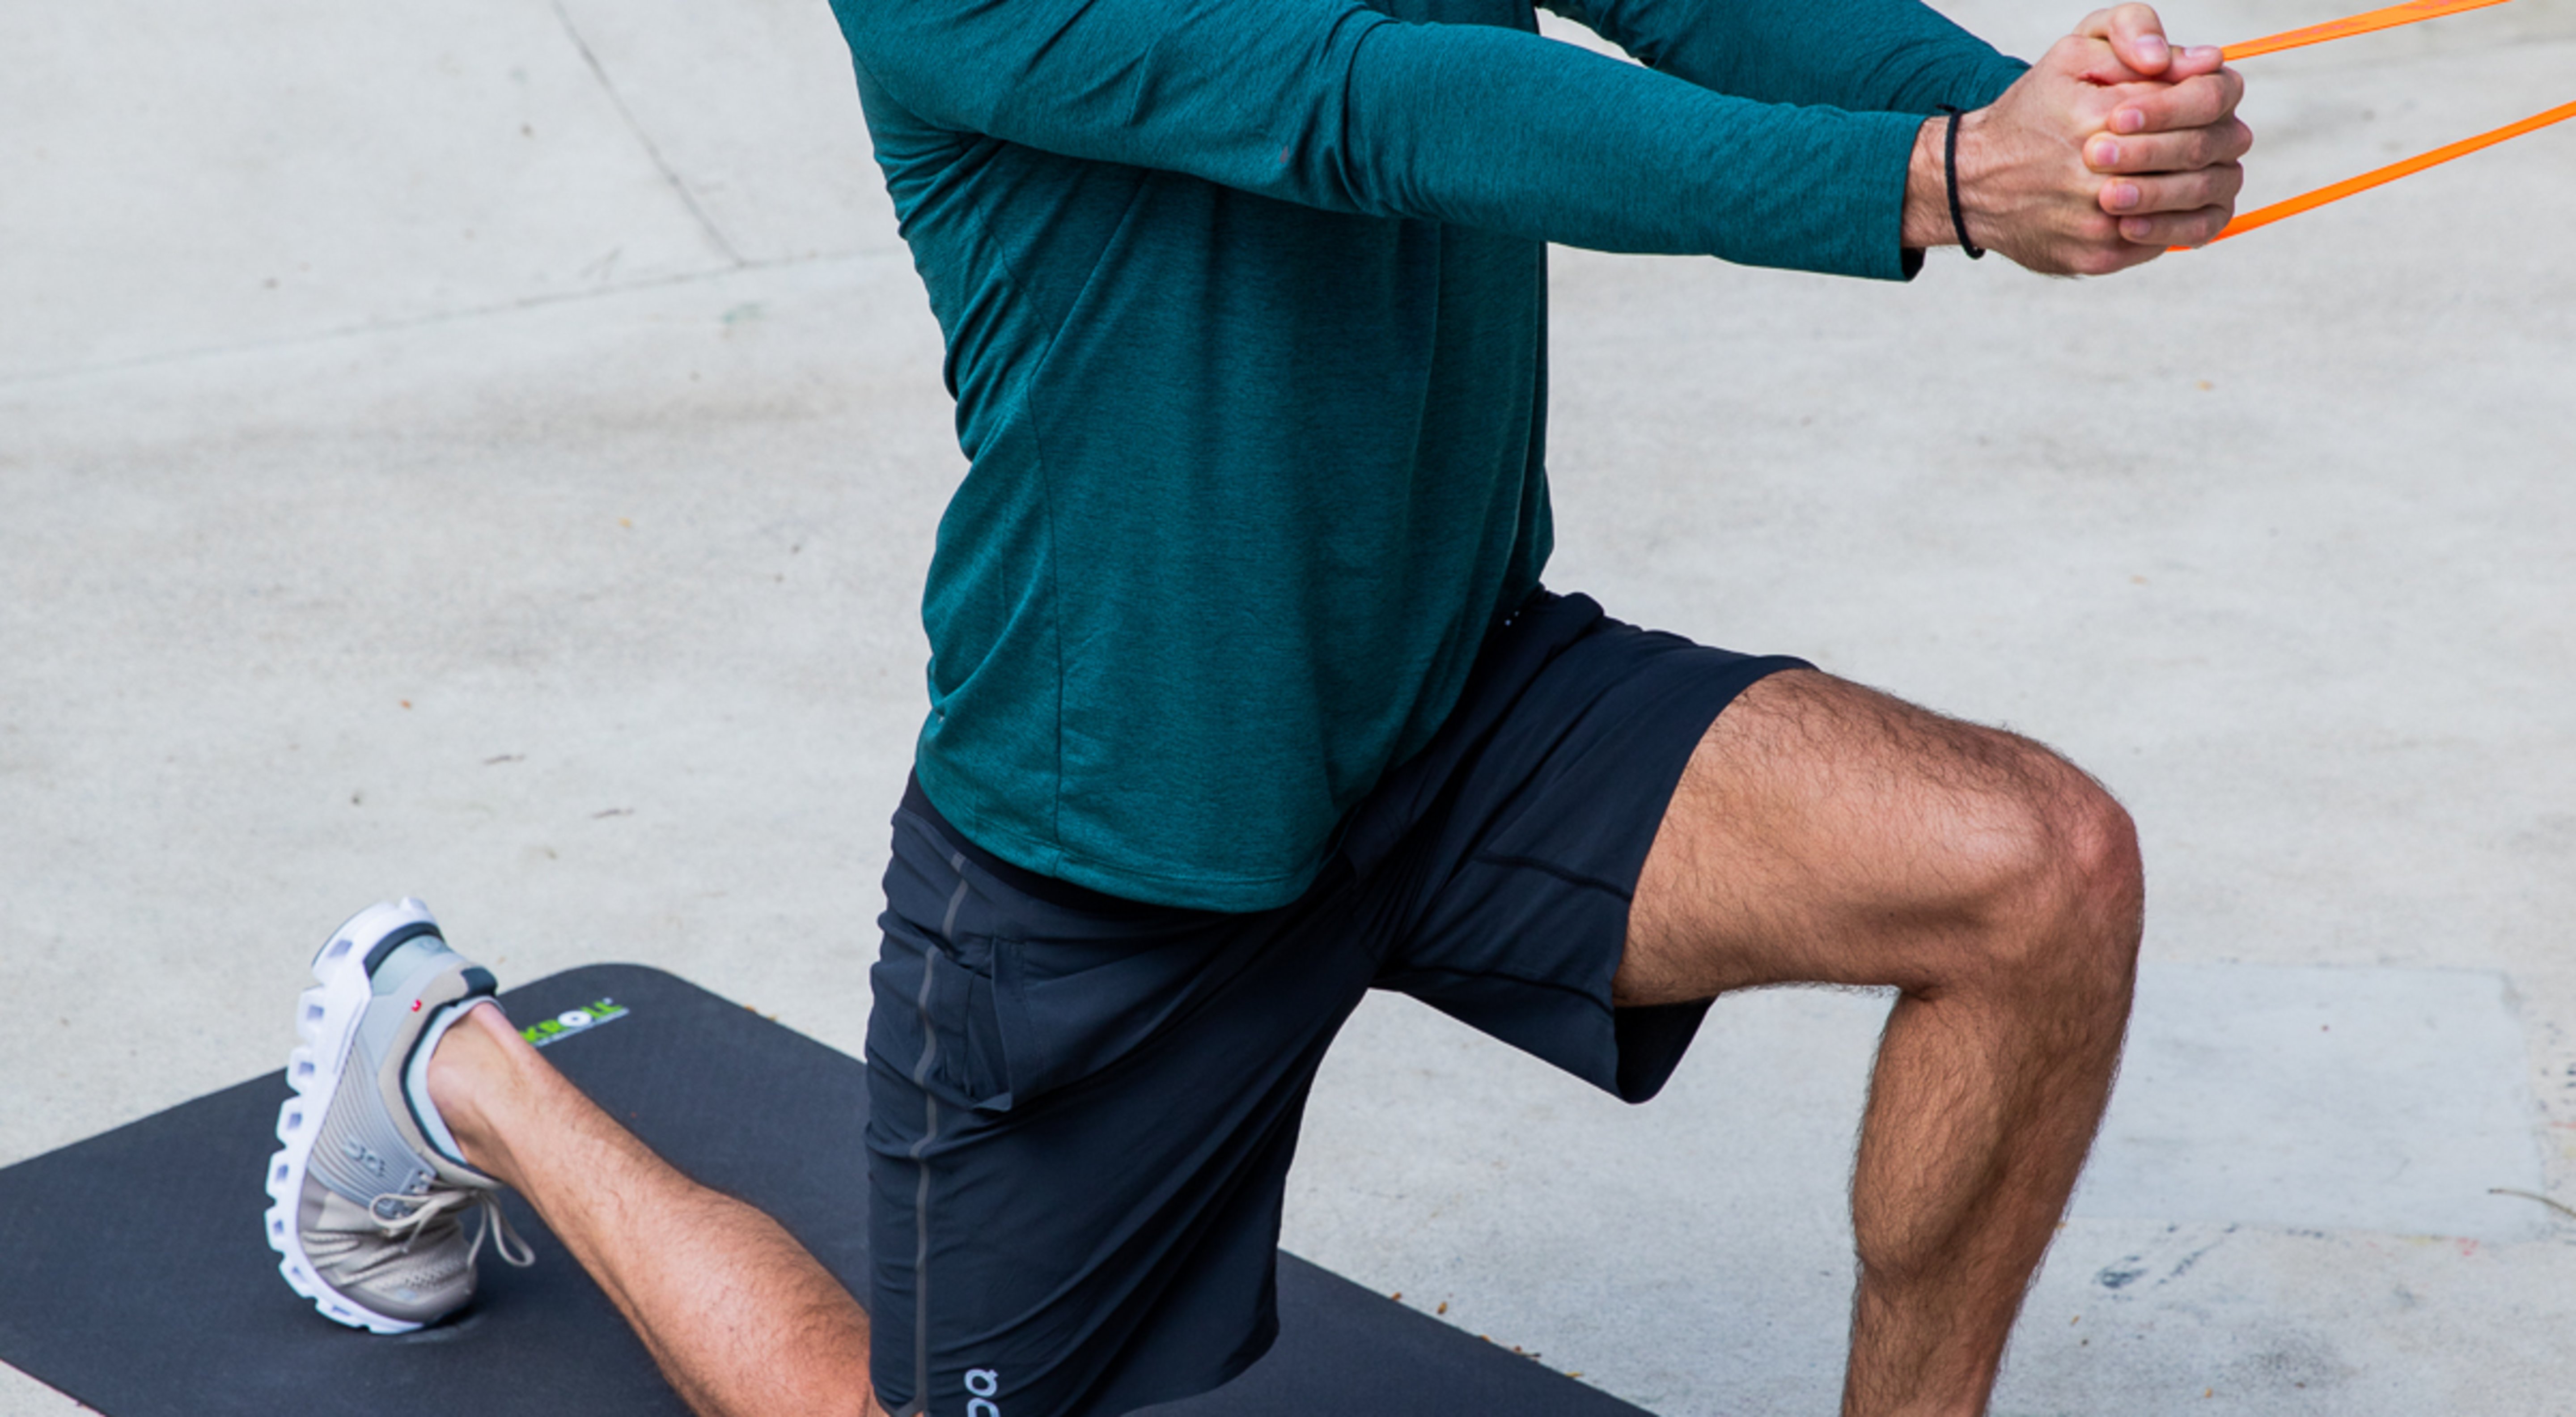
Targeted Exercises for Patellar Tip Syndrome
The right exercise program is key to successful treatment. According to the latest medical research, eccentric exercises (e.g., eccentric or decline squats) may be the most helpful.
Basic Principles
- Pain is a warning sign—listen to your body
- Consistency is more important than intensity
- If pain persists: seek professional guidance
Eccentric Squats on an Inclined Surface
- Stand on a board inclined at approximately 25° (heels higher than toes)
- Slowly lower yourself into a squat until your knees are at about a 60° angle
- The downward movement should take 4–5 seconds
- 3 sets of 15 repetitions, twice daily
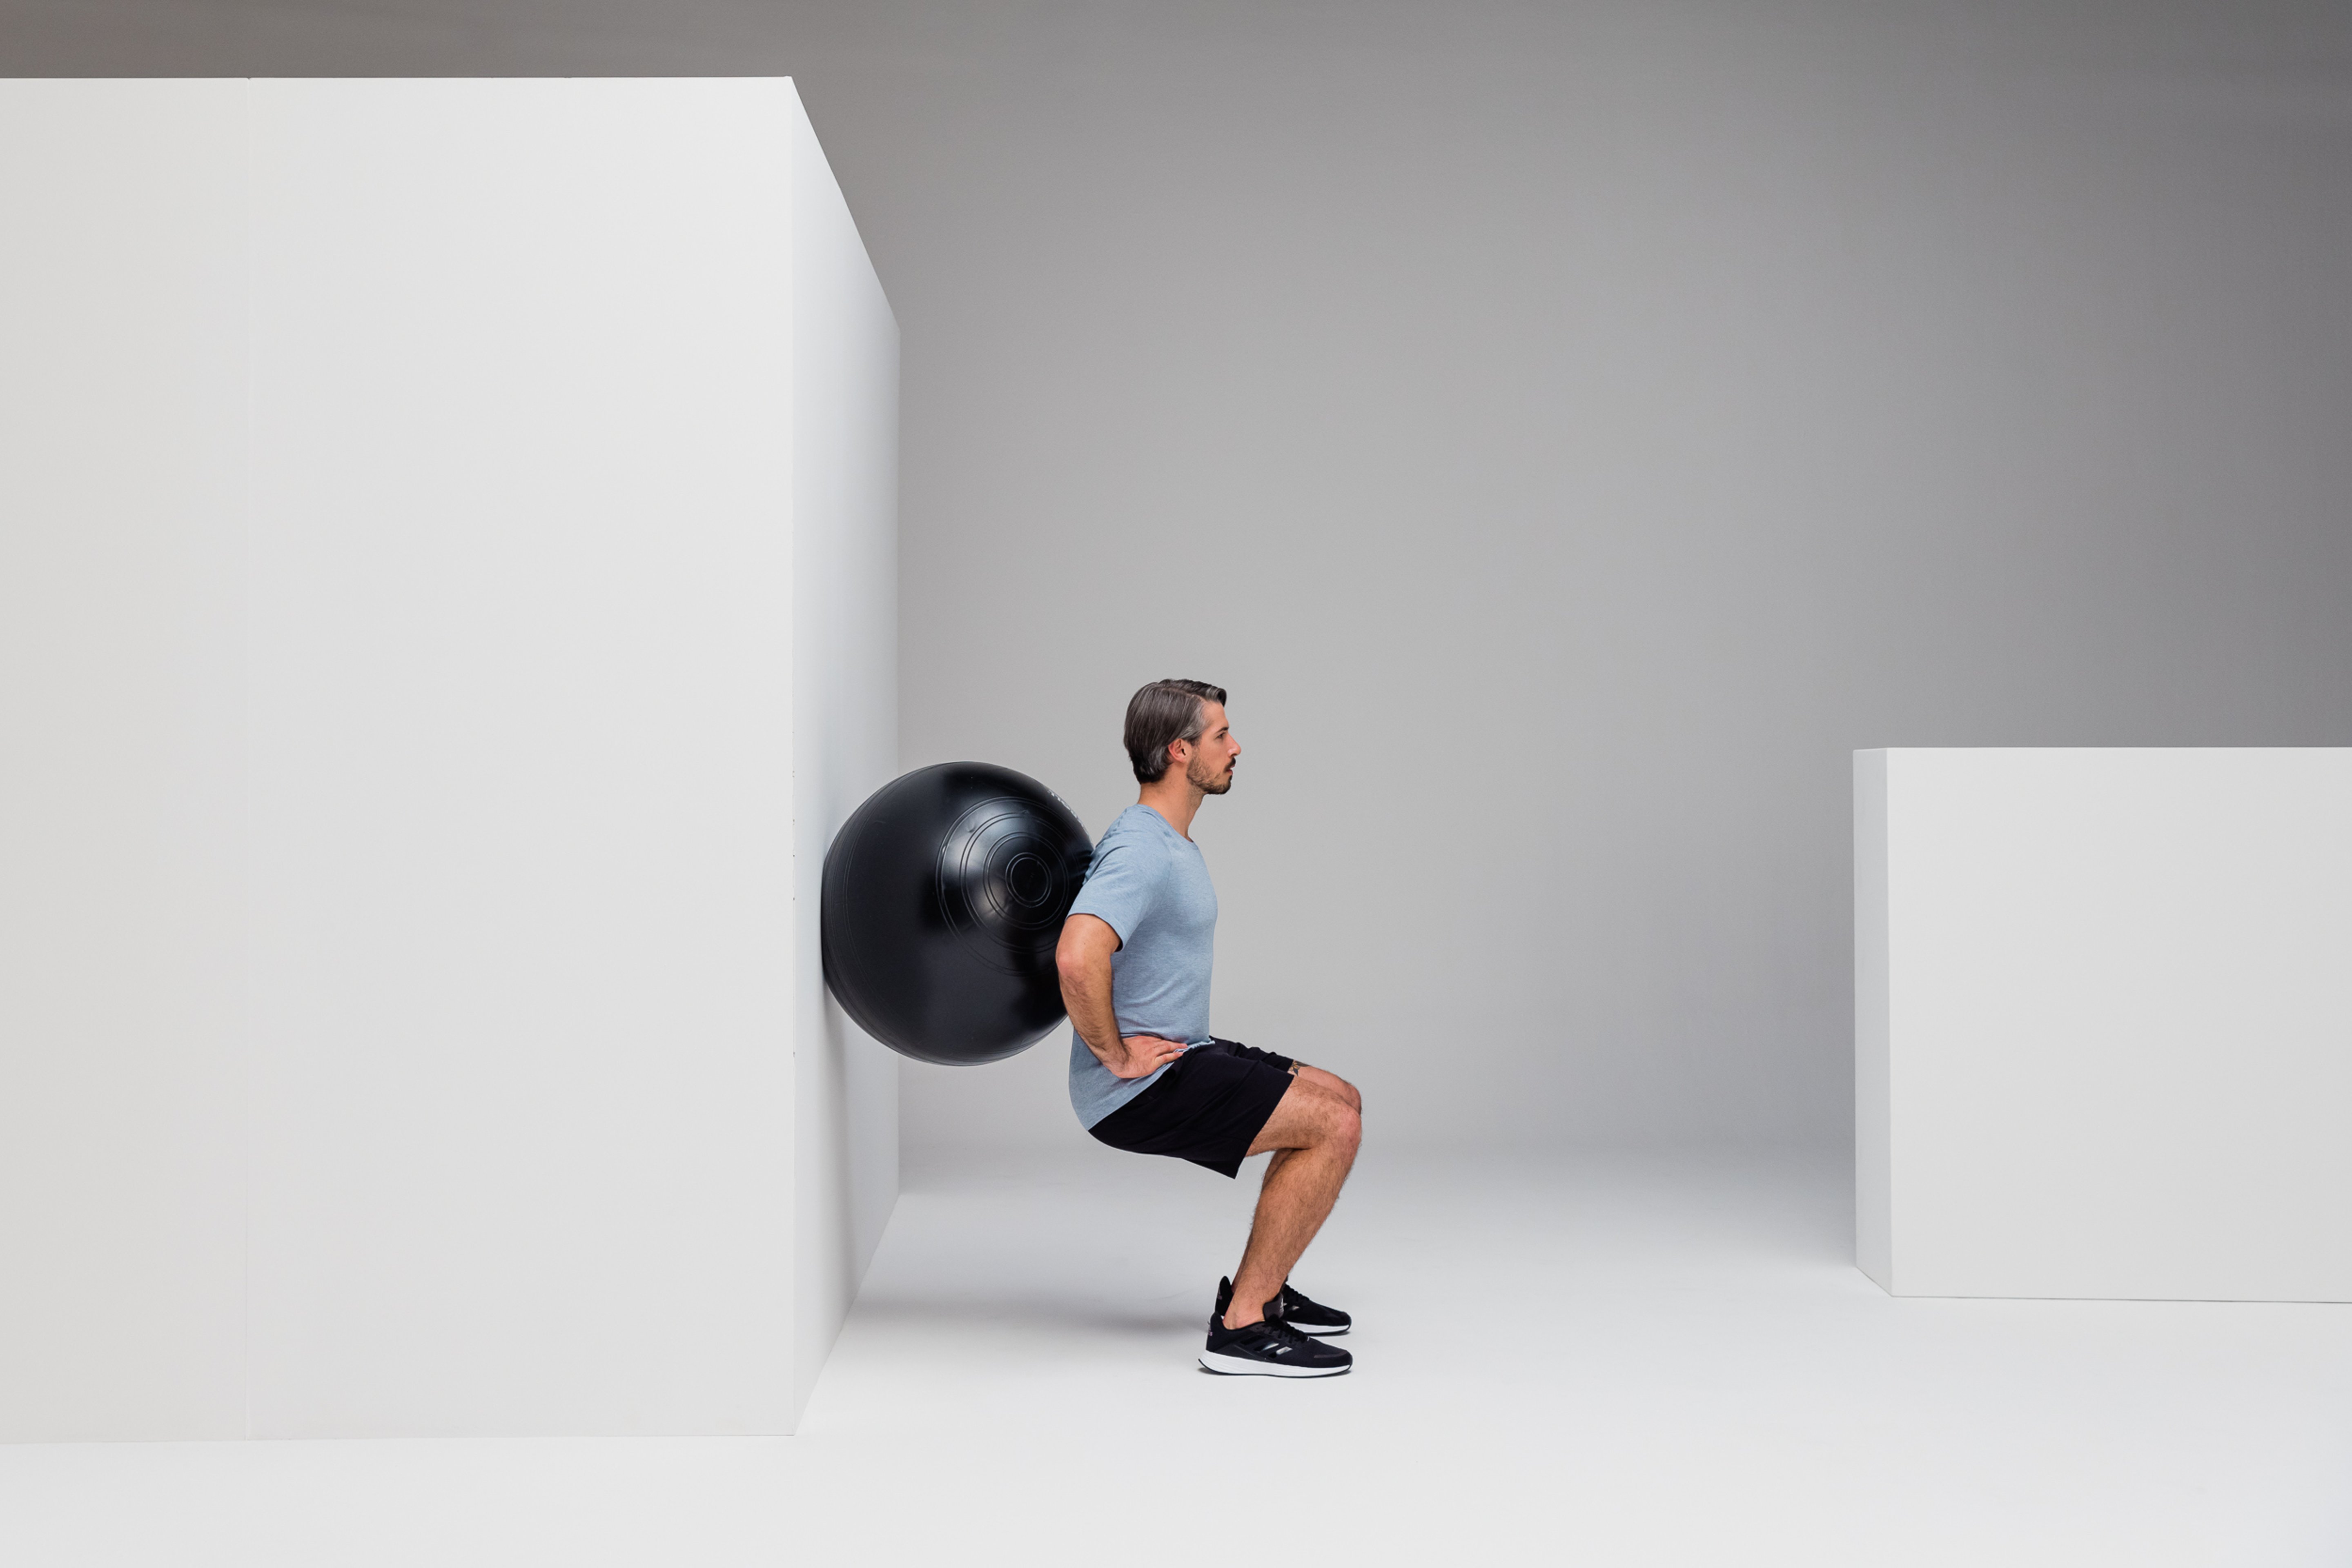
Isometric Wall Sits
- Lean your back against a wall
- Slide down until your thighs are parallel to the floor
- Hold this position for 30–60 seconds
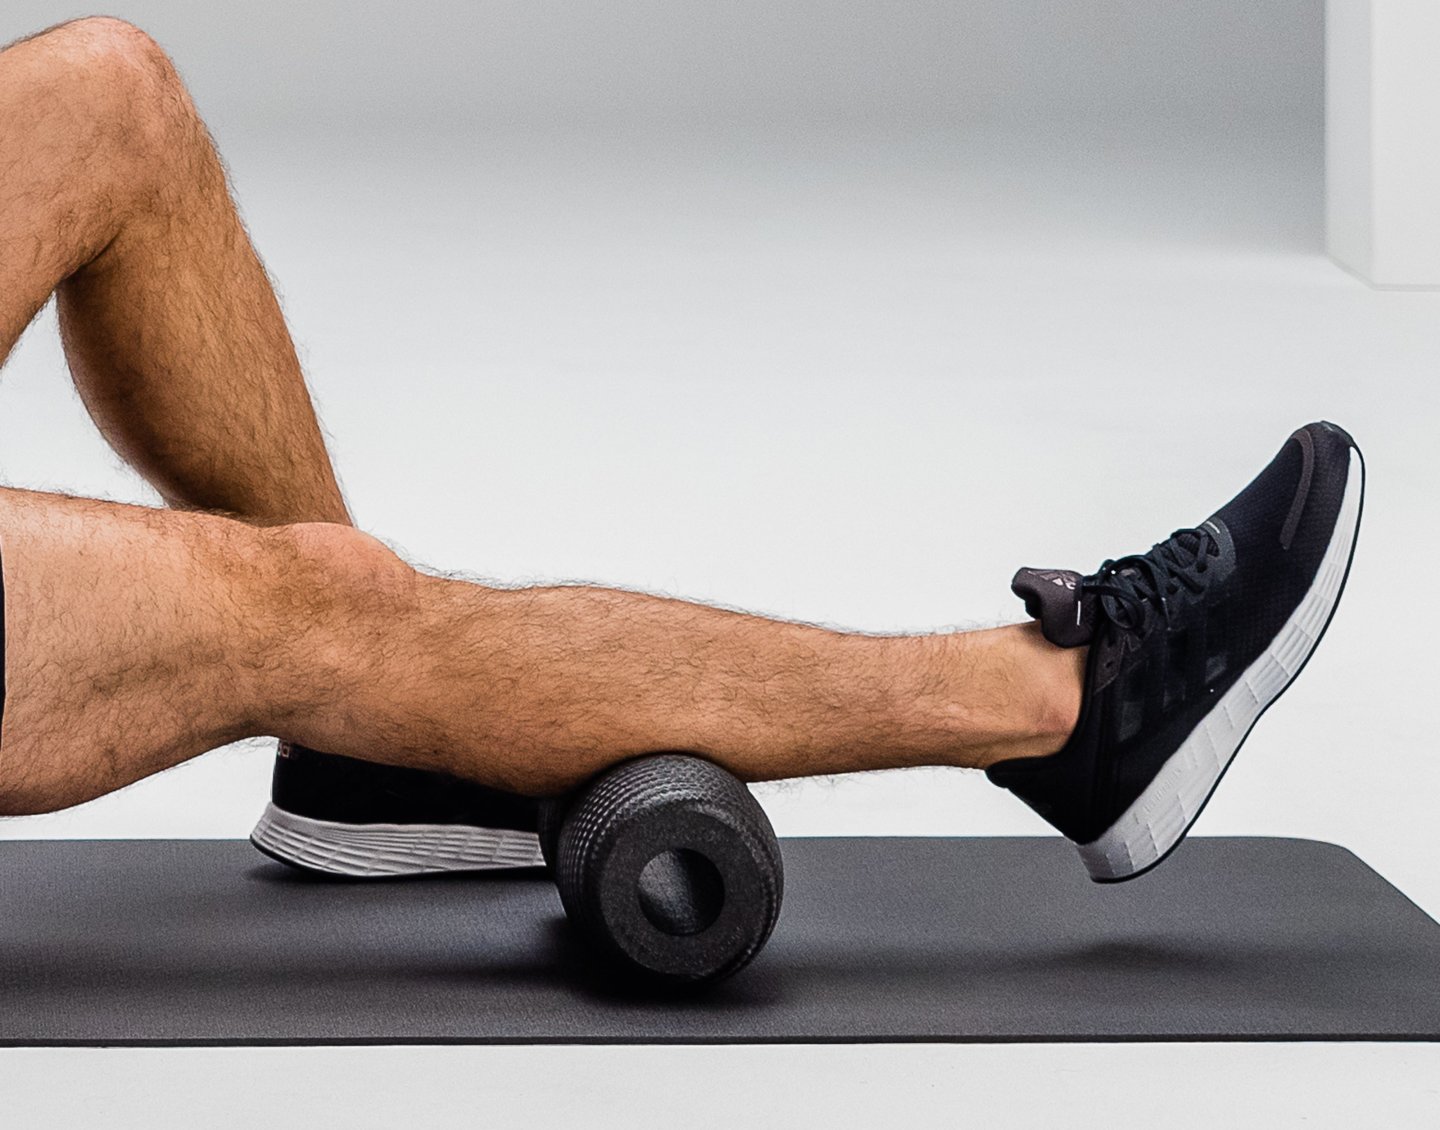
Terminal Knee Extensions
Place a foam roller or a rolled-up towel under your knee.
- Extend your knee and lift your heel off the floor
- Hold for 5 seconds, then lower yourself slowly
3 sets of 10–15 repetitions per leg
Glute Bridges
- Lie on your back with your legs bent
- Lift your hips until your body forms a straight line
- 3 sets of 15–20 repetitions
Tendons need time to adapt. Allow at least 12–16 weeks for a full recovery.
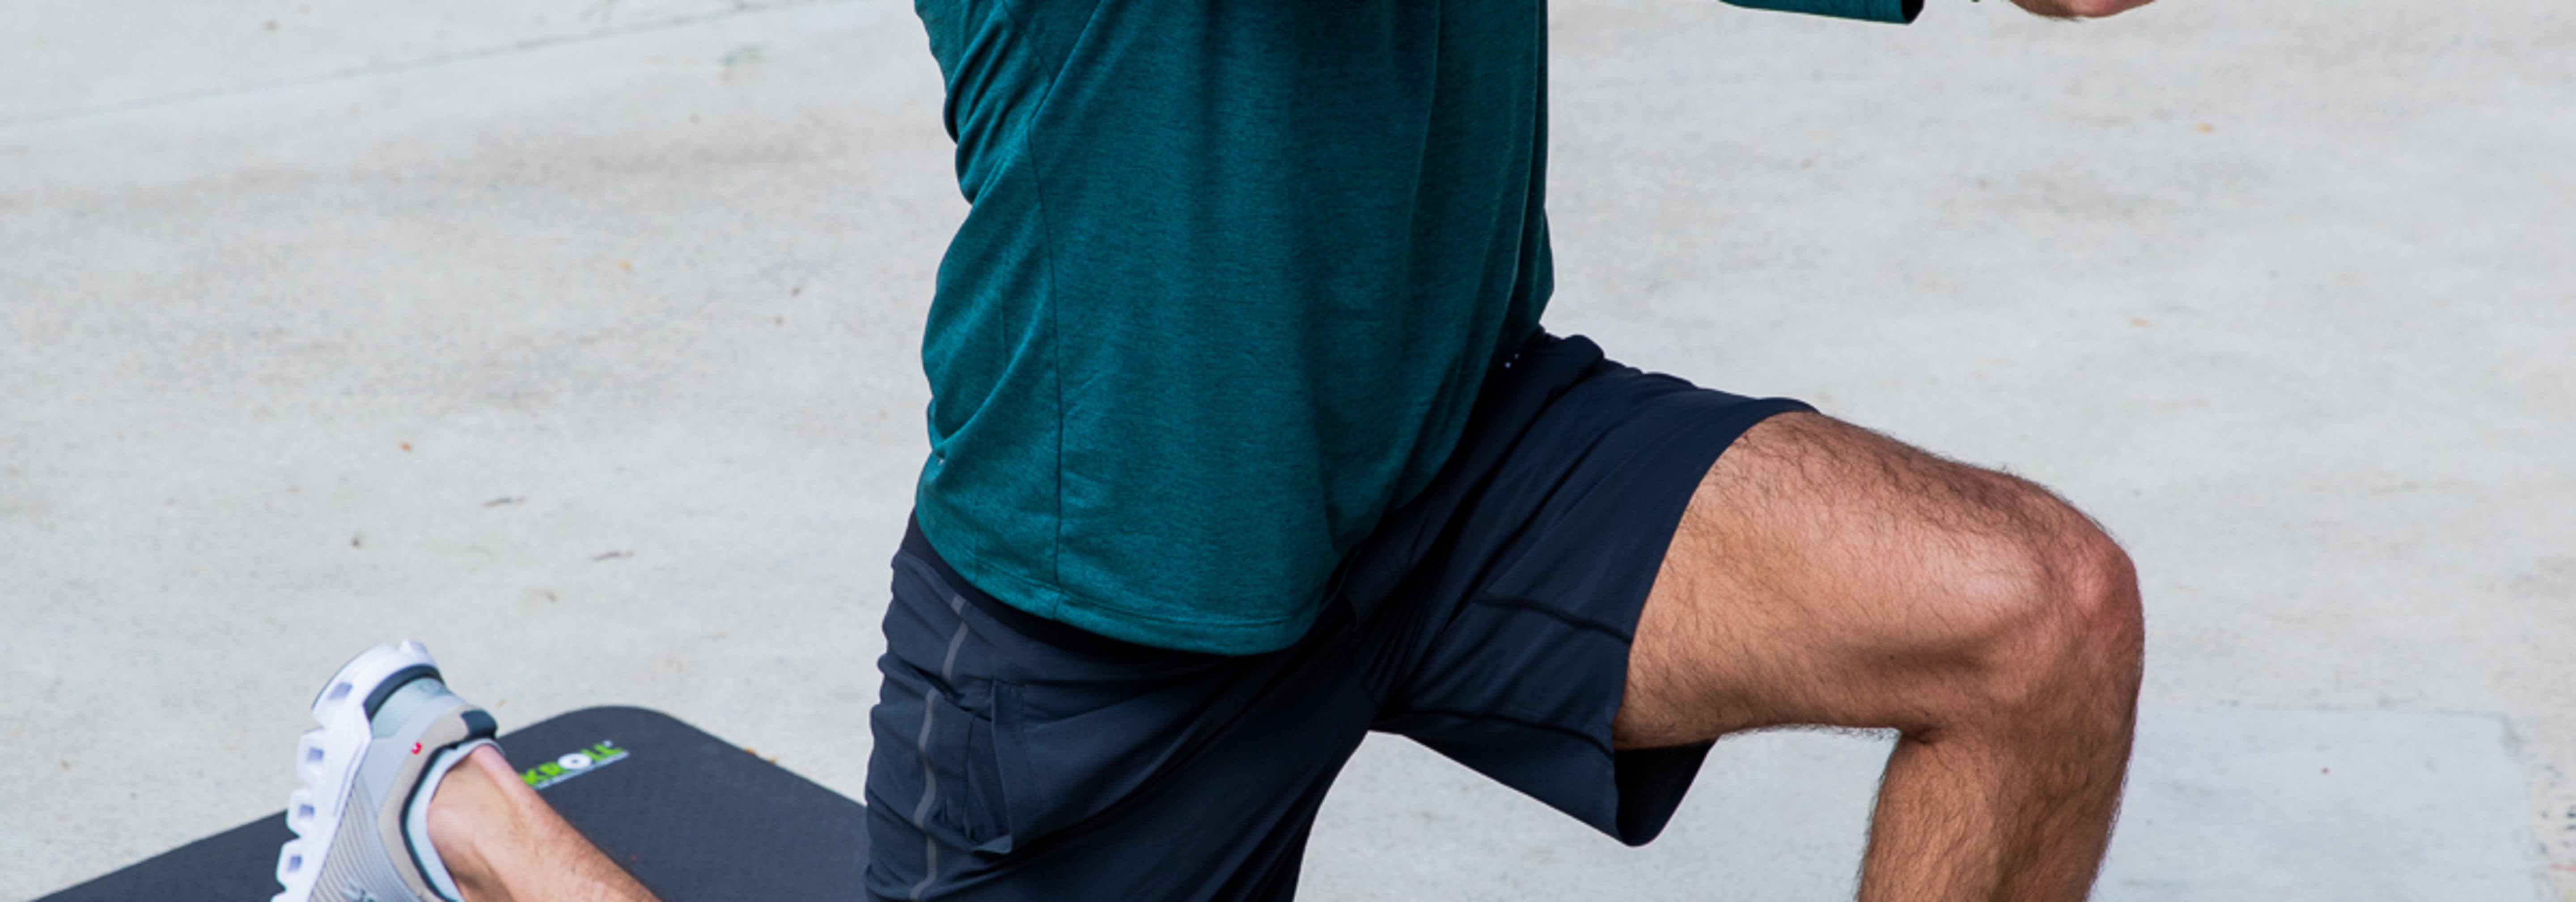
Prevention for Athletes in Everyday Life
Prevention is better than cure. With the right preventive measures, you can significantly reduce your risk of jumper’s knee.
Smart Training Management
- 10% Rule: Never increase your workload by more than 10% per week
- At least one rest day per week
- Take a 48-hour break after intense jumping workouts
Perfect preparation
- Warm up for 10–15 minutes before training
- Dynamic stretching exercises for the thighs and calves
- Cool down with static stretches
Build strong leg muscles
- Strengthen the quadriceps, but not in isolation
- Strengthen the hamstrings (ratio of knee extensors to knee flexors = 3:2)
- Hip stabilization through glute training
- Core training for better movement quality
Equipment Tips
- Shoes with good cushioning
- Prefer softer surfaces
- Use orthopedic insoles for foot misalignments
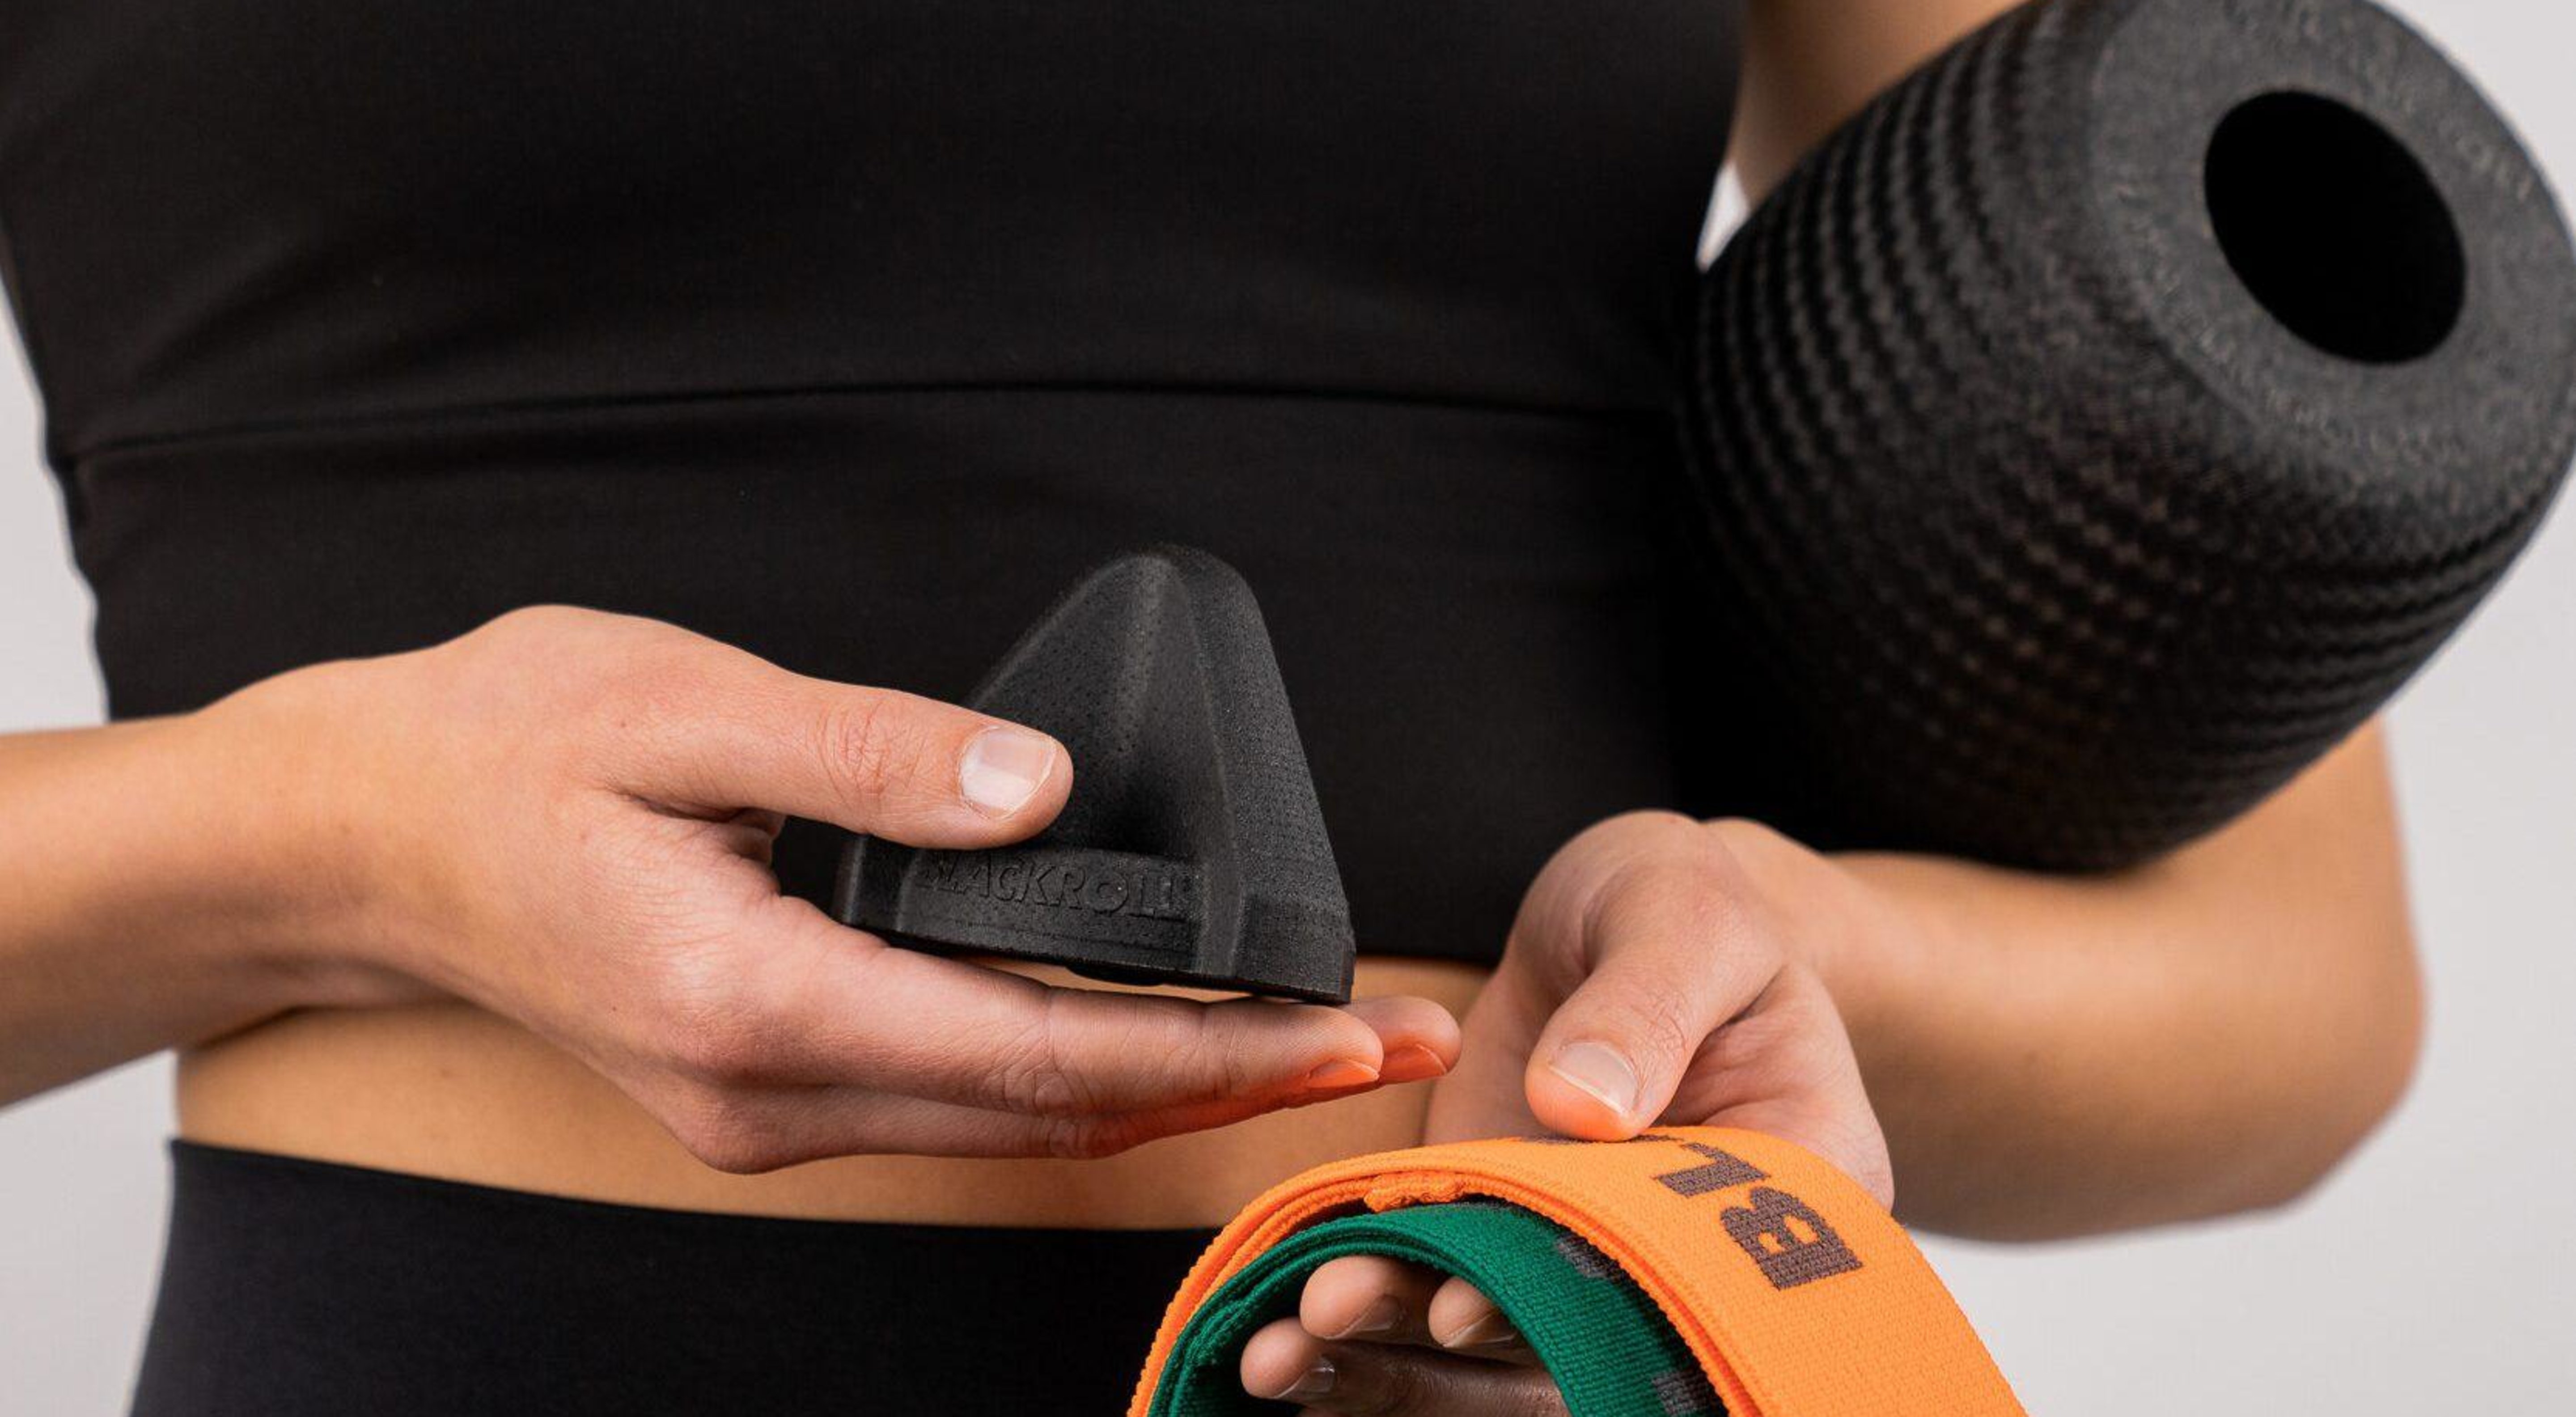
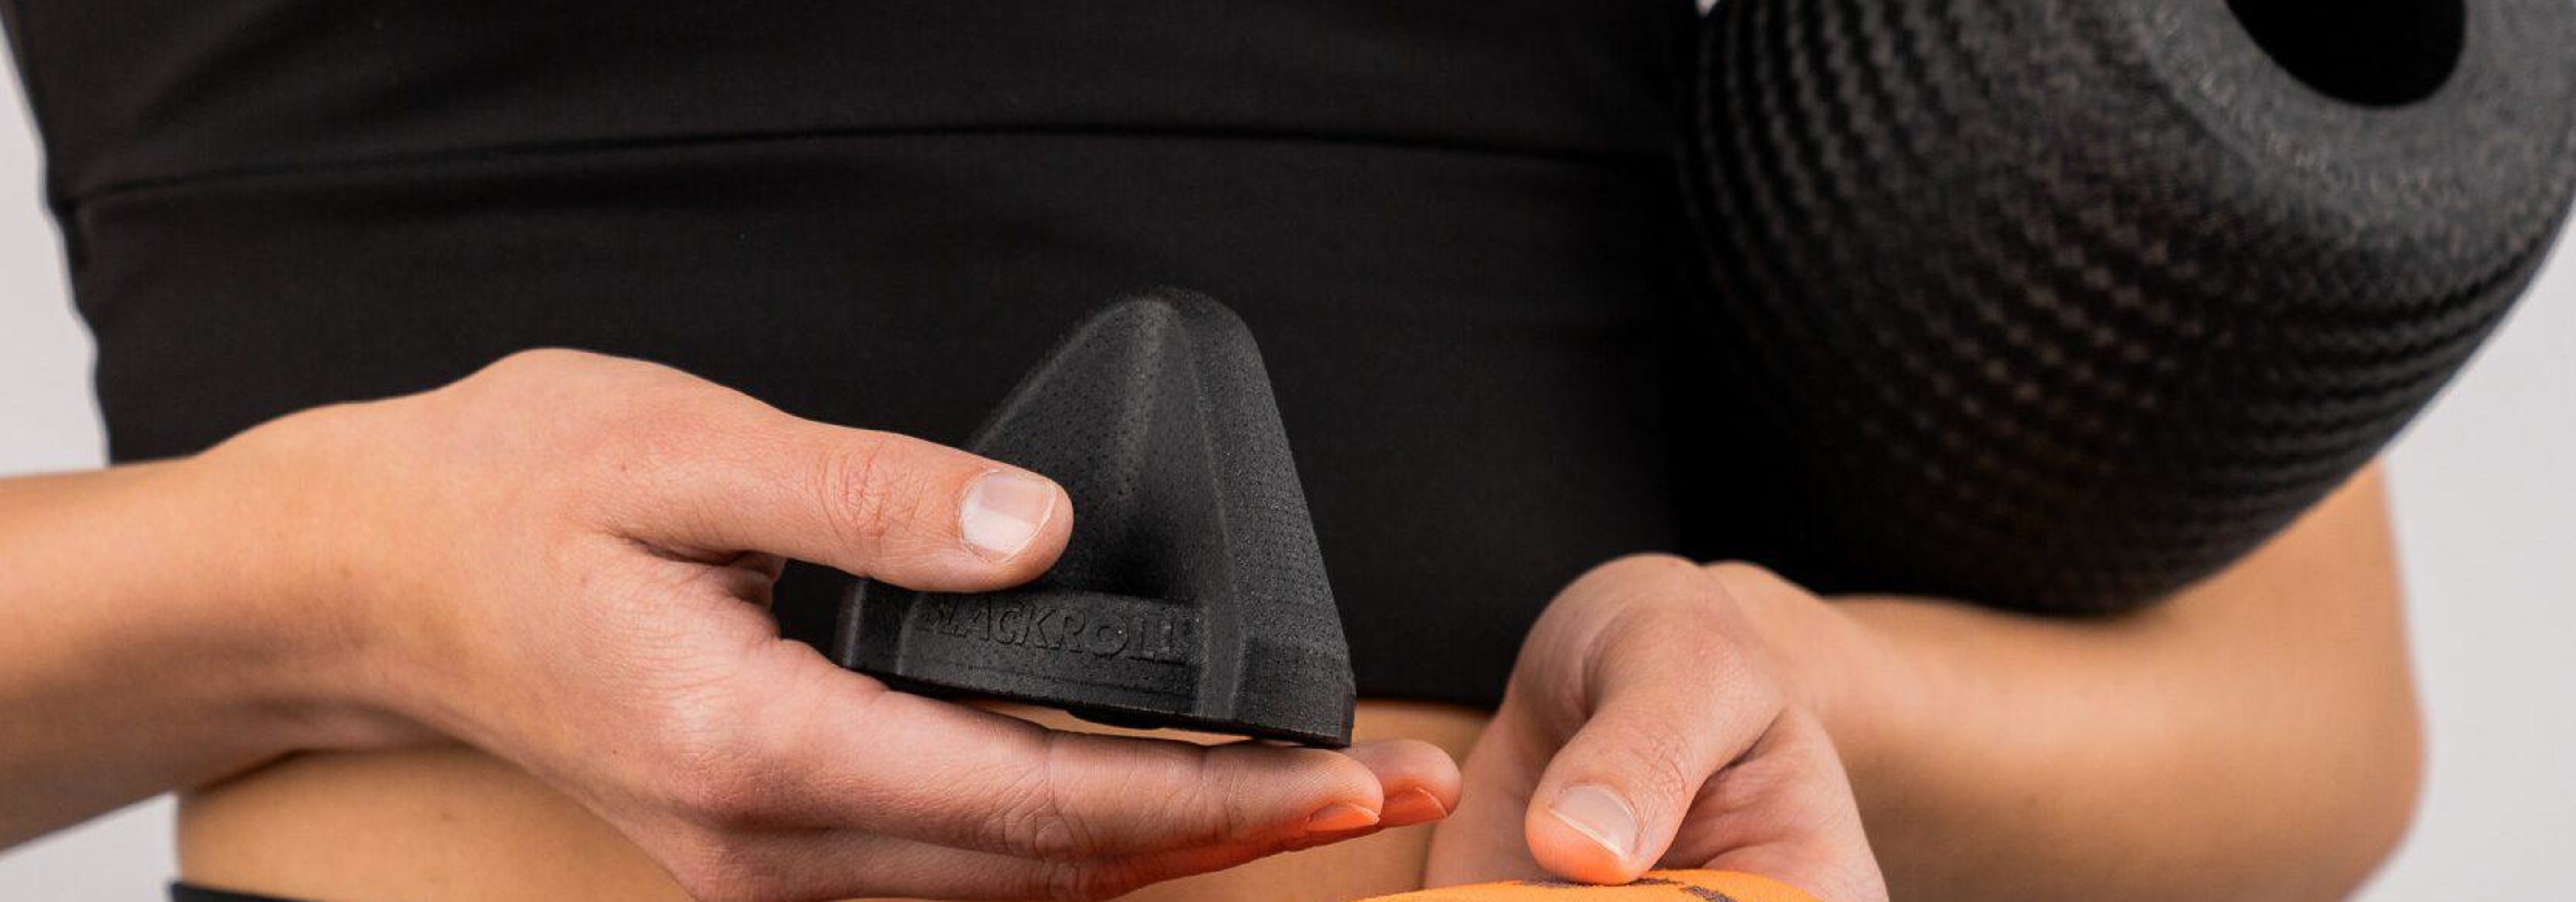
Relieve pain with vibration
Treat Your Knees Properly and Prevent Jumper’s Knee
Patellar tip syndrome is a common but easily treatable overuse injury. It’s crucial that you recognize the symptoms early and take action.
Regular eccentric training can be a helpful form of exercise therapy. You should also take preventive measures, such as smart training management, to minimize your risk of recurring problems. Patience is your most important ally here—tendons heal more slowly than muscles, but they do heal.
Take the first signs of pain seriously and invest in the right treatment. Your knee will thank you—and you’ll soon be able to return to your favorite sport pain-free.


FAQ – Frequently Asked Questions About Patellar Tip Syndrome
Useful information
Patellar tip syndrome is a painful irritation of the patellar tendon at the lower edge of the kneecap. It is caused by repeated jumping motions, which lead to minor injuries and degenerative changes in the tendon. Athletes who play basketball, volleyball, and other sports involving a lot of jumping are particularly prone to this condition.
The healing time depends on the stage of the condition: Early symptoms can resolve within 4–8 weeks with consistent treatment. Chronic cases often require 3–6 months or longer. Tendon tissue generally heals more slowly than muscle tissue, so patience and consistent exercise therapy are crucial for successful treatment.
Eccentric exercises such as decline squats have the strongest scientific evidence and promote tendon regeneration. Isometric holding exercises such as wall sits and strengthening the gluteal muscles are also helpful. All exercises should be performed within your pain tolerance—mild pain is okay, but severe pain is a warning sign.
If your symptoms are mild, you can often still exercise, but you should definitely avoid painful jumping movements. Alternative sports like swimming or cycling are usually possible without any problems. If you experience more severe pain, you should take a break from exercise and only gradually resume once you’ve seen a significant improvement.
You should seek medical advice if pain persists for more than a week, if there is visible swelling, or if everyday movements like climbing stairs become painful. It’s also important to seek medical evaluation if you experience sudden, severe pain or if your symptoms worsen despite resting the area.